Misurendo: Measure Your Endo Access
23/12/2021
Marino Sutedjo
Warning: Undefined variable $post in /var/www/vhosts/styleitaliano-endodontics.org/endodontics.styleitaliano.org/wp-content/plugins/oxygen/component-framework/components/classes/code-block.class.php(133) : eval()'d code on line 2
Warning: Attempt to read property "ID" on null in /var/www/vhosts/styleitaliano-endodontics.org/endodontics.styleitaliano.org/wp-content/plugins/oxygen/component-framework/components/classes/code-block.class.php(133) : eval()'d code on line 2
Endodontic treatment major goal is to treat and prevent apical periodontitis. And this goal can be achieved through shaping and cleaning of the root canal systems to eliminate microorganisms. But beforehand, an entrance has to be prepared to gain access to the root canals. This access cavity undeniably is the first step of every endodontic treatment and thus it is crucial for the outcome, stability and longevity of the tooth.
Unfortunately, still in many cases we can see some iatrogenic errors like ledges, broken file, missed canals and perforation due to inadequate access cavity. Therefore, we need to understand better how to achieve good access cavity to have more predictable outcome for our endodontic treatment,
To facilitate disinfection and complete debridement, straight line access to the orifices of the root canals is recommended. But we need to address as well the longevity of the tooth and maintain as much as practical the PCD (pericervival dentin) area to reduce fracture risk.
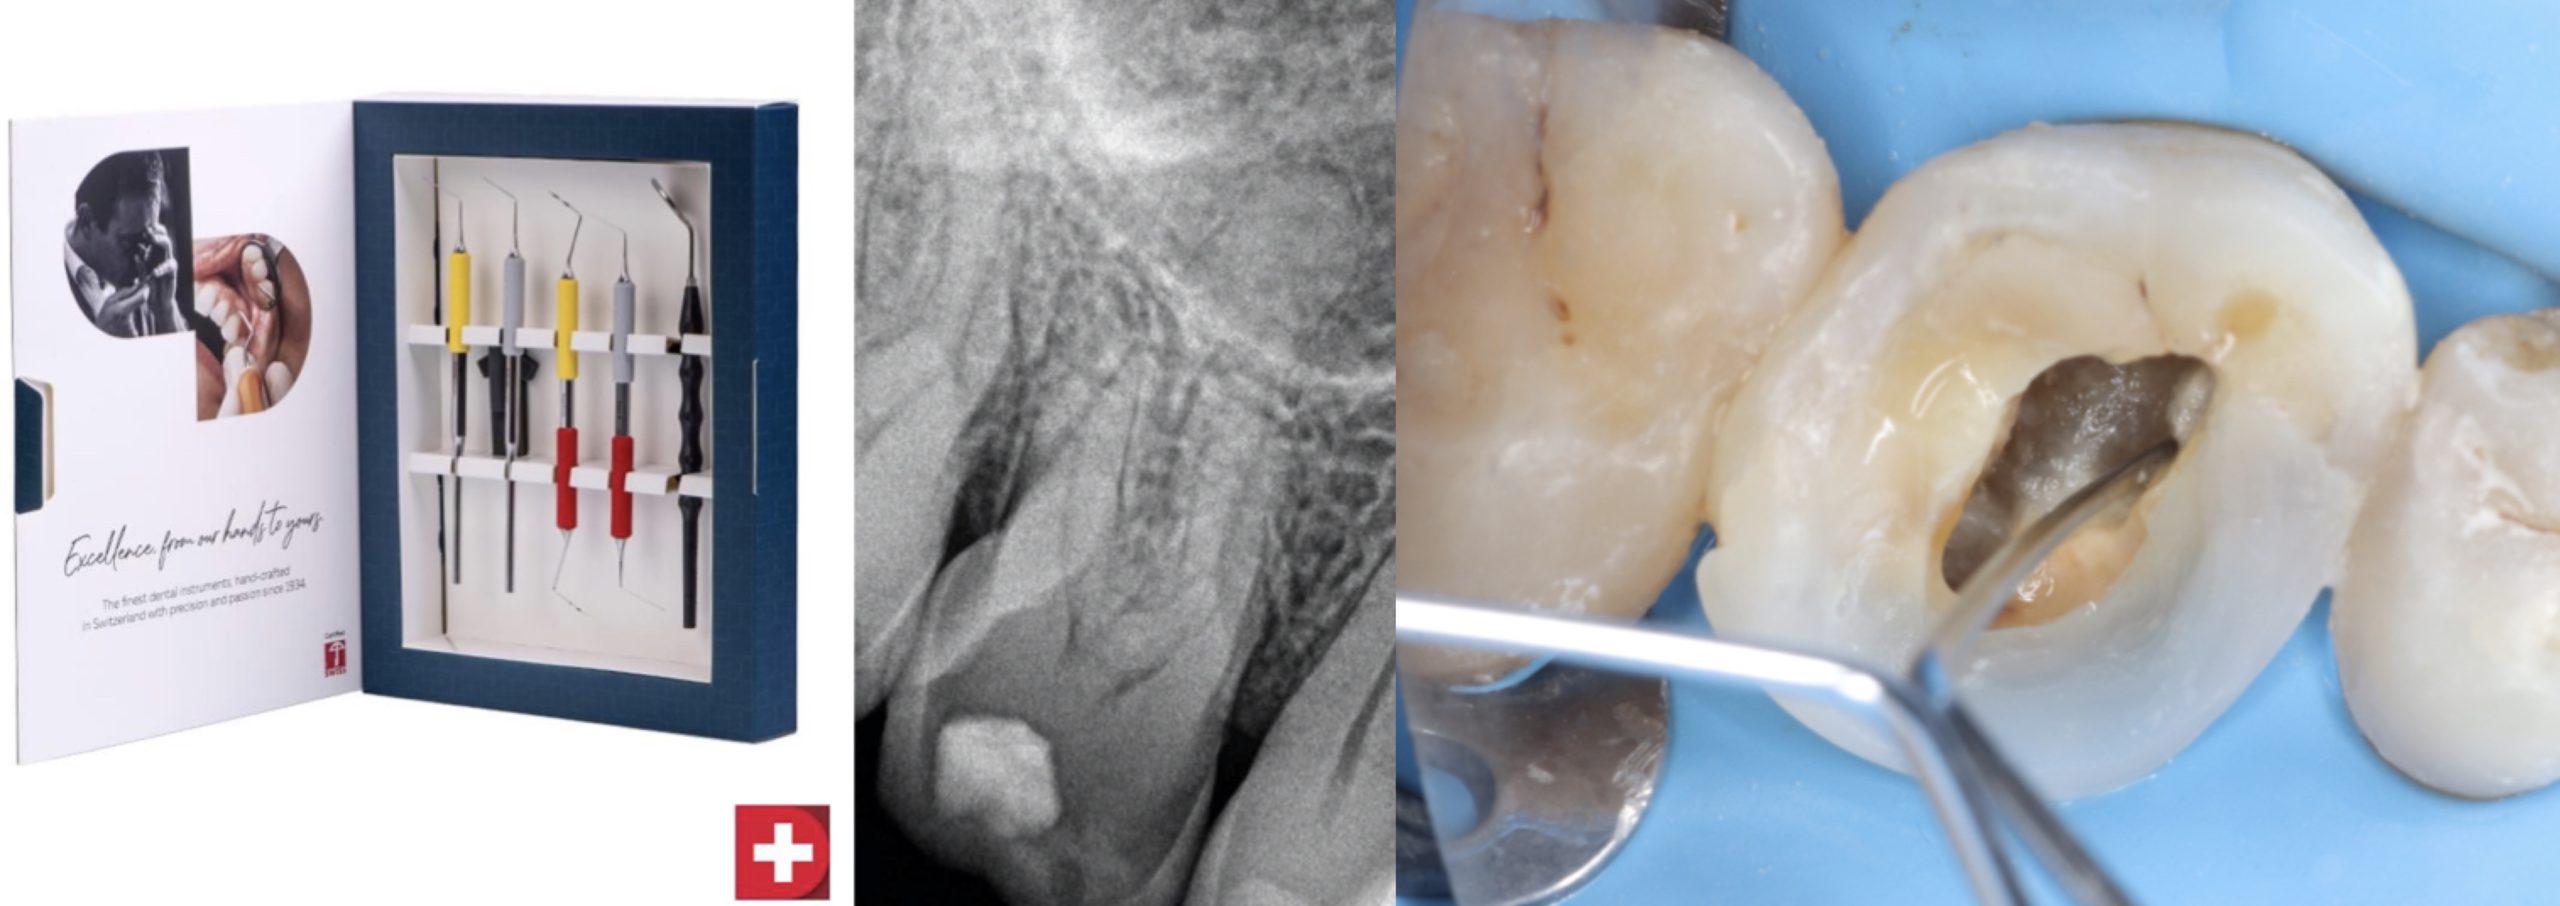
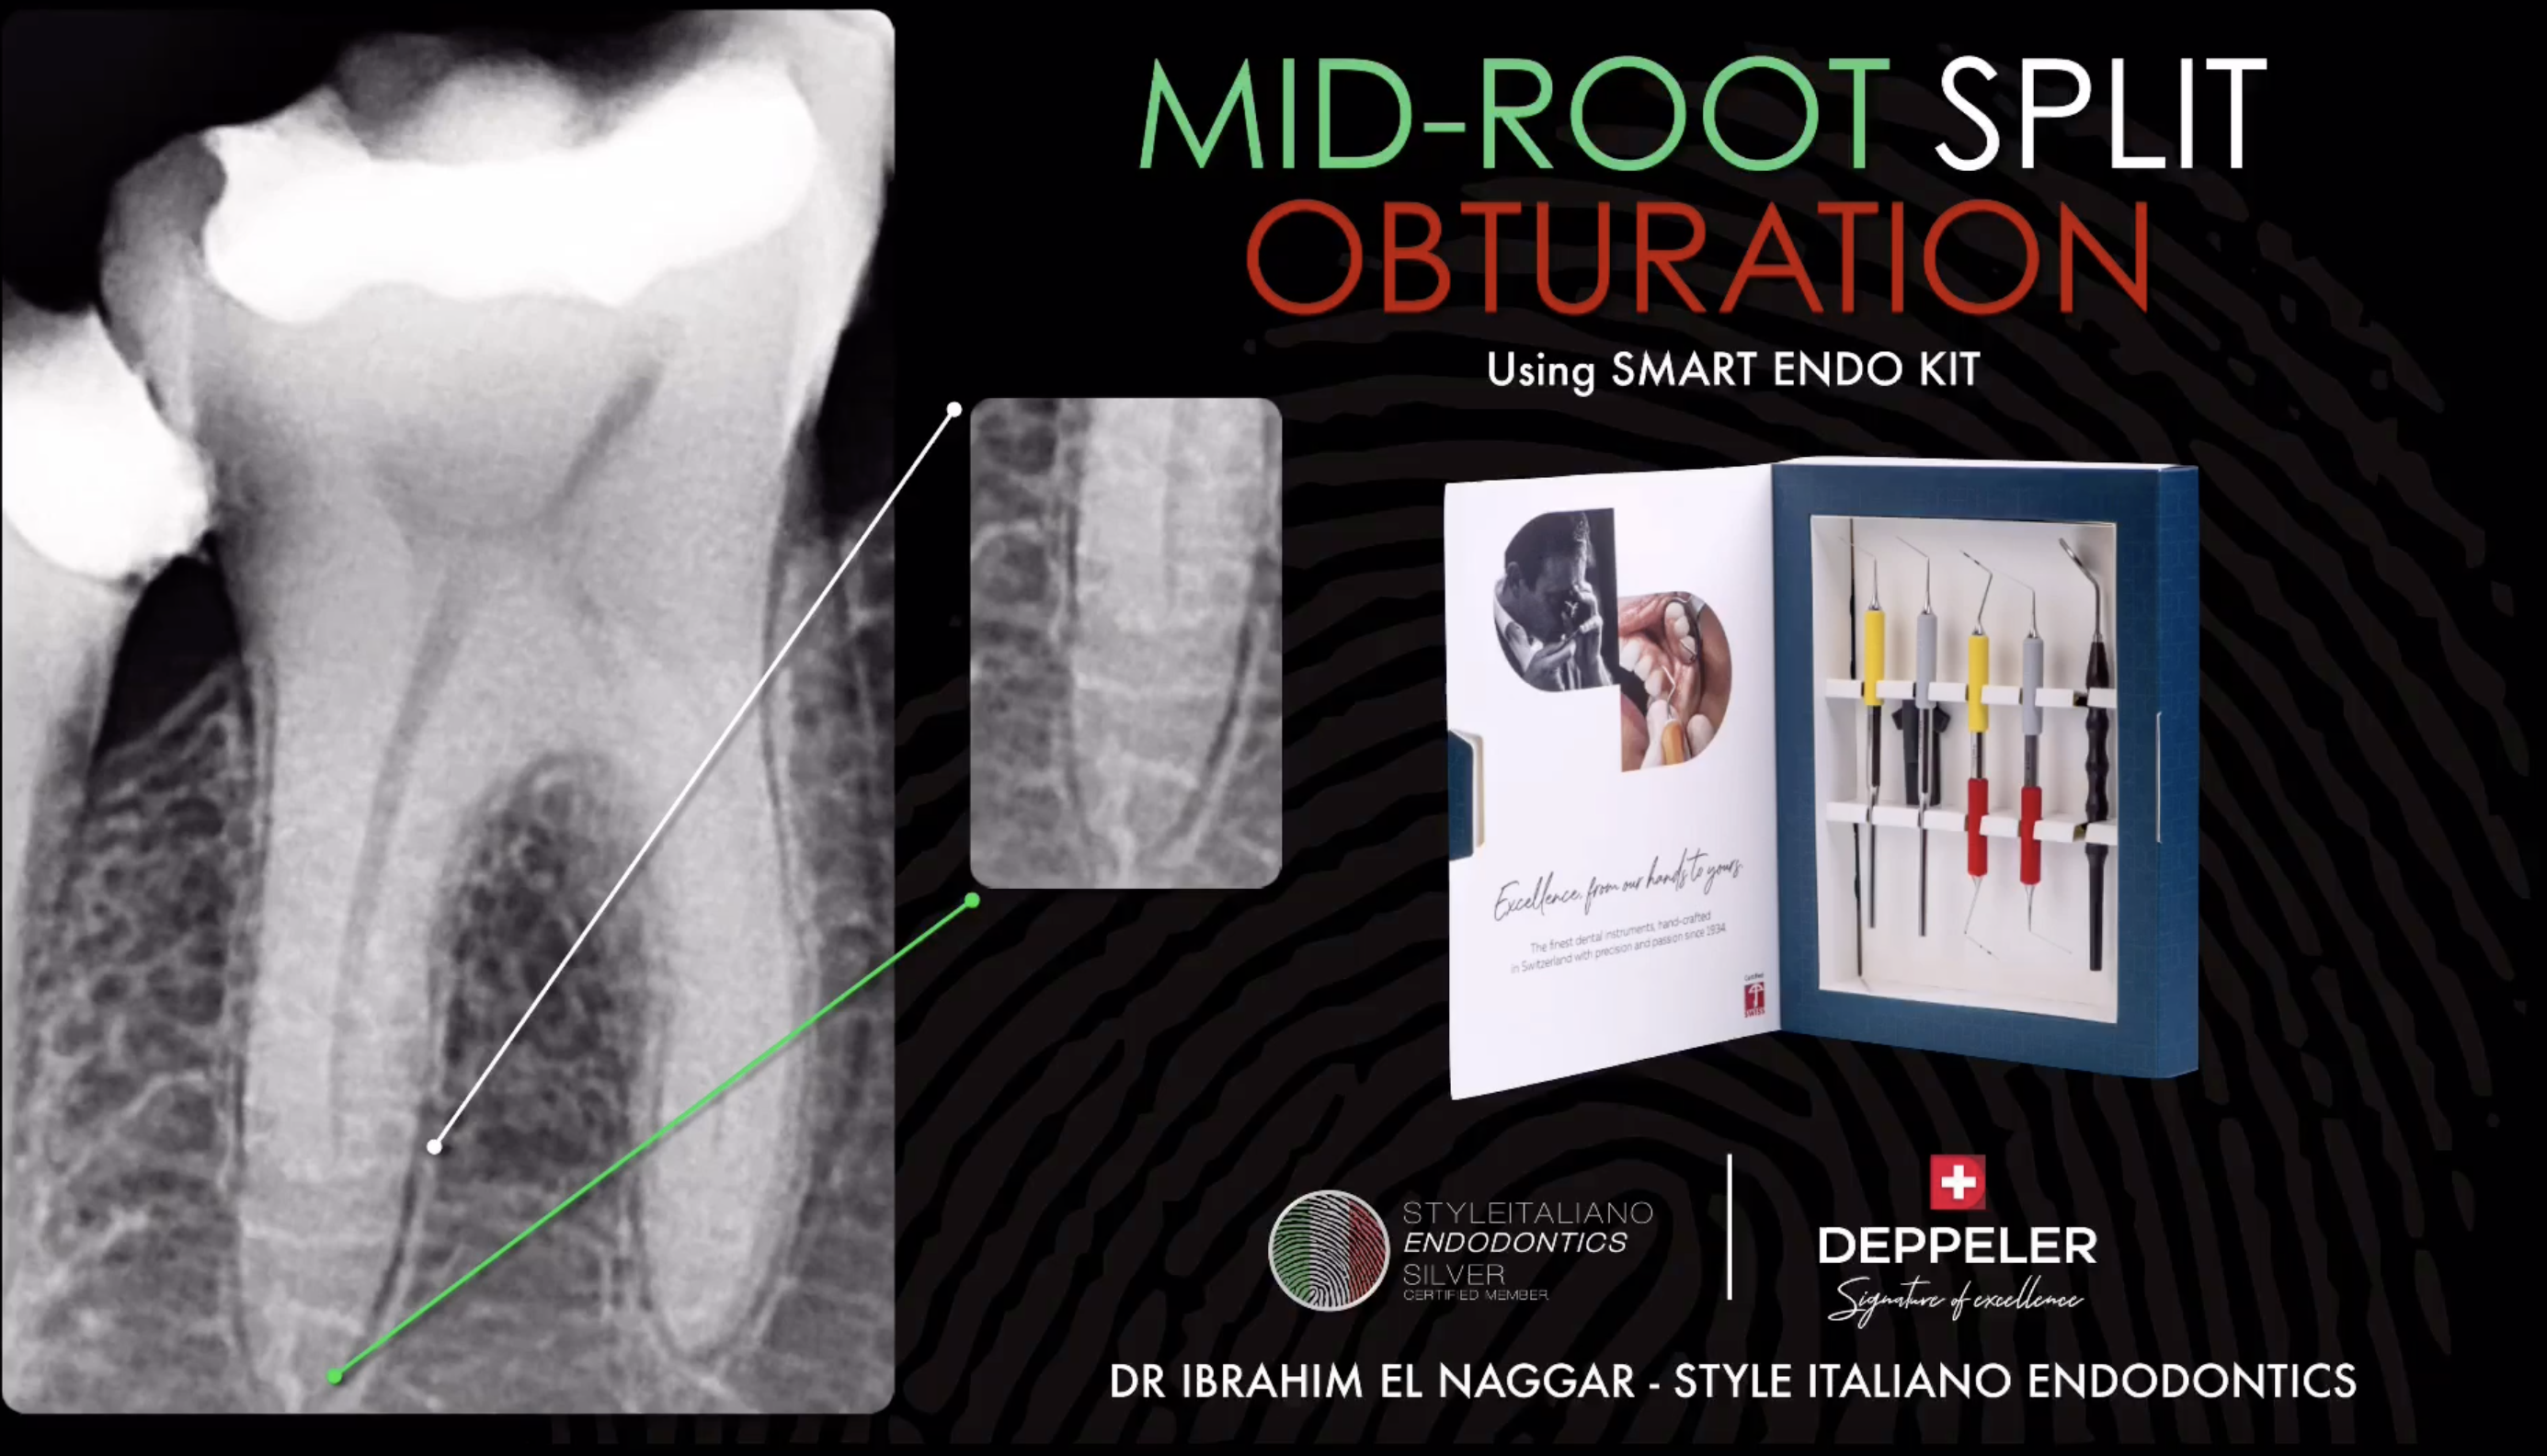
Recently, MISURENDO has been introduced to guide us create good and safe access cavity. This MISURENDO is an instrument that have 2 side. One side is a normal perio probe, and the other side is a probe that can guide us safely to create our access. The marking depth of this MISURENDO for access are 4mm, 6mm, 9mm and 10mm. This number is a guidance for us when we do our penetration phase as the first step in access cavity. This MISURENDO can guide us especially in molar, so we will know the depth of our penetration phase and avoid us from perforation.
These numbers has several meanings:
- 4mm-6mm is a green zone. It means we are arriving somewhere from the roof of pulp chamber to the floor. So, if we already reach this depth we should already feel the vacuum sensation of the pulp chamber.
- 6mm-9mm is a yellow zone. It means that might already pass the floor of the pulp chamber. So, if we arrived at this depth and not yet has the vacuum sensation we need to confirm our location using radiograph.
- 9mm-10mm is a red zone. It means we already create a furcal perforation. So, this depth must be avoided
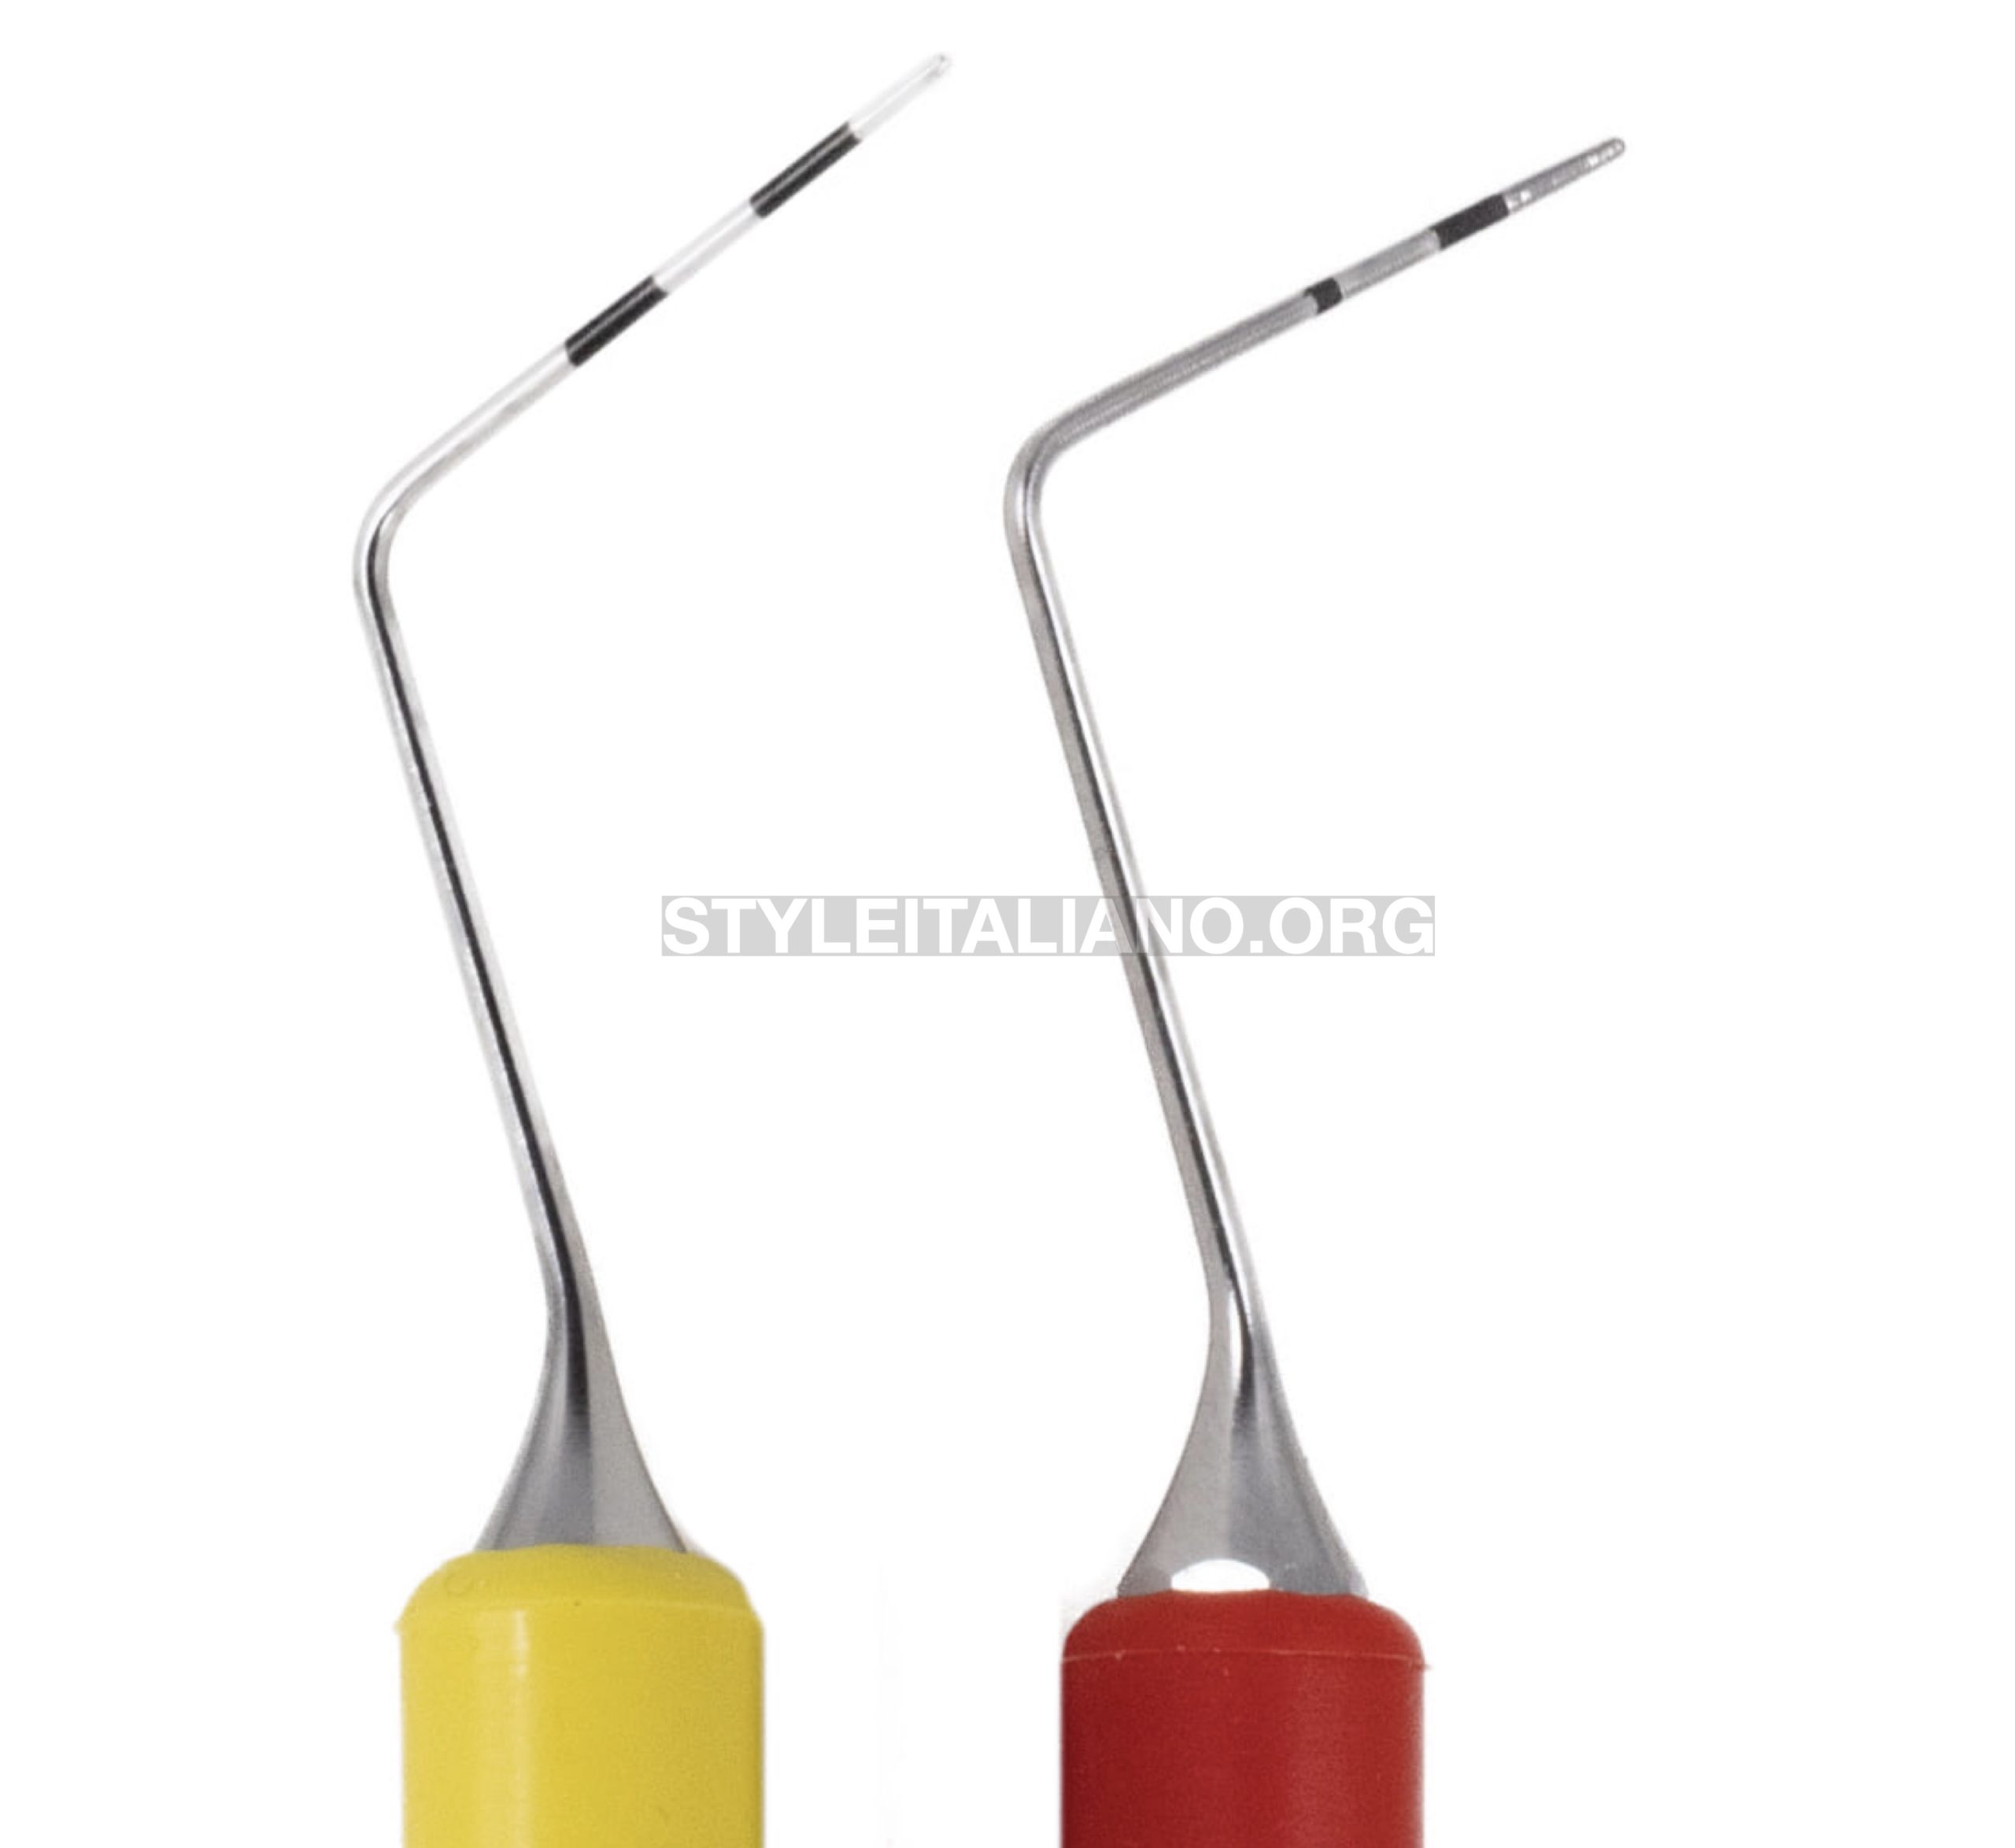
Fig. 1
Misurendo is a double sided instrument with regular perio probe on one side and special probe for endodontic access cavity
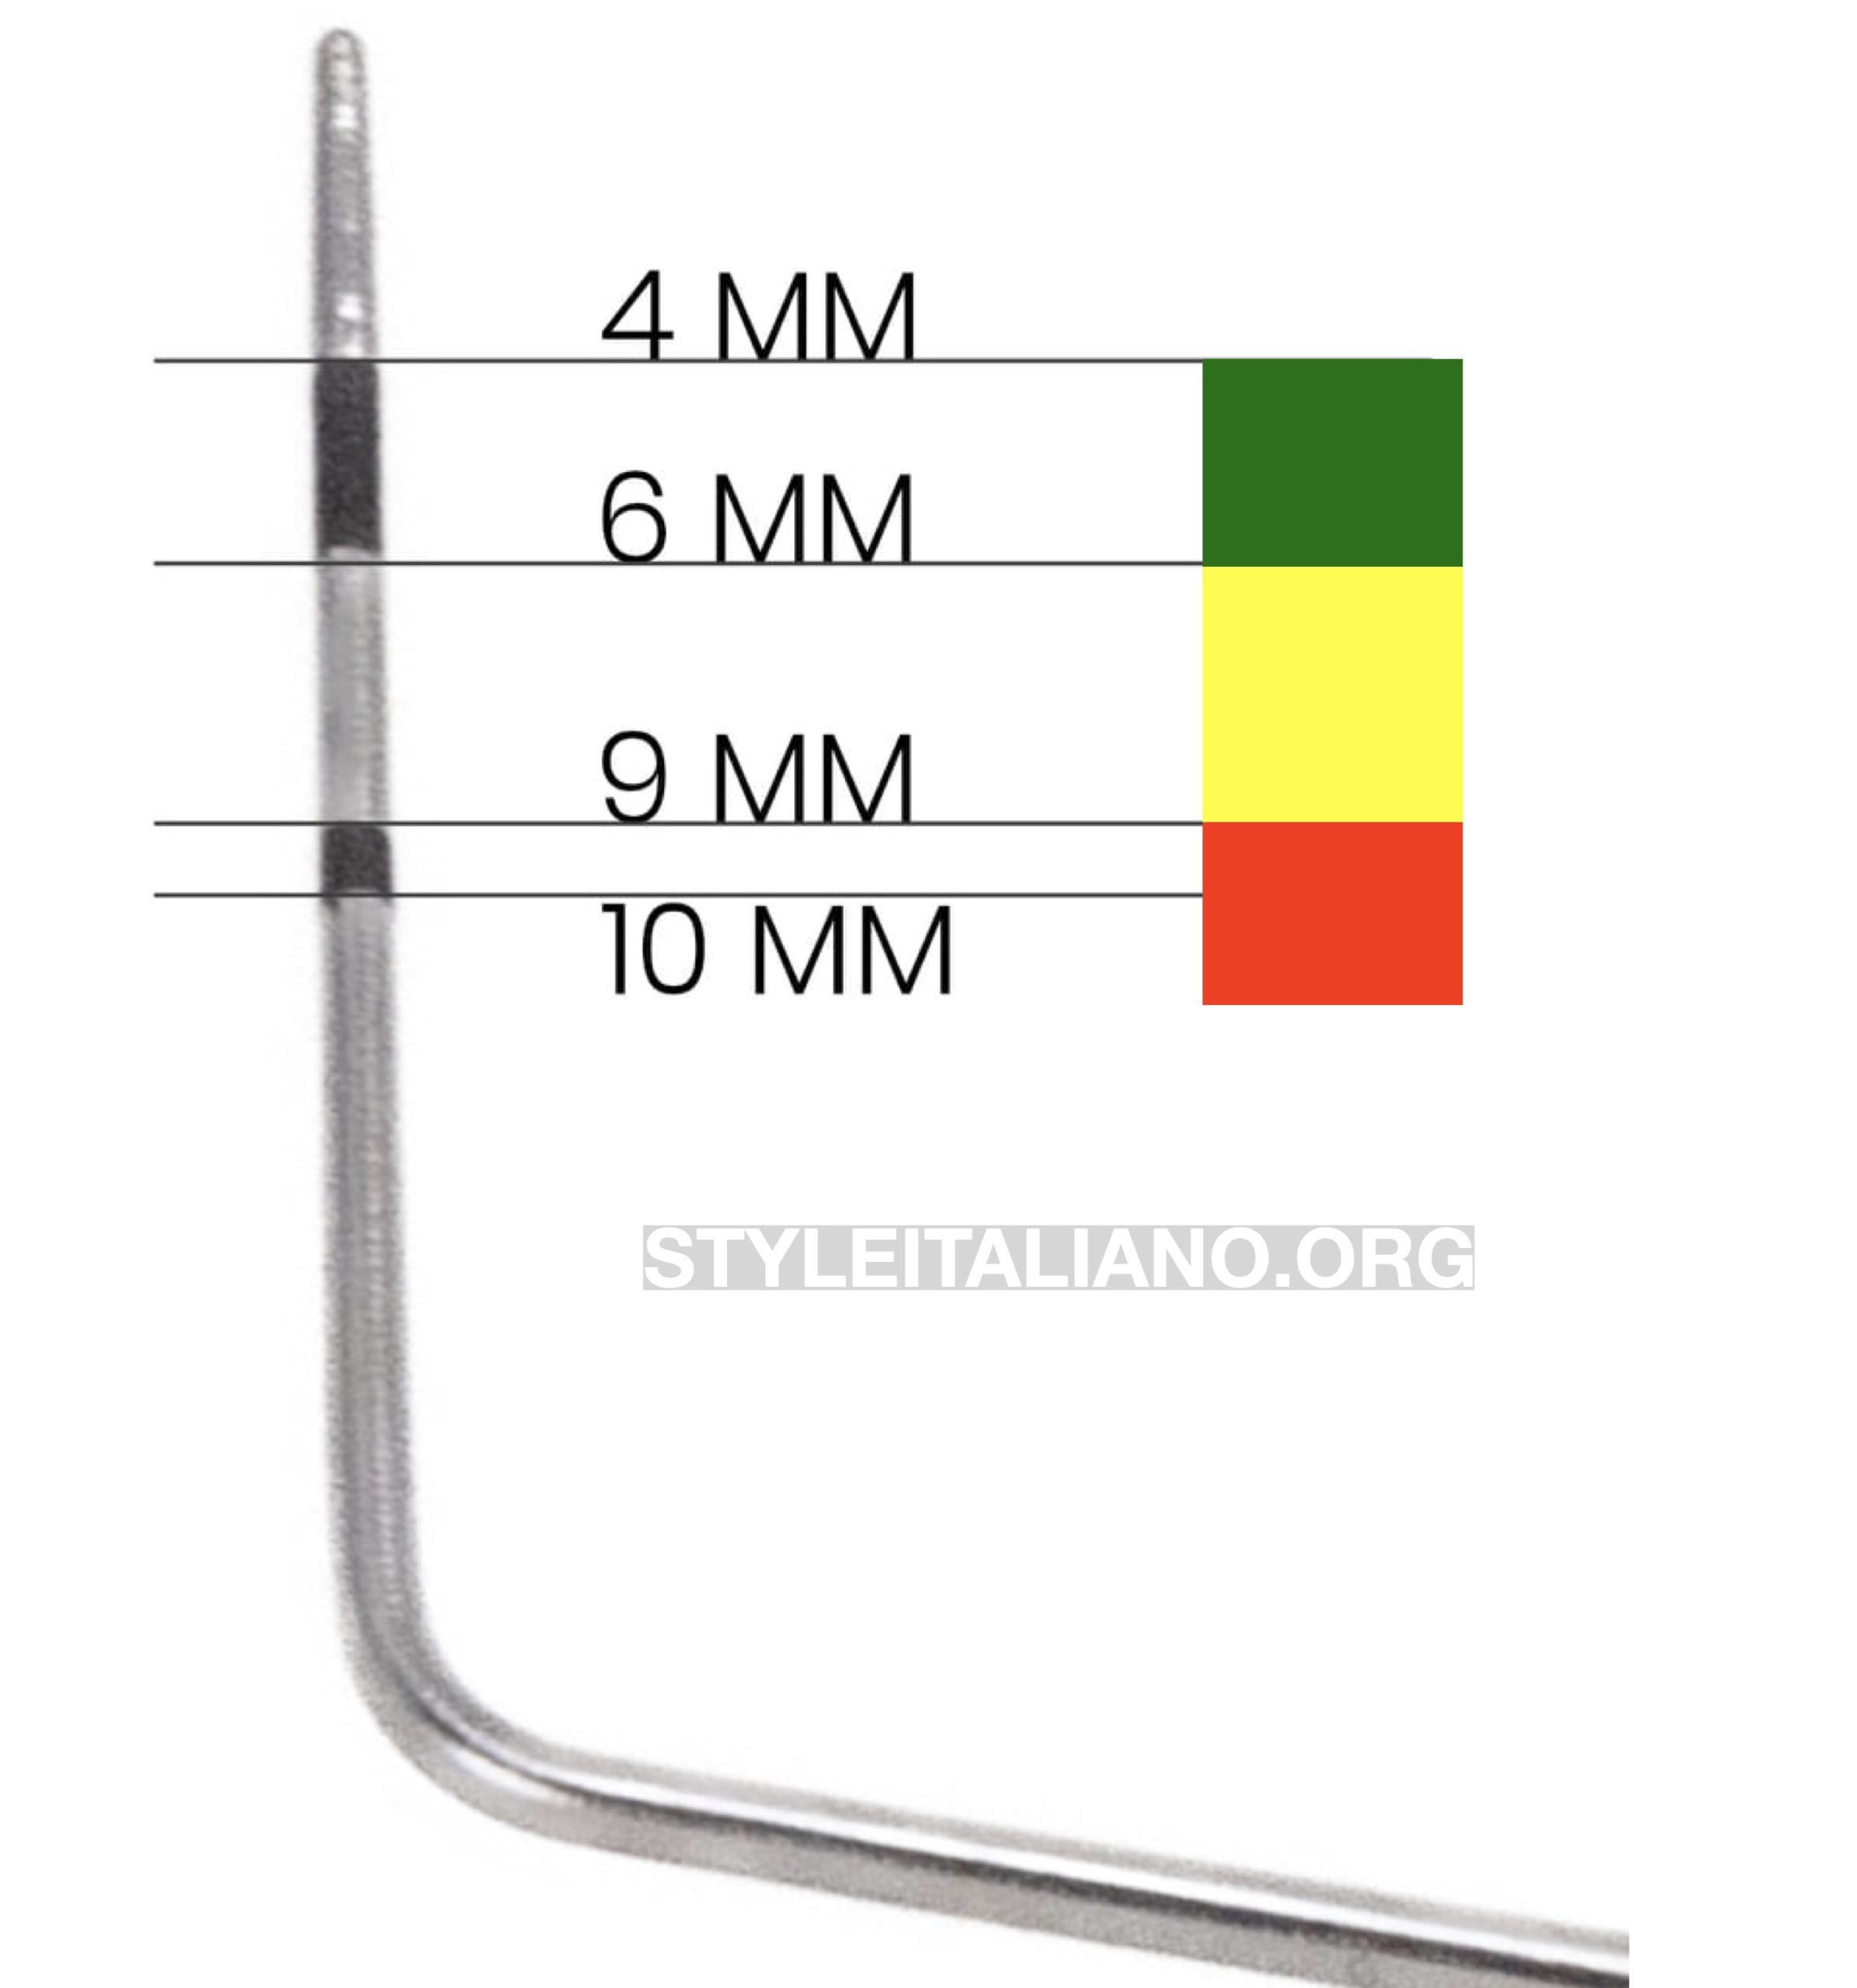
Fig. 2
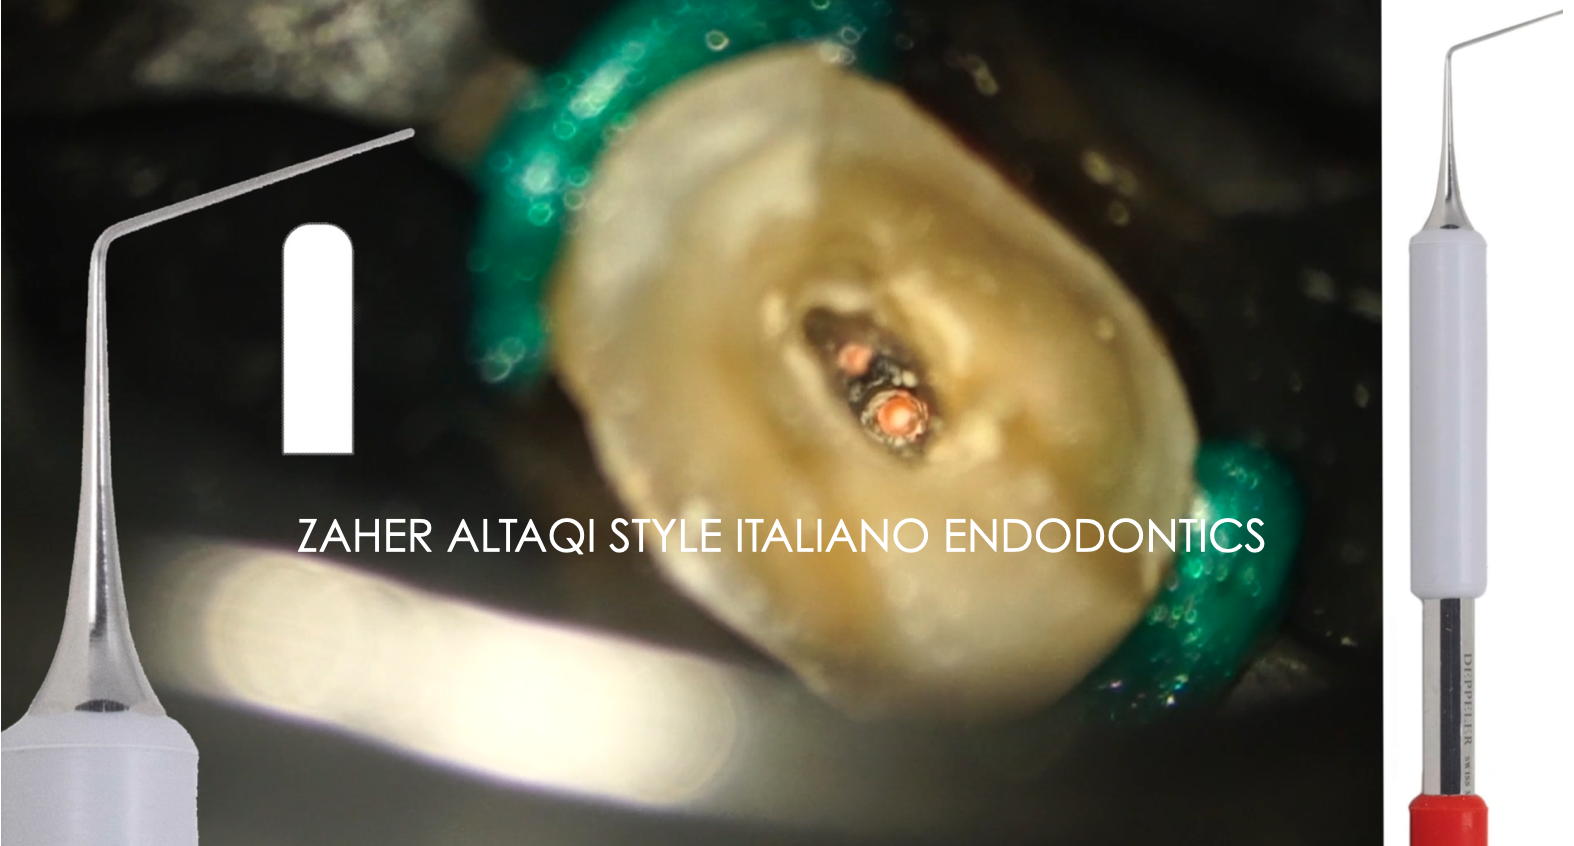
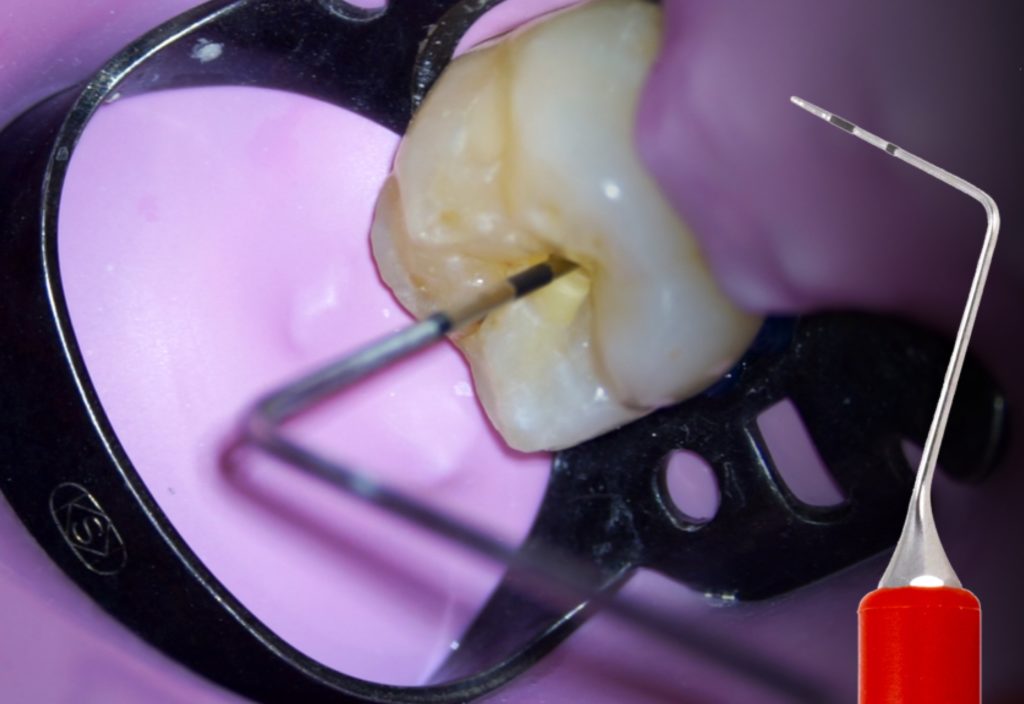
Special probe for endodontic access cavity in Misurendo showed the depth of 4-6mm and 9-10mm.
- 4-6mm is a green zone. Reaching this depth we should reach the chamber’s roof / chamber / chamber’s floor
- 6-9mm is a yellow zone. Reaching this depth we should be careful and make confirmation X-ray of where we are
- 9-10mm is a red zone. We should not reach this depth
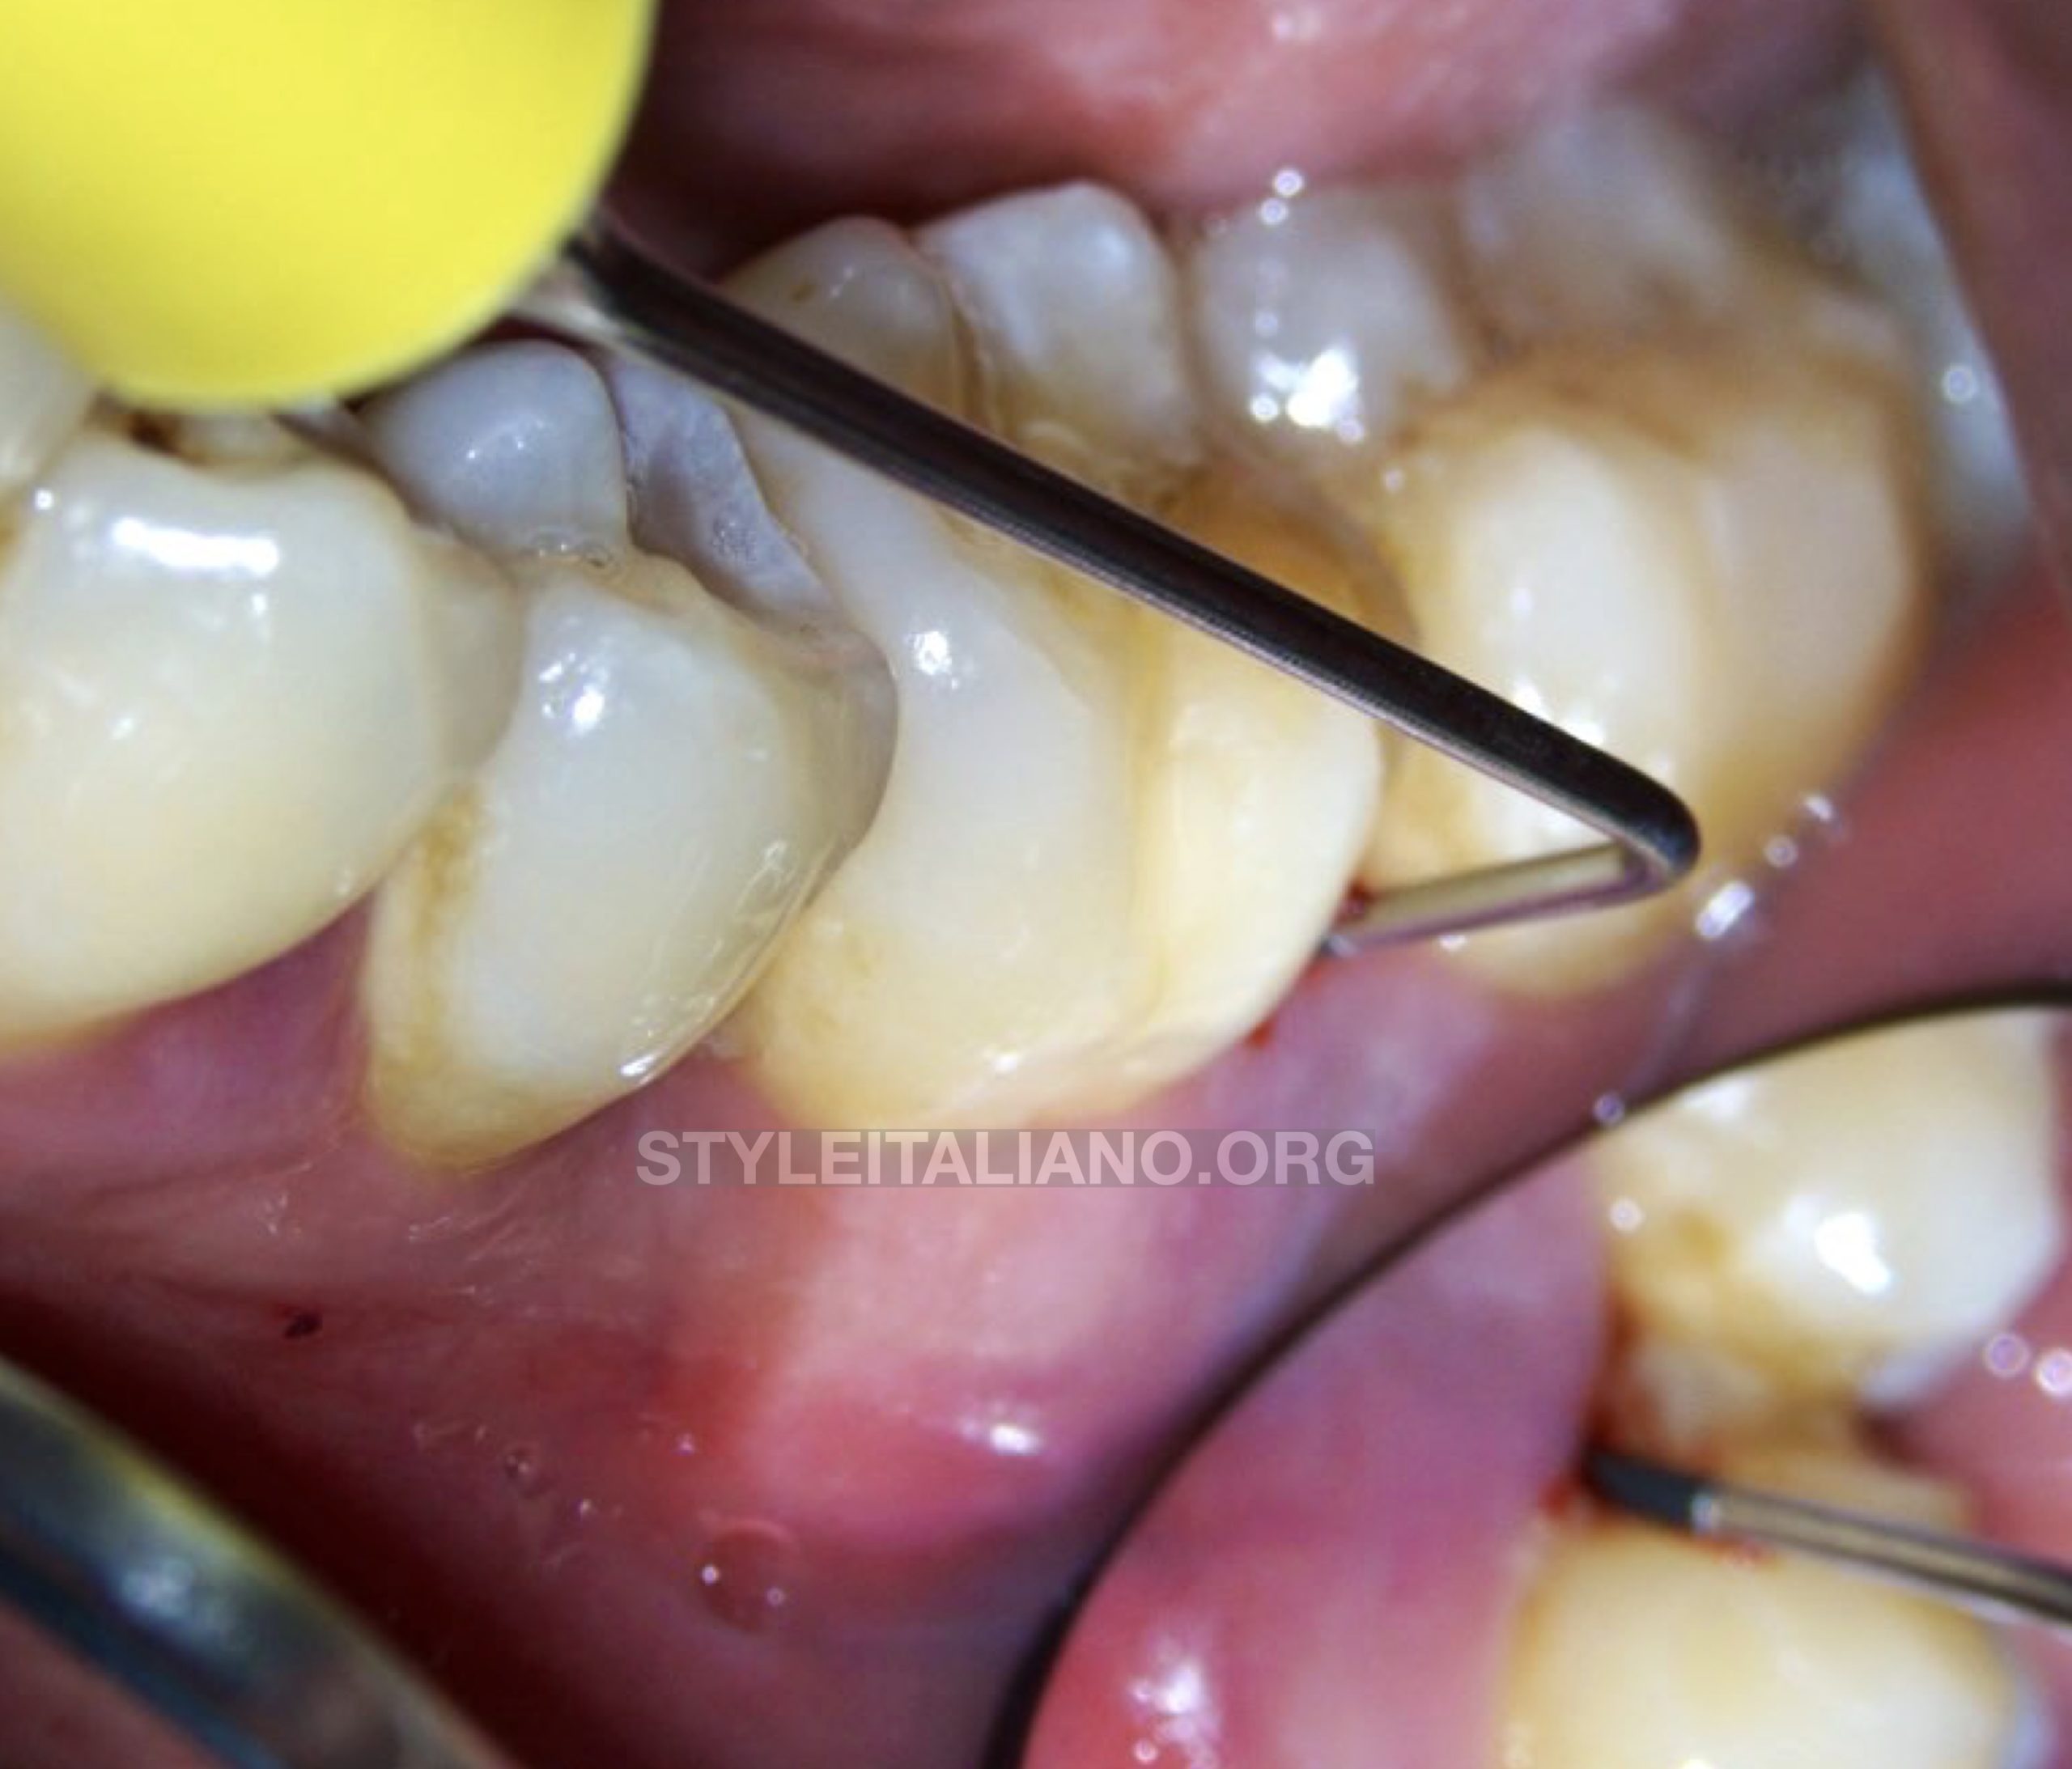
Fig. 3
A patient came with main complaint of sharp pain on his lower left. This pain comes when he drink just regular water up to a point that he can’t use left side to eat or to drink. And this condition is torturing him.
Clinical findings:
- Tooth 36 was tender to percussion
- Cold test +++
- Mobility +2
- No sign of cavity
- Probing depth (using MISURENDO was very deep, more than 15mm)
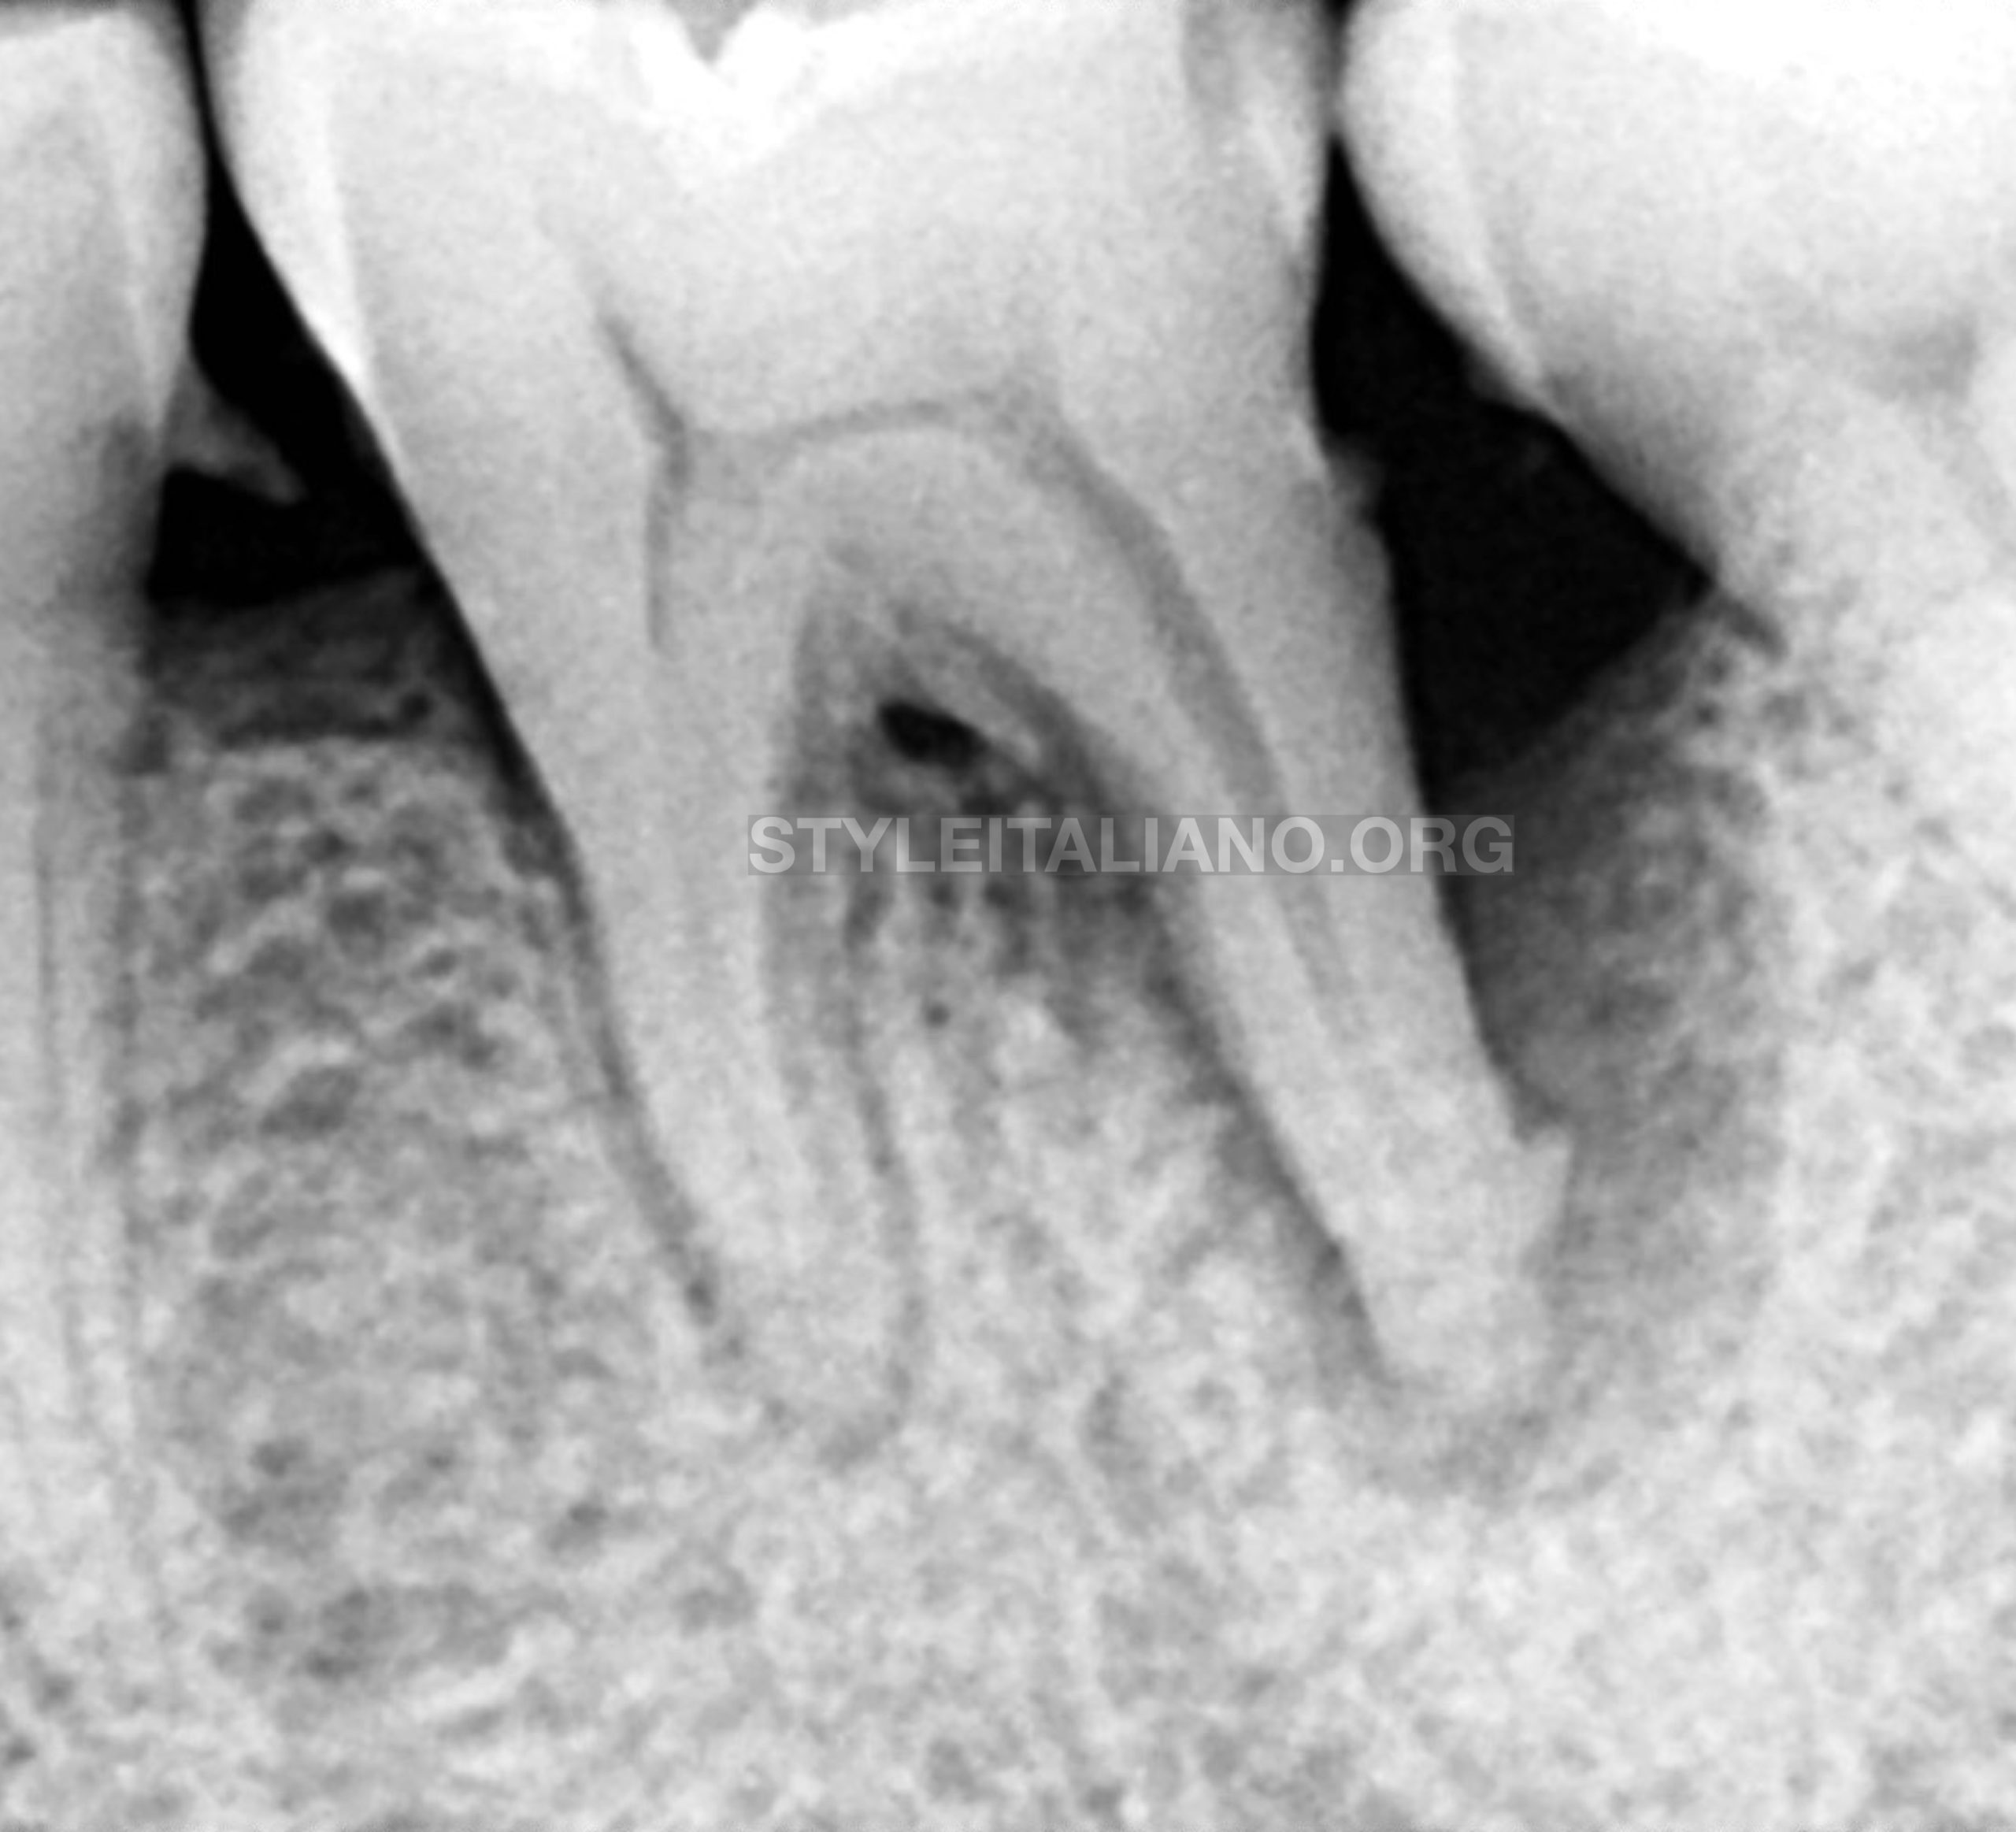
Fig. 4
From pre-op radiograph findings:
- Big lesion on distal root (J-shape lookalike lesion)
- No proximal caries
After receiving information about his tooth condition based from both clinical and radiographic point of view, patient agreed to perform root canal treatment on tooth 36 to relieve his pain.
He also understood that based on radiographic findings, the possibility of vertical root crack in his tooth is unvoidable.
Then endodontic treatment is performed, and access will be made as conservative as practical to save more PCD structure with the help of MISURENDO
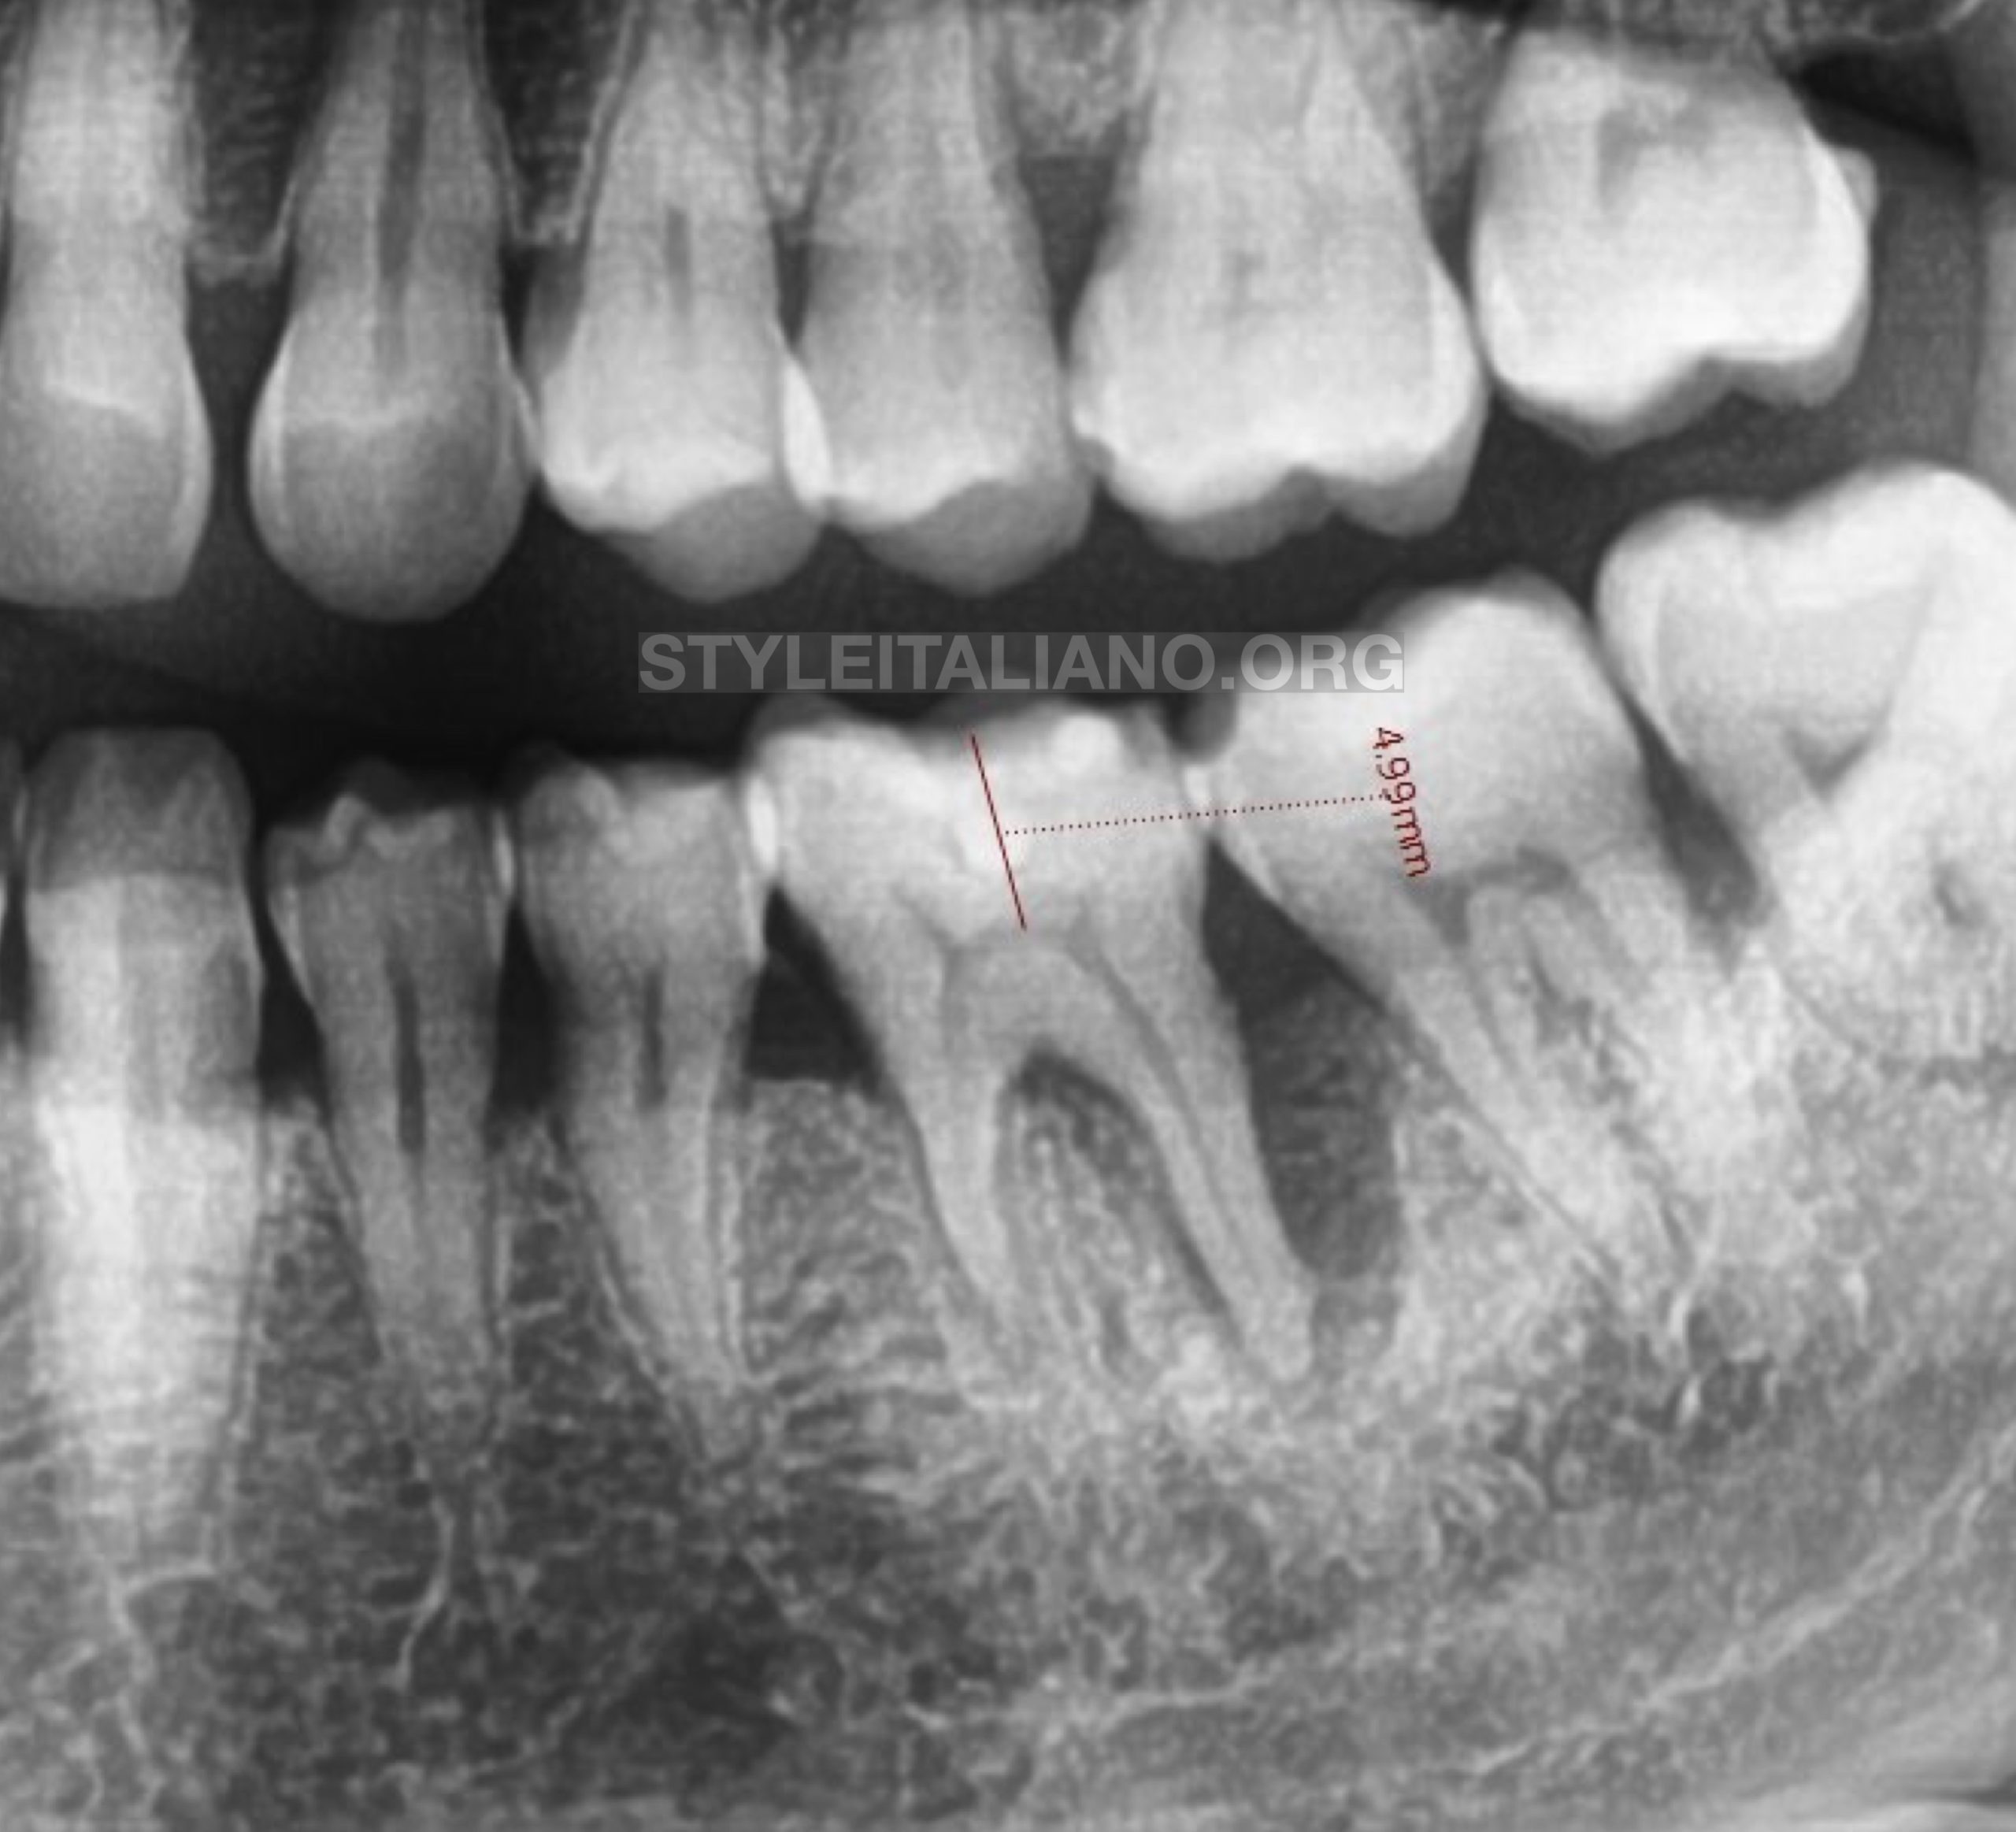
Fig. 5
From our digital software we can measure distance of approx 5mm to reach pulp chamber.
This is exactly like what Misurendo tell us about GREEN zone.
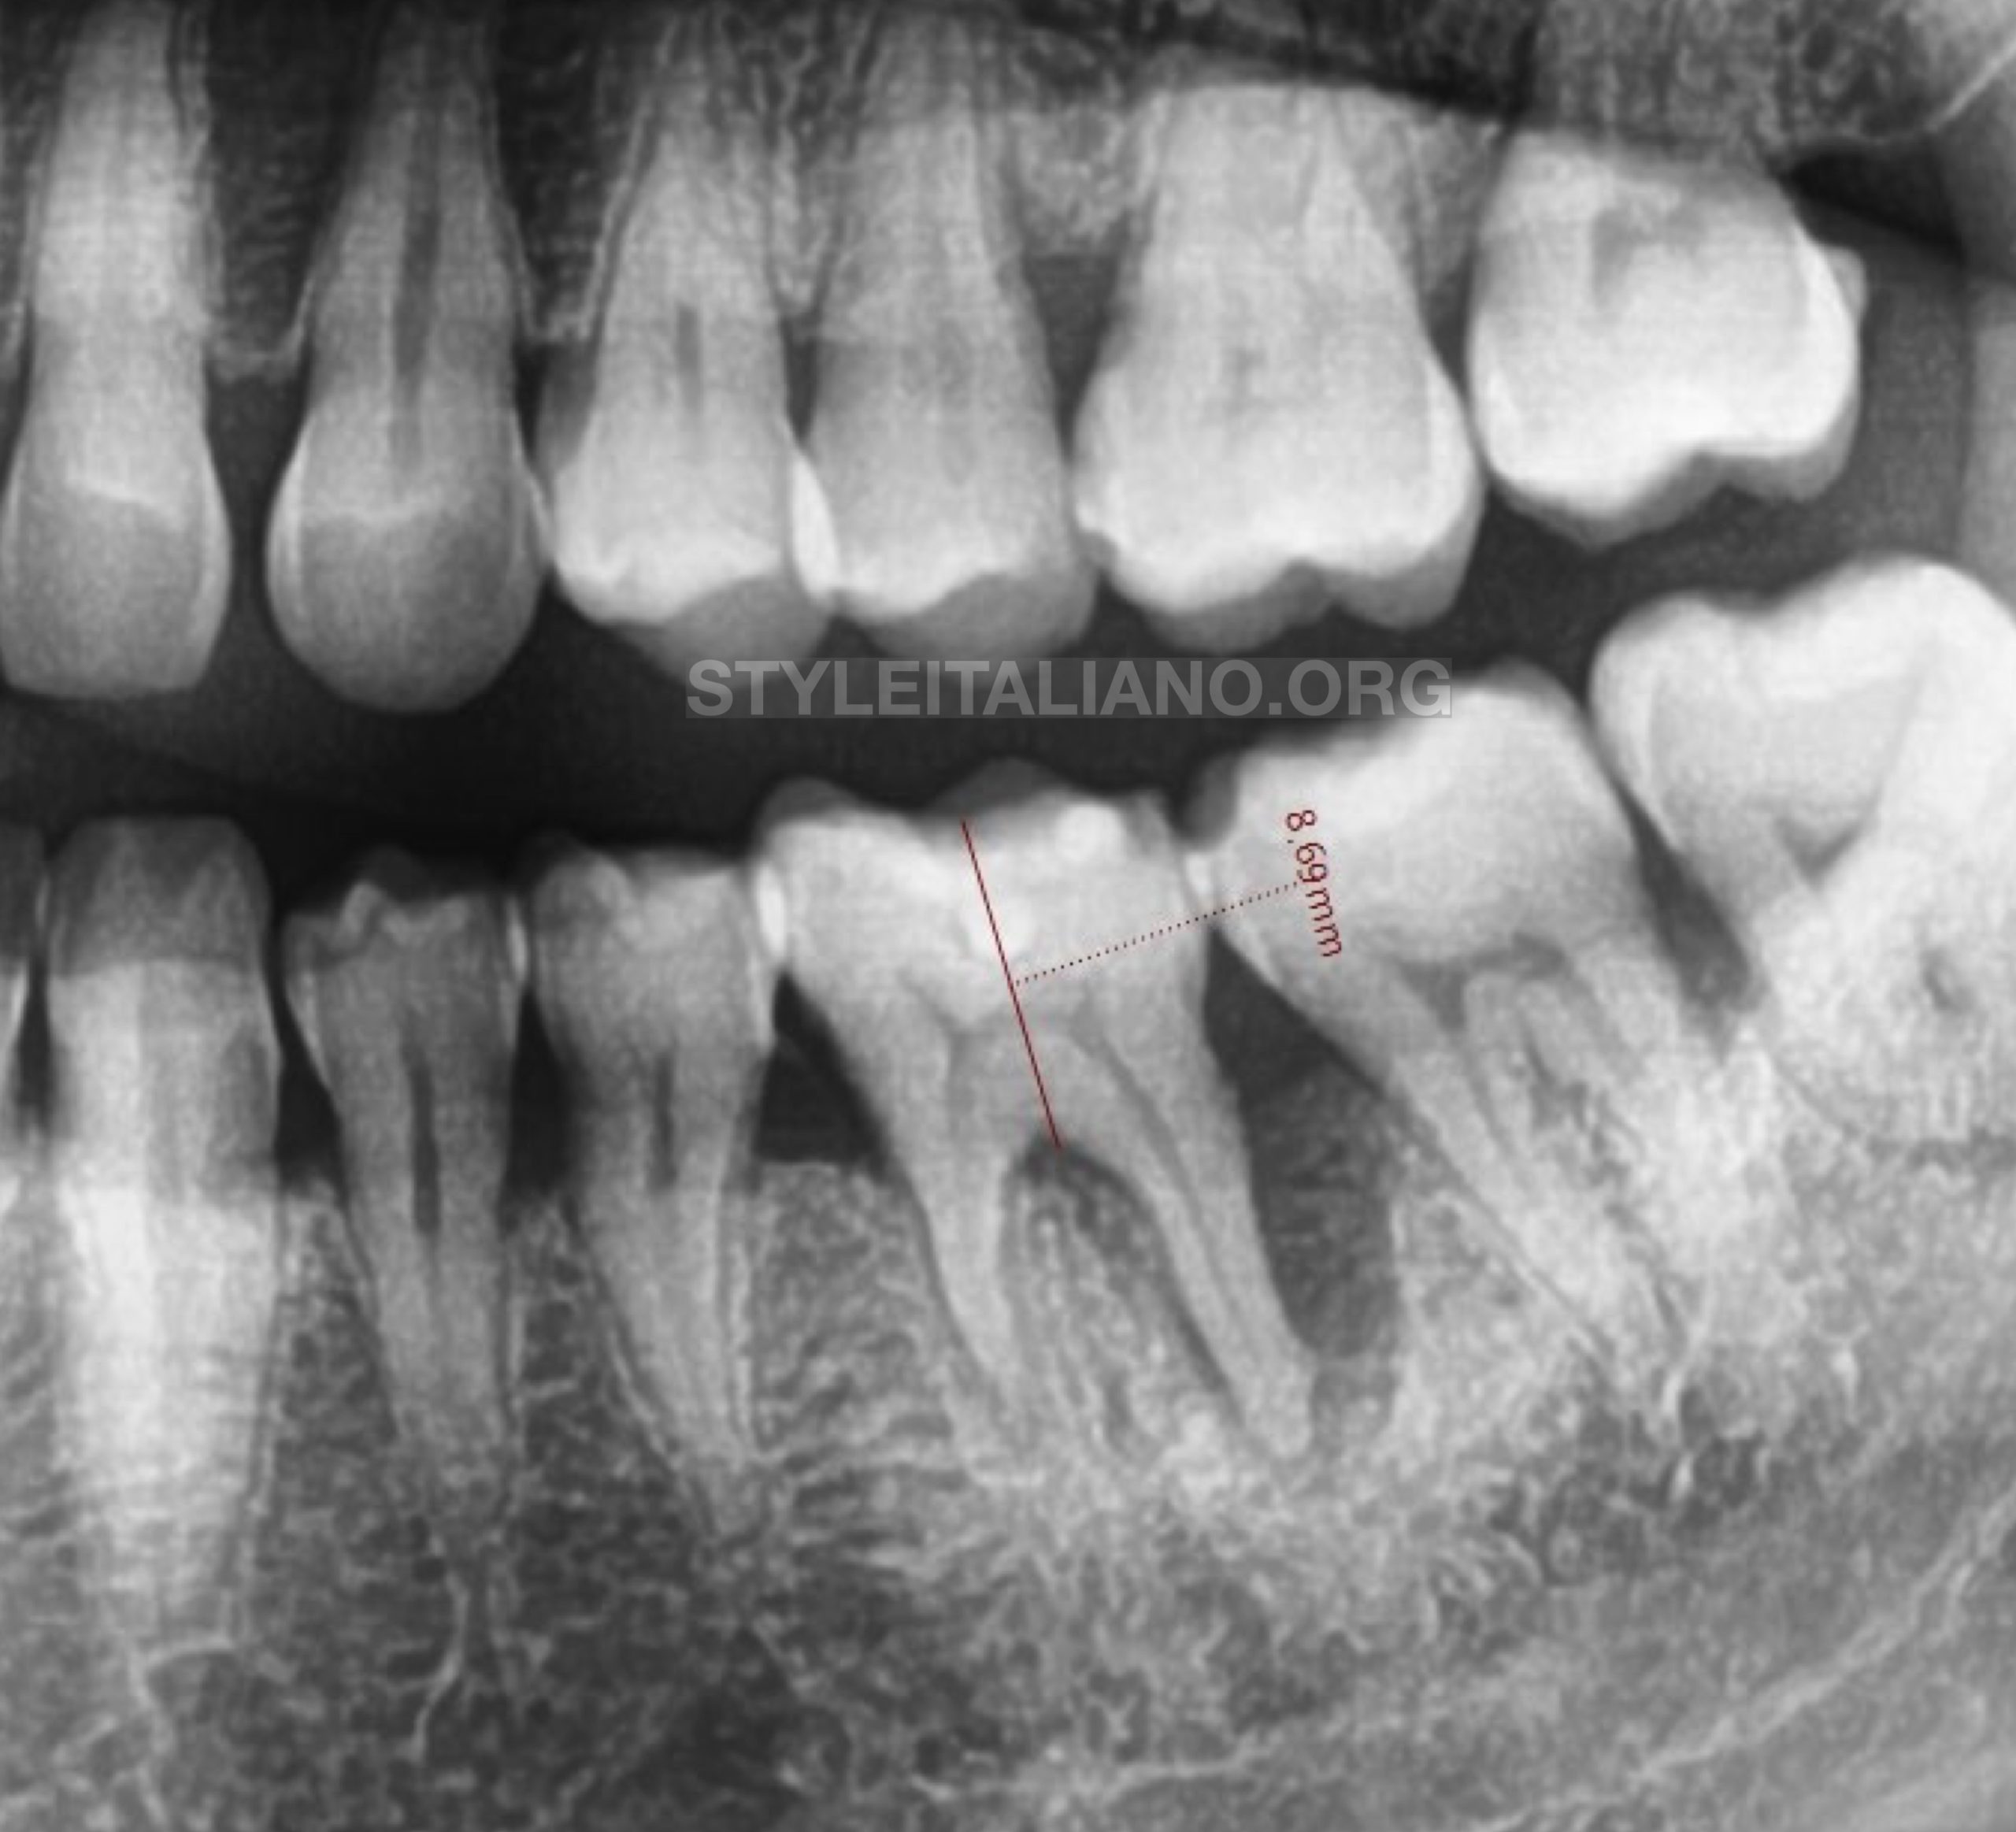
Fig. 6
We can also measure that approx 9 mm it will create perforation.
This is exactly like what Misurendo tell us about RED zone.
How we create access cavity safely with Misurendo and at the same time maintaining PCD structure.
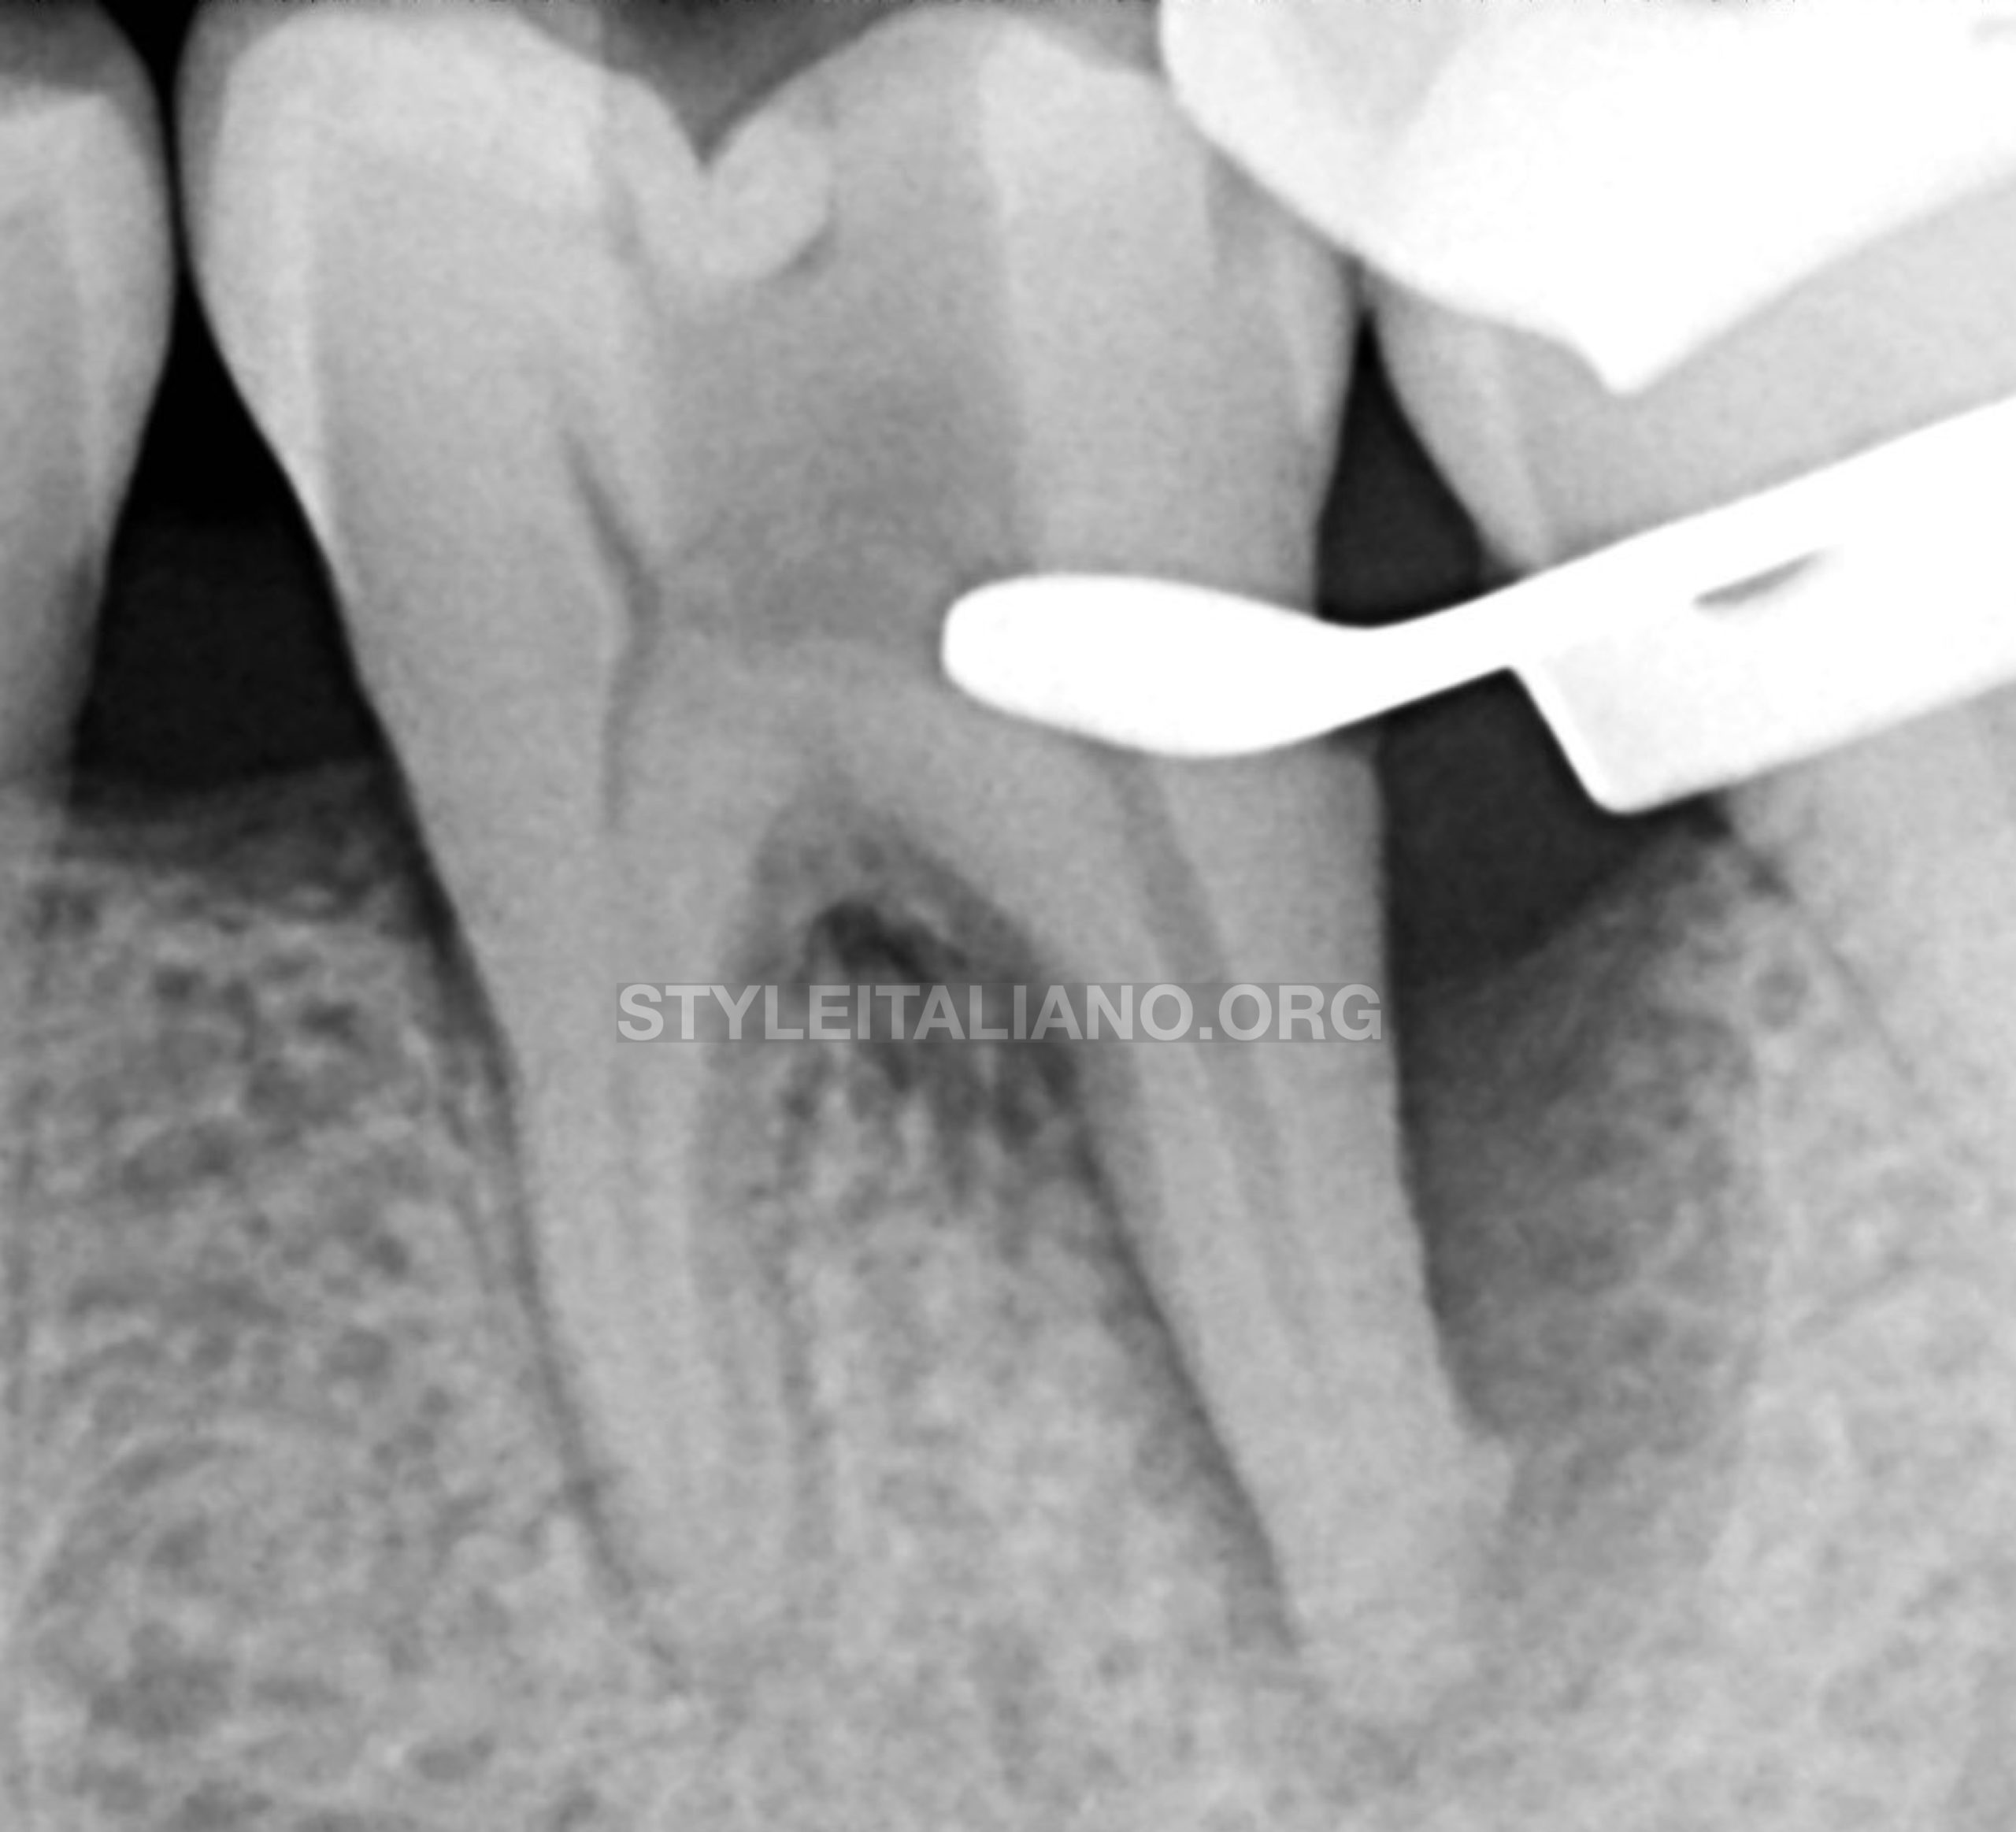
Fig. 7
Endodontic access cavity with the help of Misurendo.
We can still maintain PCD structure yet have a good visibility
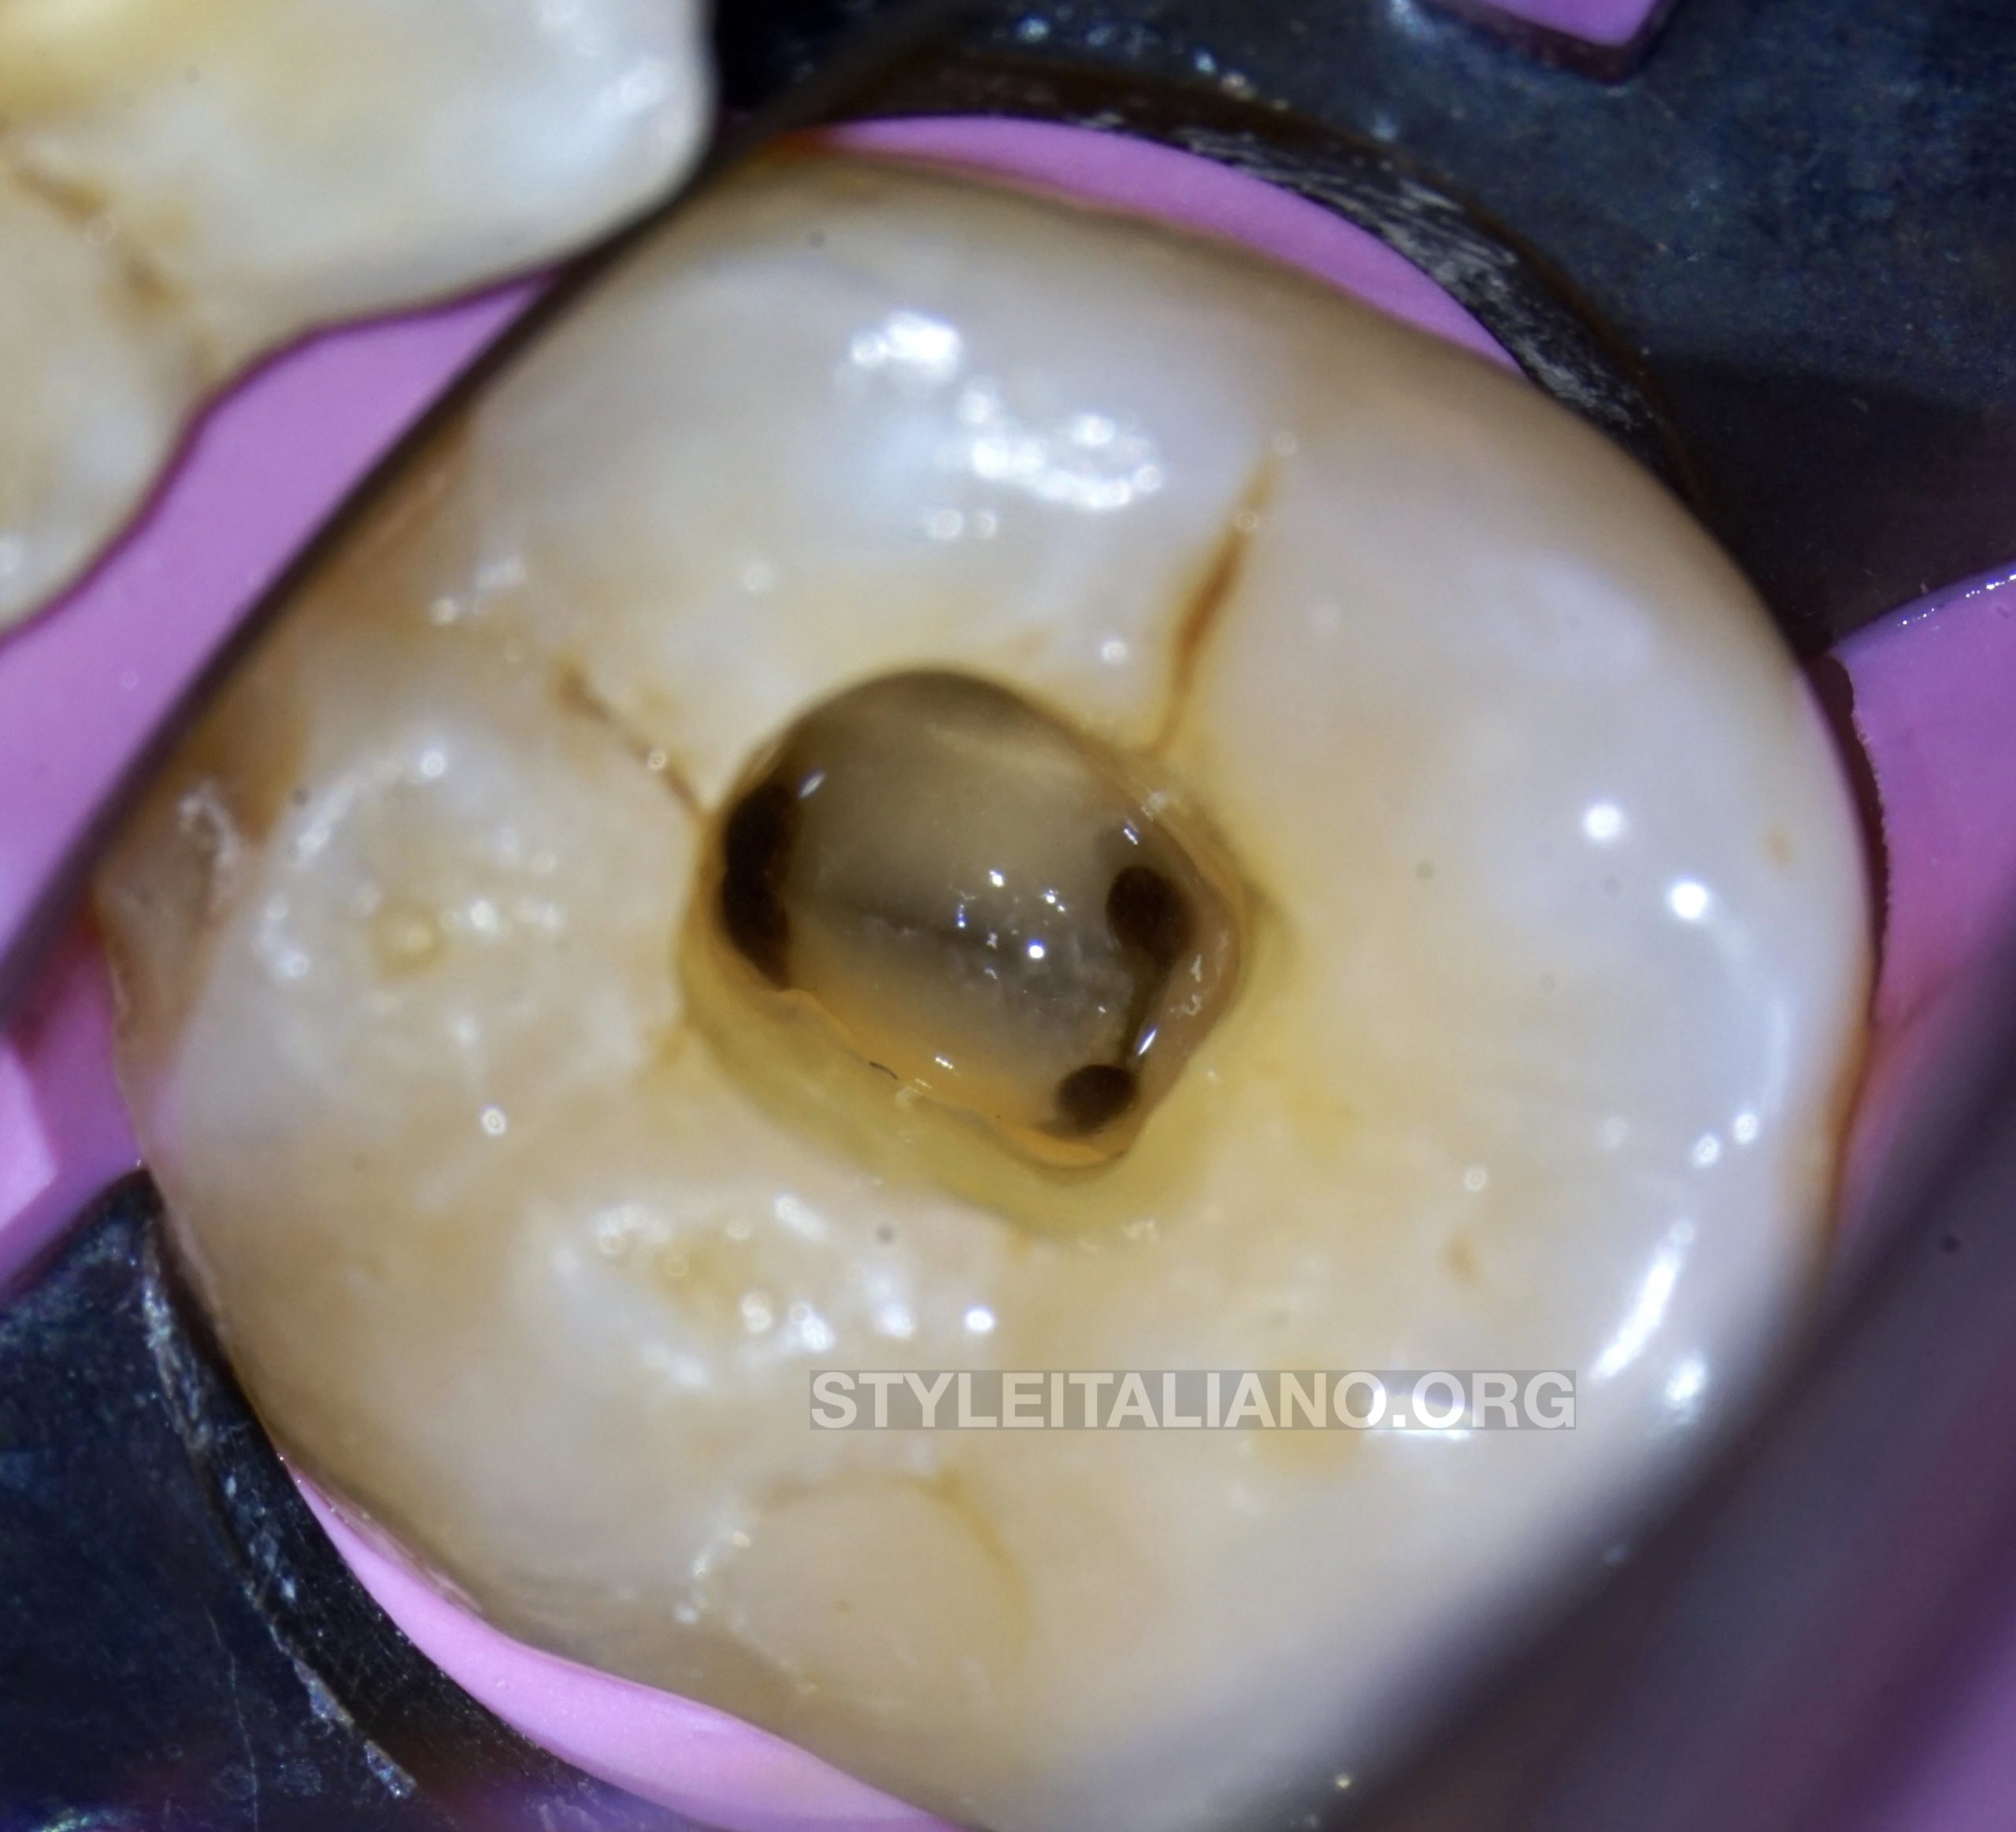
Fig. 8
Endodontic access cavity with the help of Misurendo.
We can still maintain PCD structure yet have a good visibility
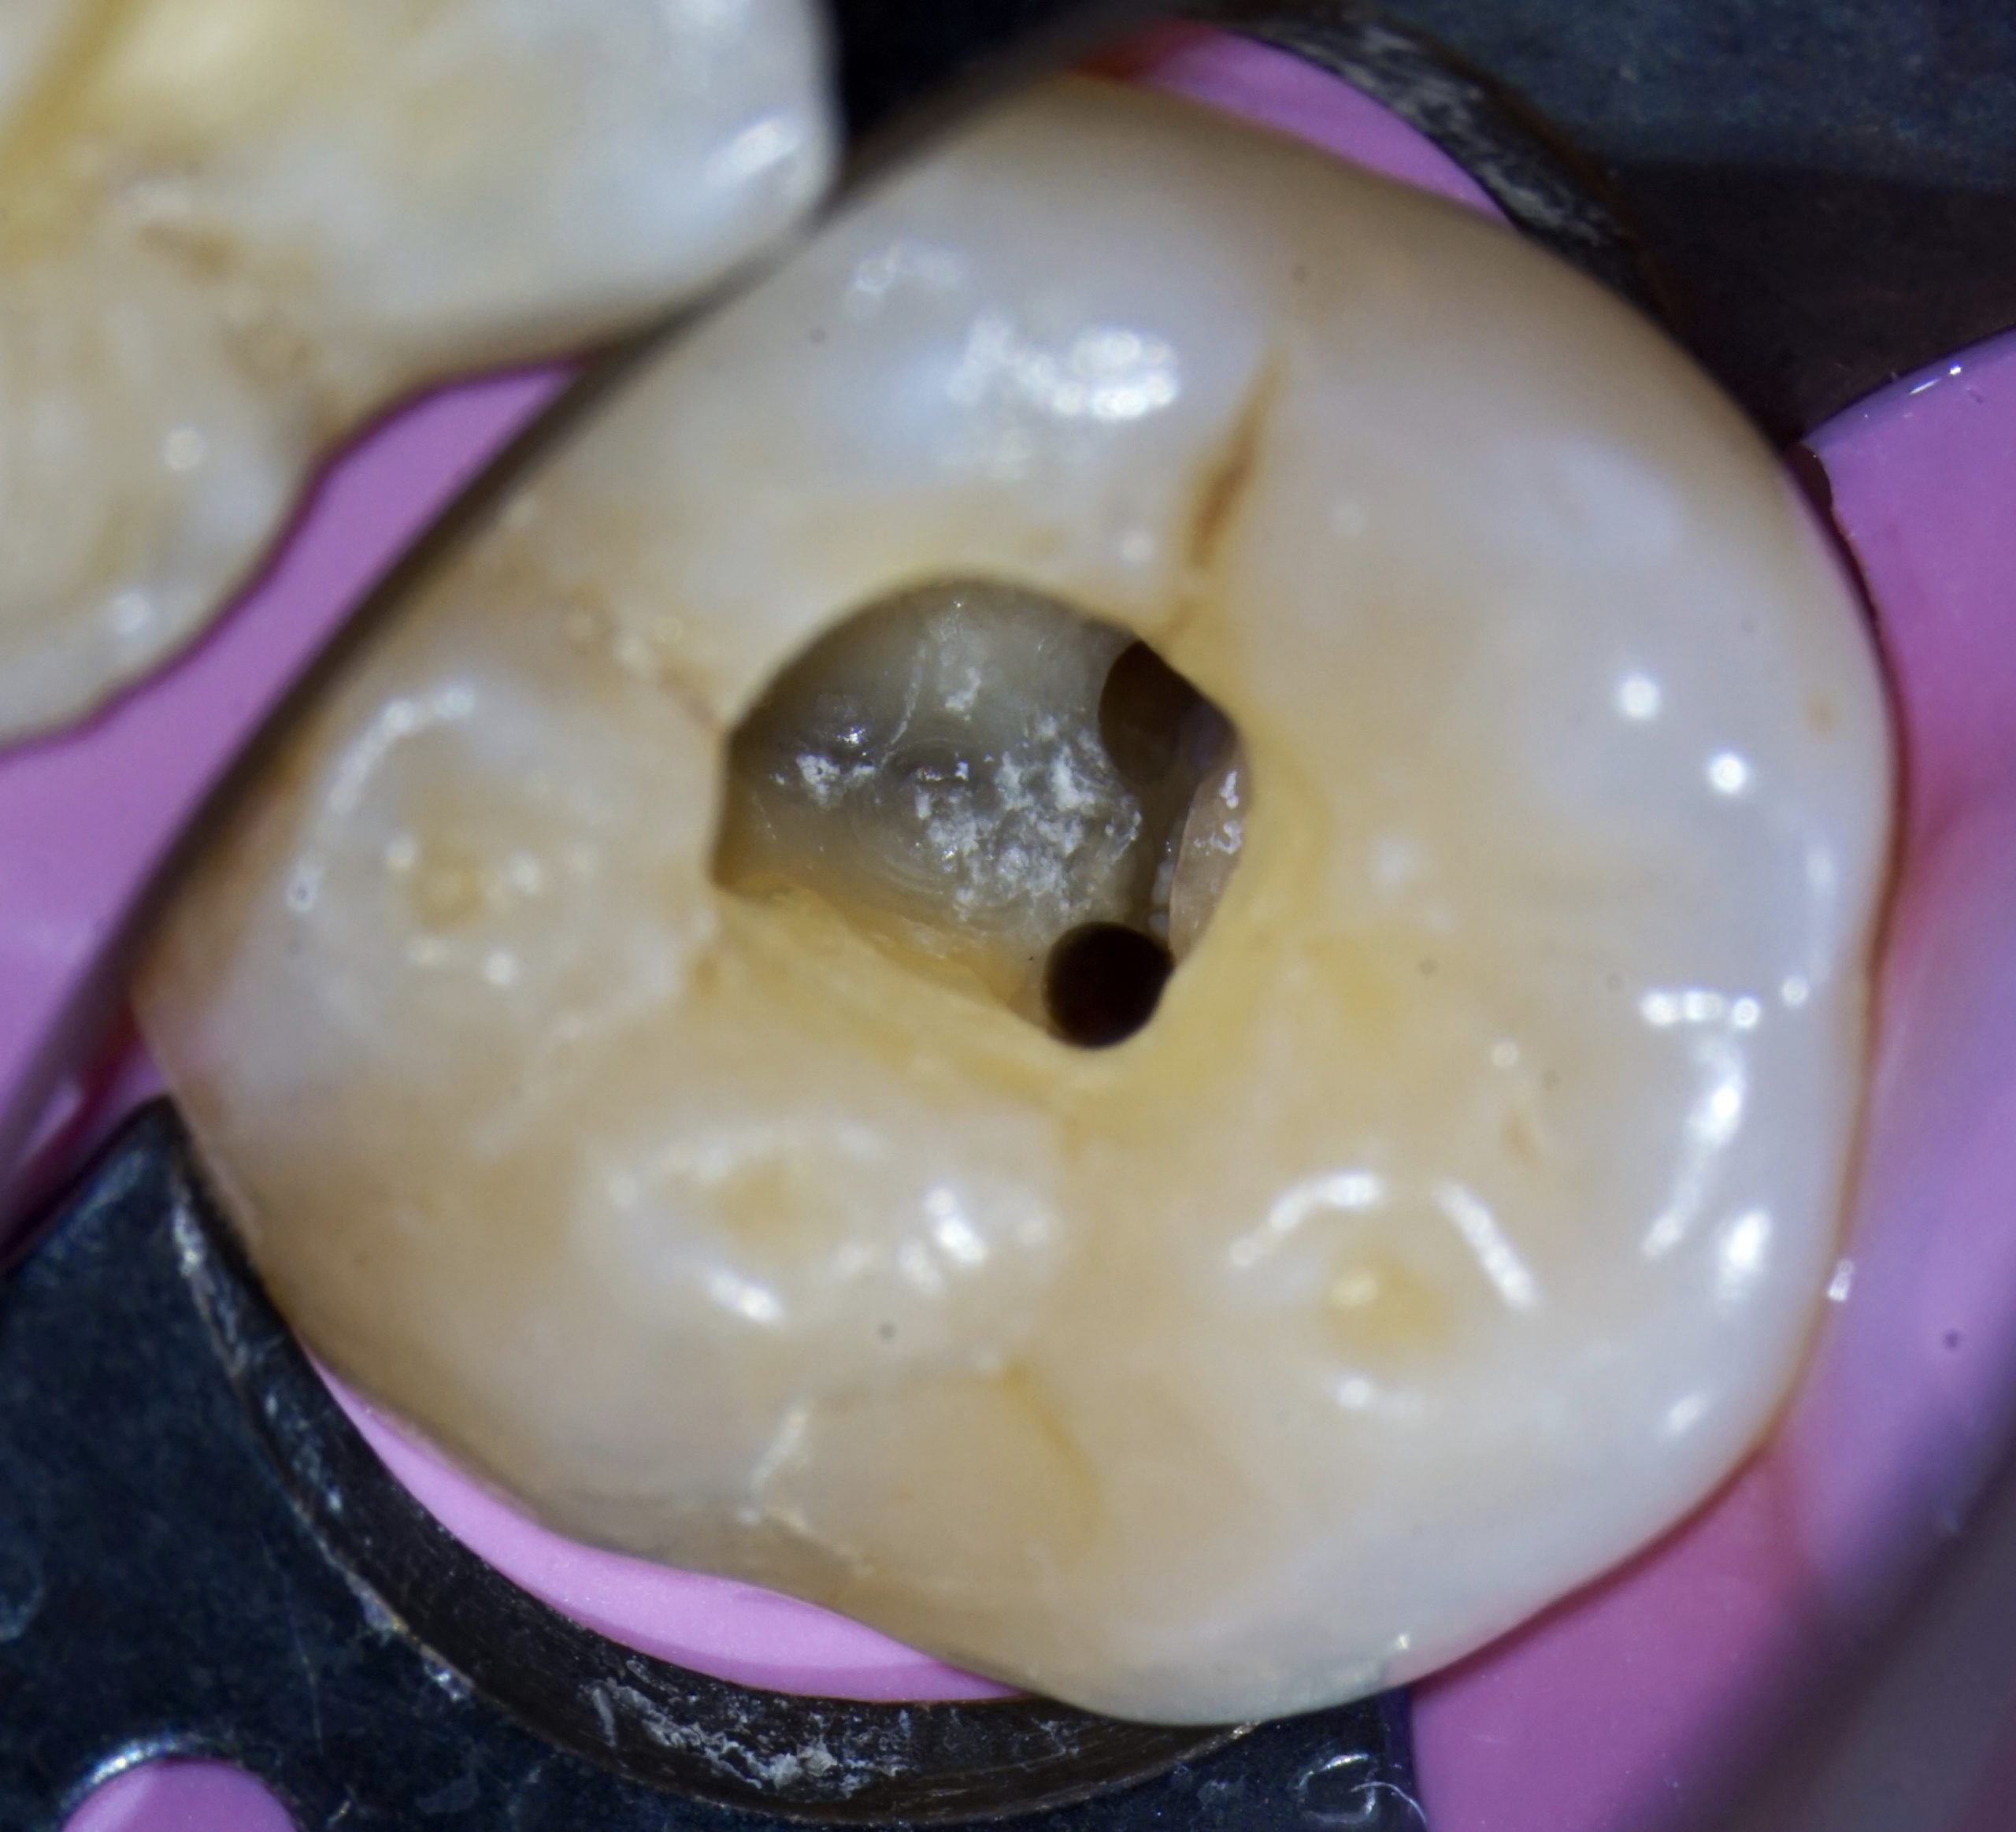
Fig. 9
MB and ML canal
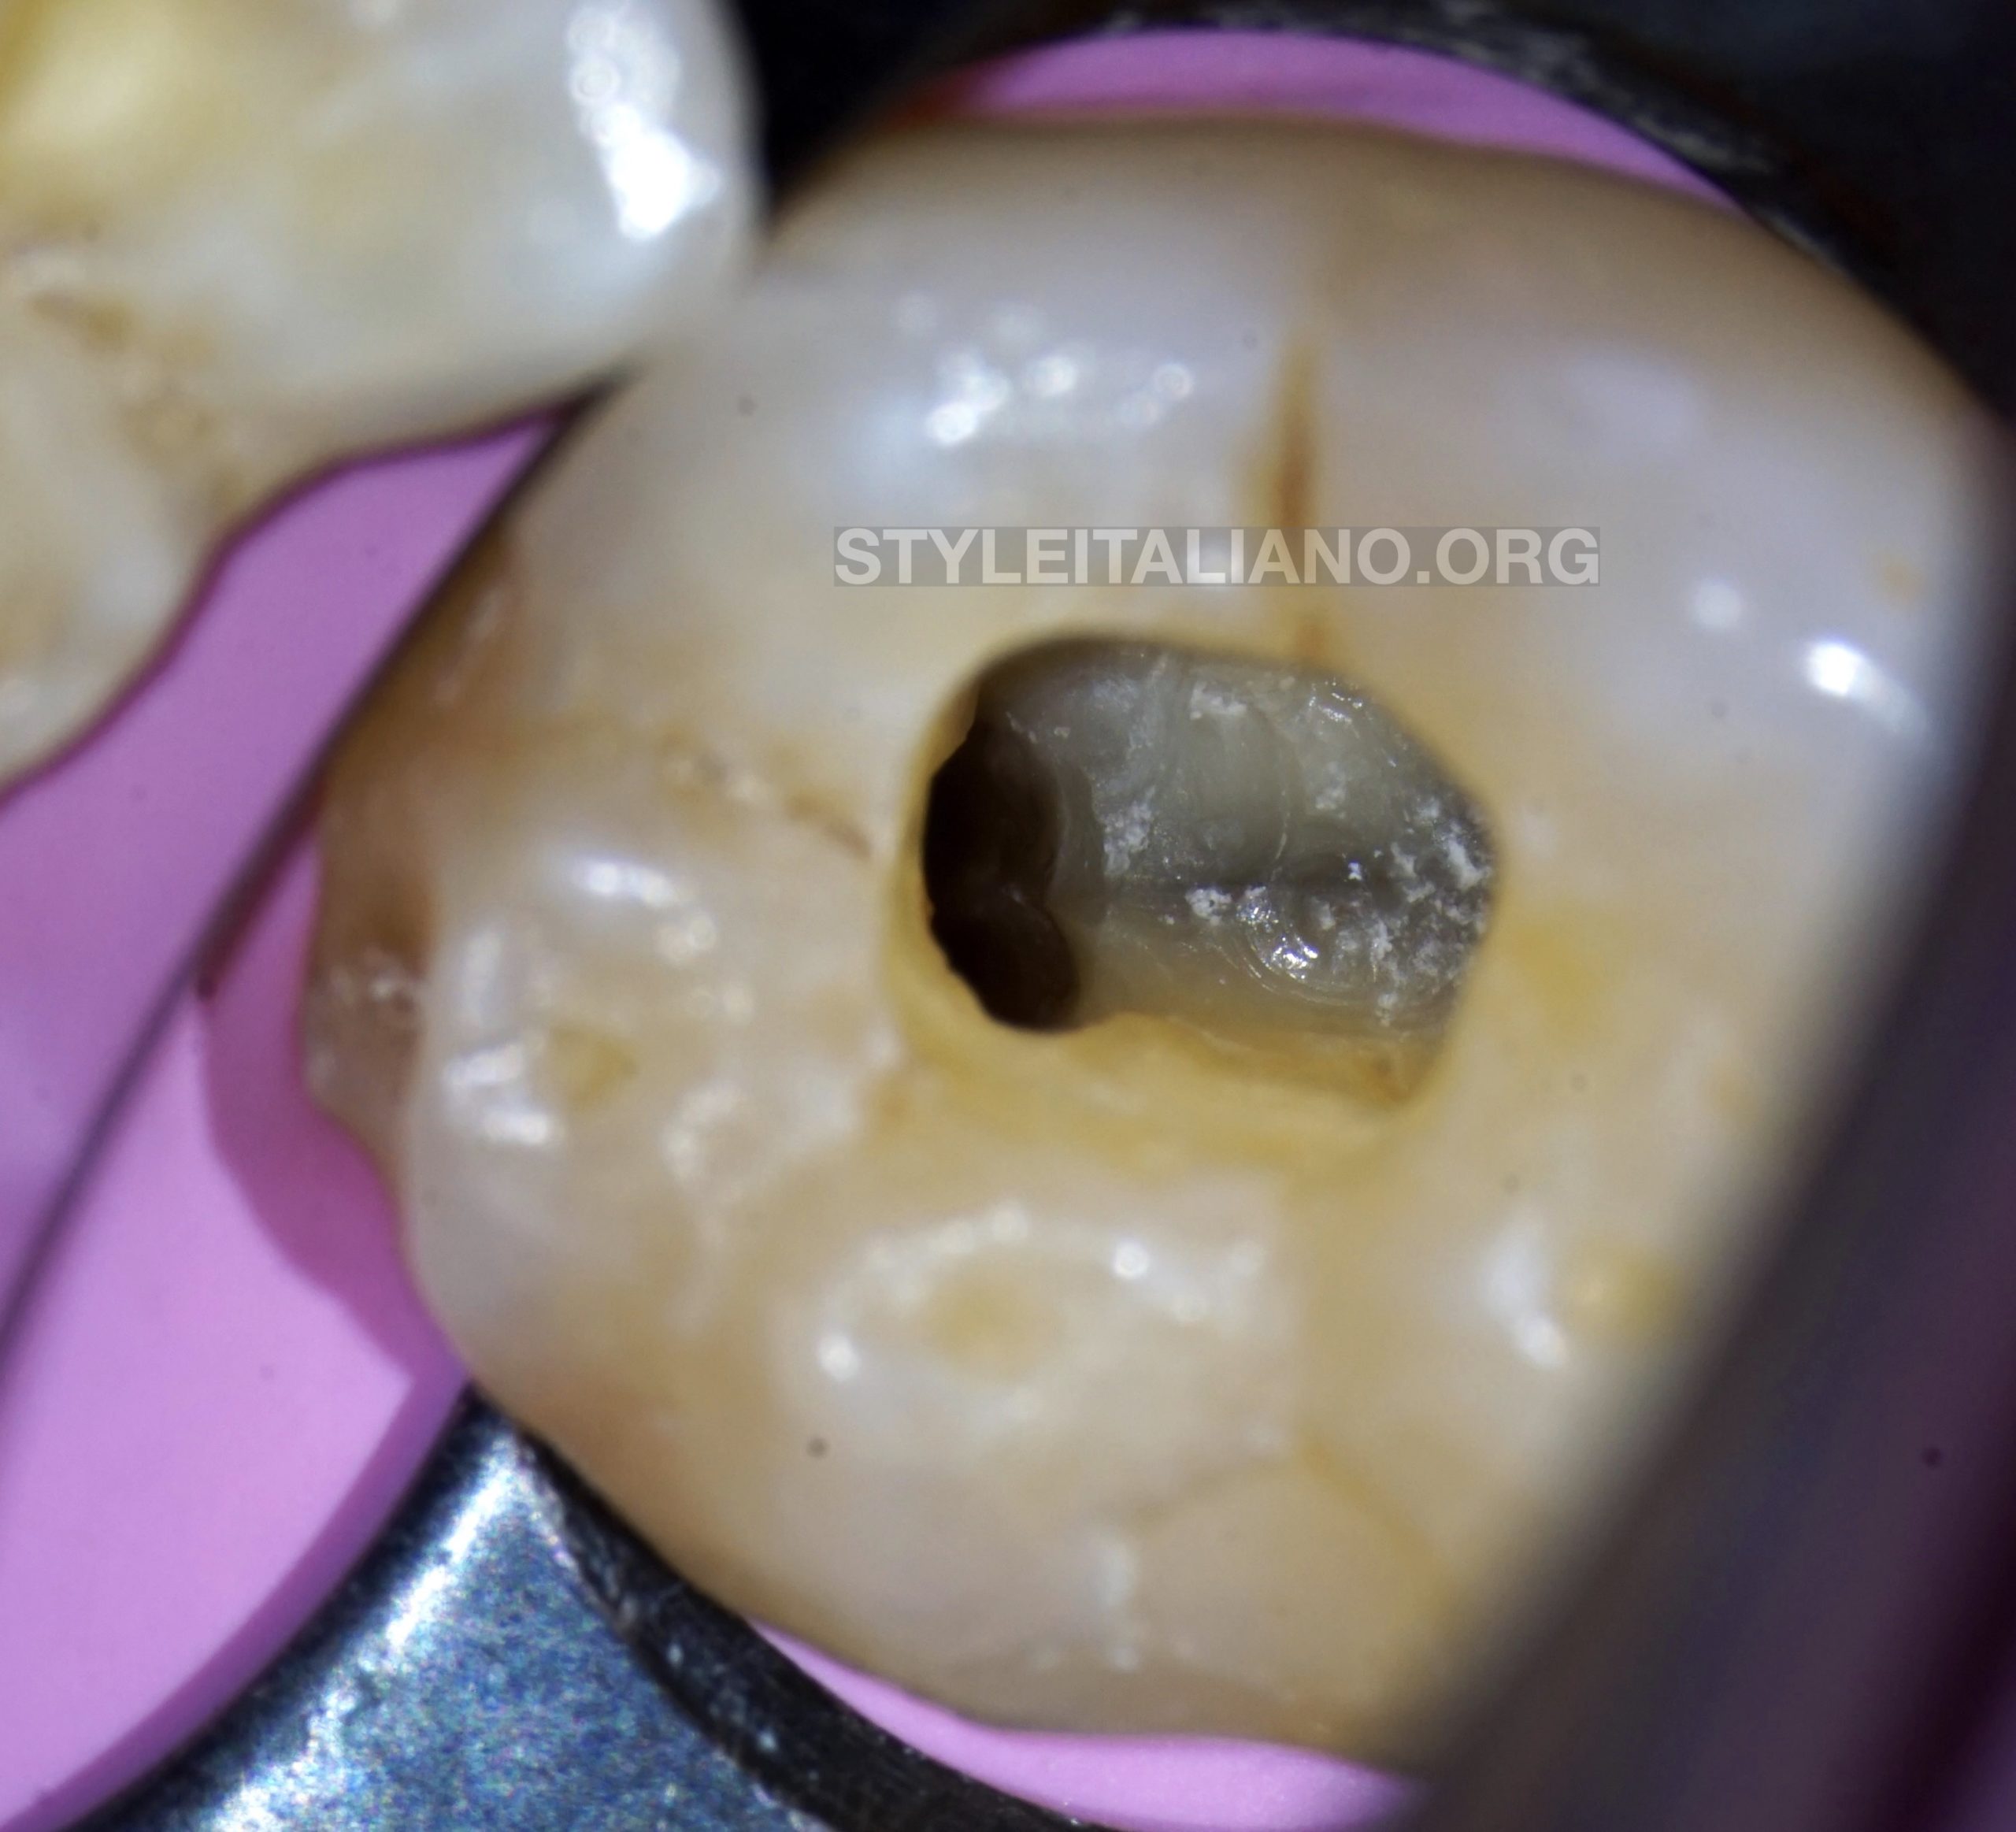
Fig. 10
DB and DL canal
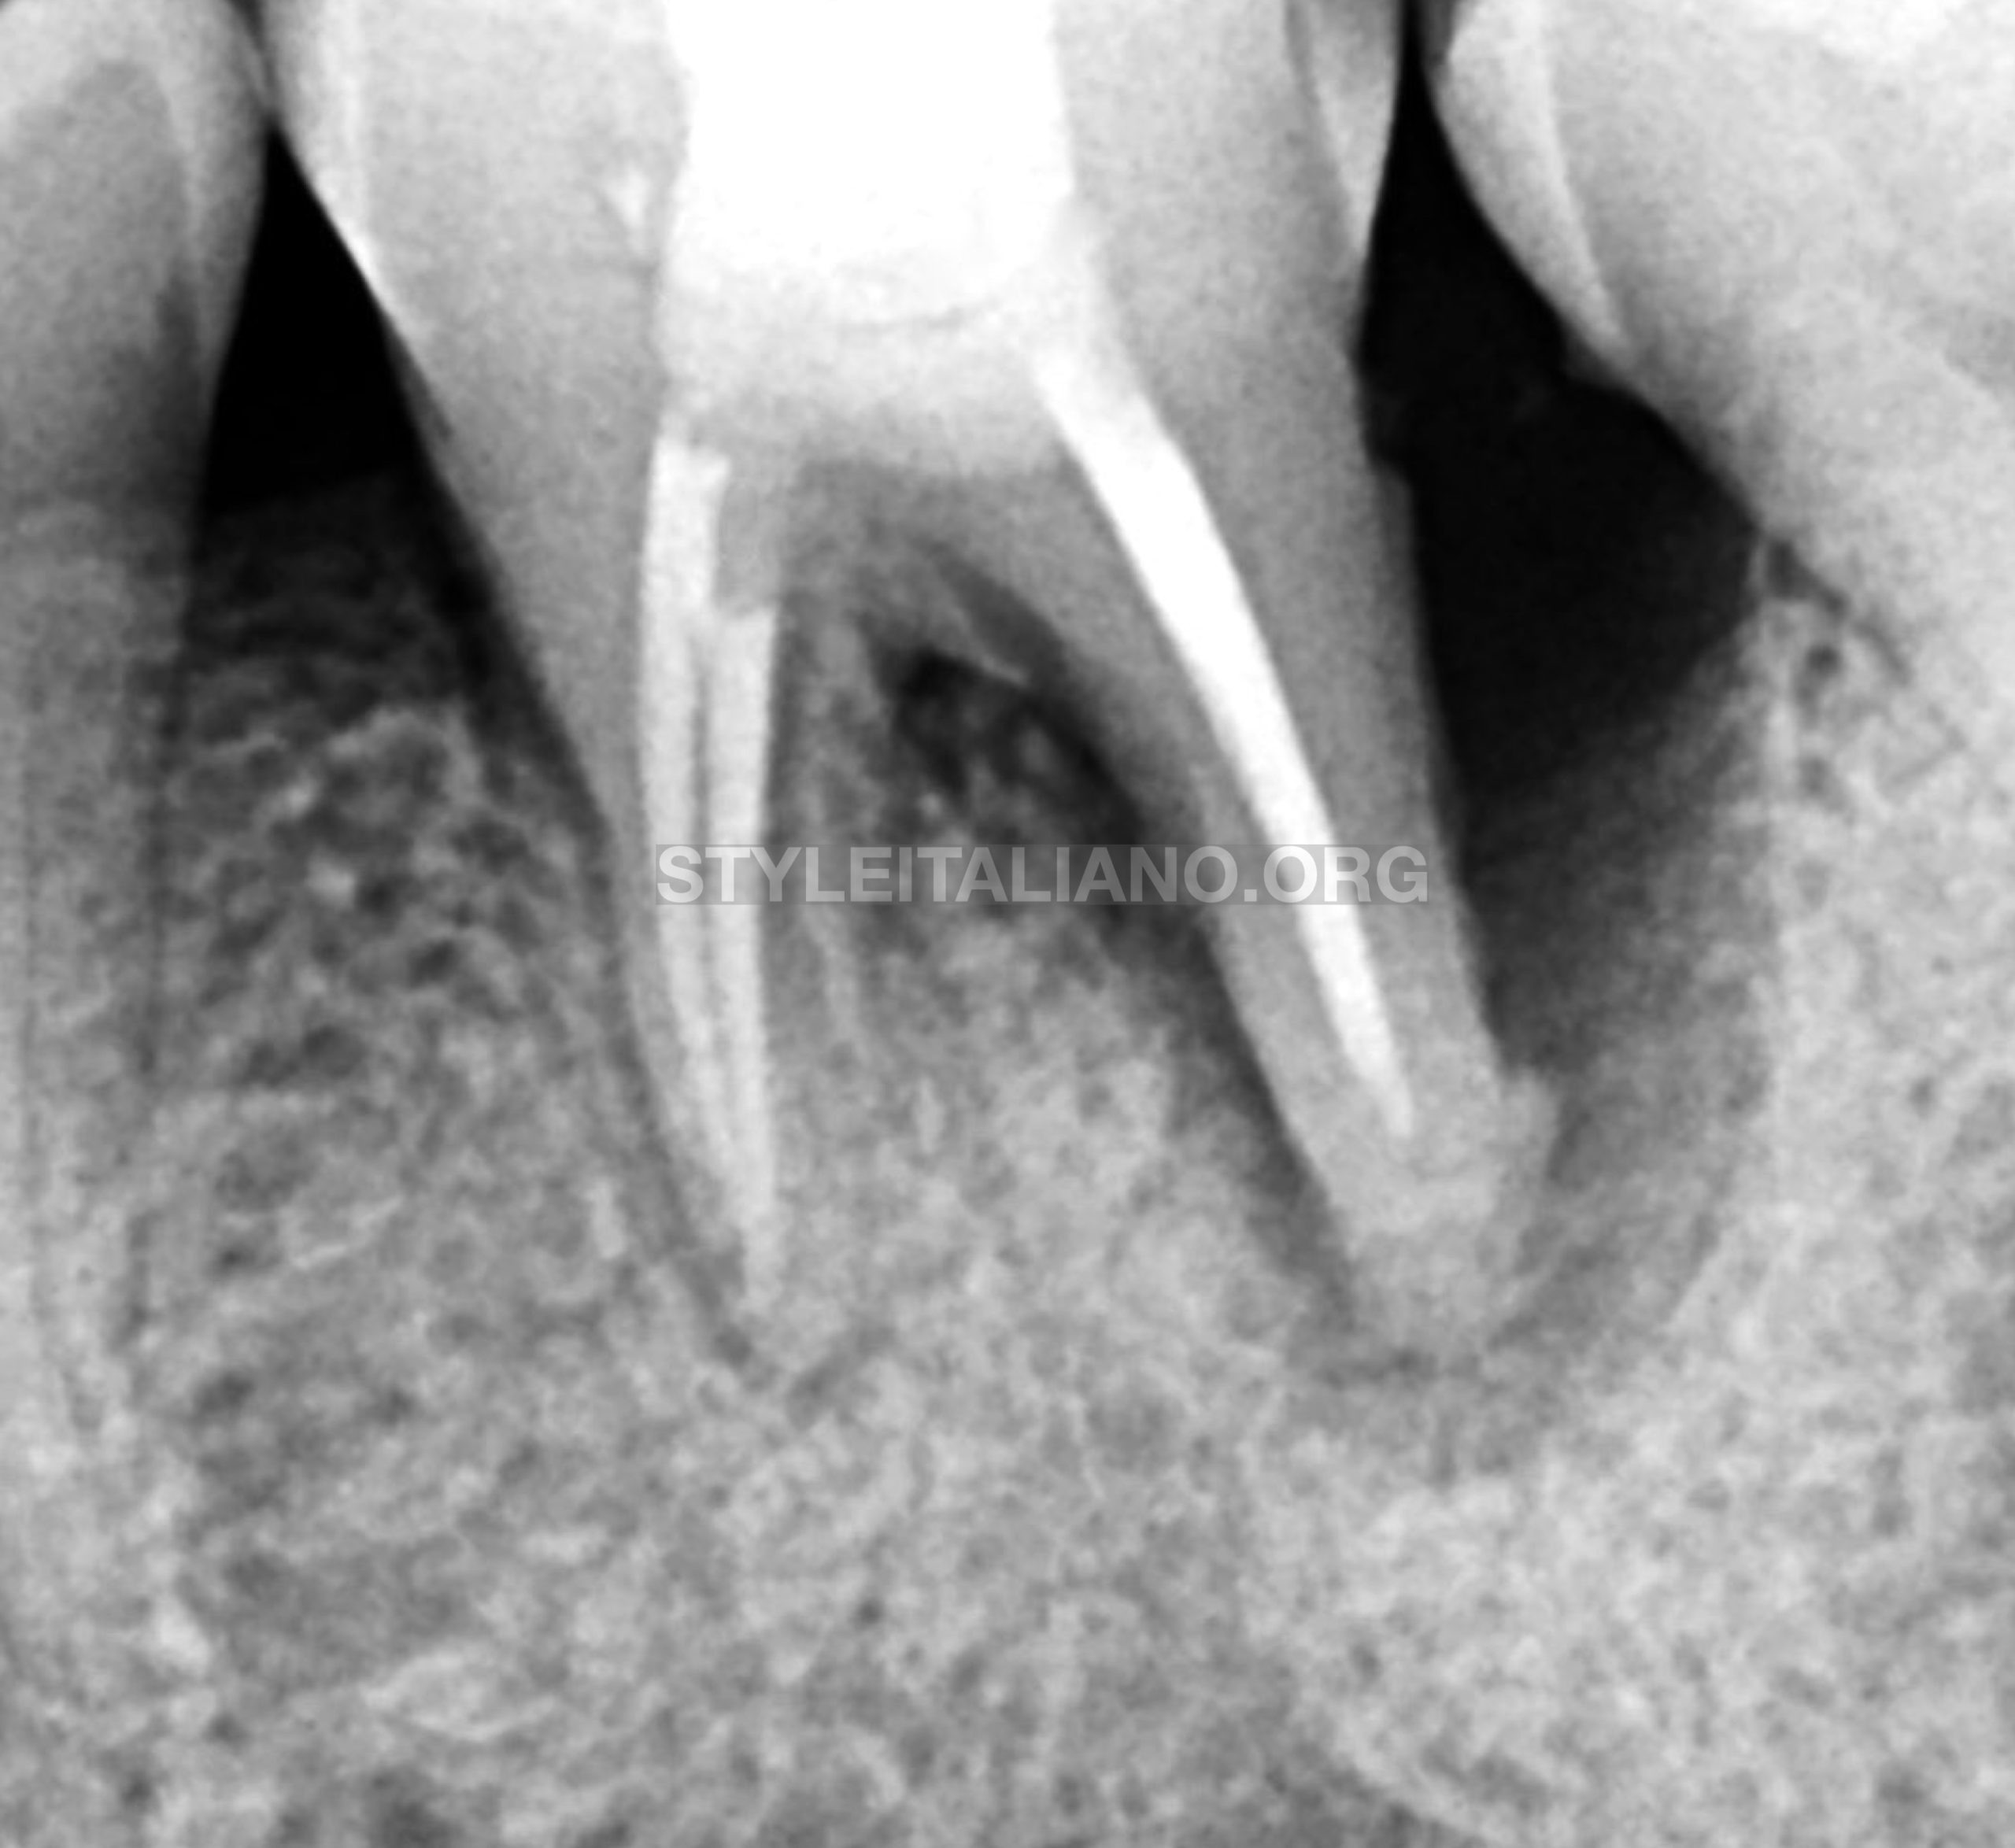
Fig. 11
Post Op 1
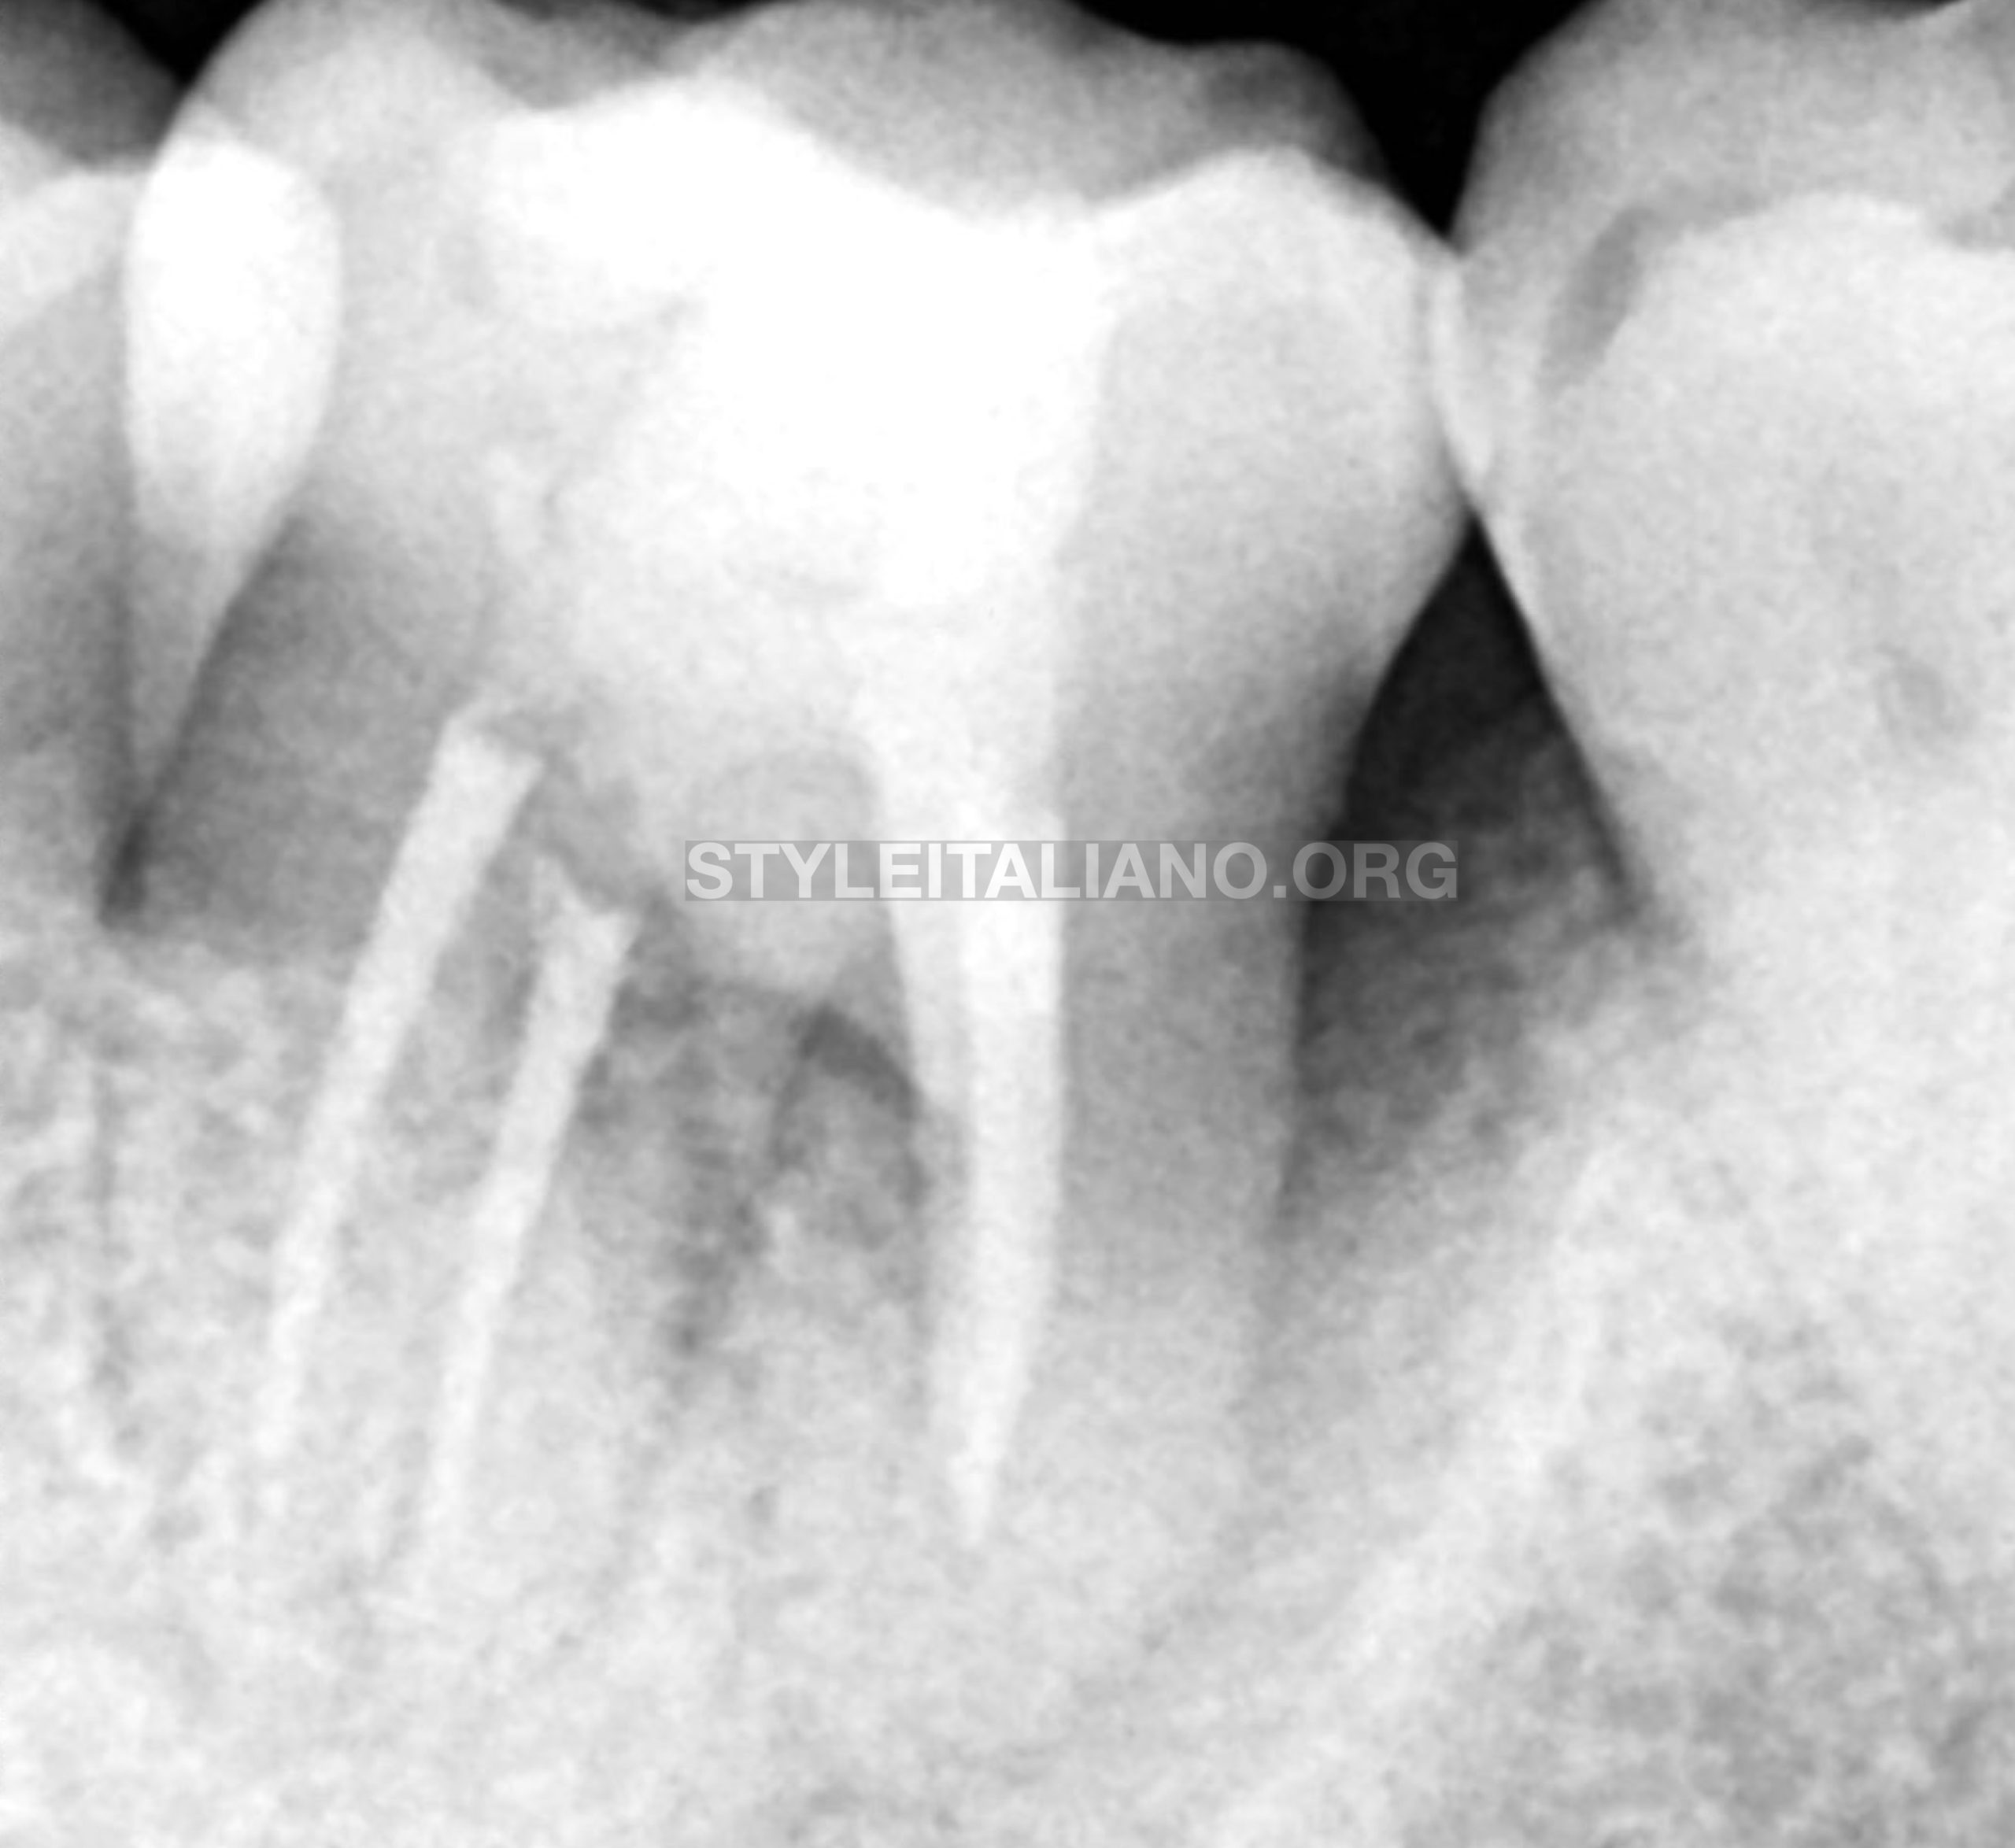
Fig. 12
Post Op 2
Conclusions
Access cavity undeniable is the most crucial step in endodontic procedure as it is a first step to locate all the root canal systems. A good access cavity will make operator able to have a good visibility and adequate manoeuvring space. But at the same time maintaining as much as practical healthy tooth structure specially PCD area to increase fracture resistance.
MISURENDO, is a newly developed 2 sided instrument that has a crucial function in diagnosis as well as creating endodontic access cavity. One side of perio probe to check probing depth (Yellow Handle) and other side to help measure the depth of our access cavity (Red Handle). With this instrument we can avoid perforation and create safer access cavity.
Since how well we create our access cavity it will impact on the predictability of our endodontic treatment
Bibliography
- Levin H: Access cavities. Dent Clin North Am 11:701, November, 1967
- Schilder H: Cleaning and shaping the root canal system. Dent Clin North Am, 1974
- Machtou P: Ch. 8, La cavité d’accès. In Endodontie - guide clinique,Pierre Machtou, ed., Paris: Editions CdP, pp. 125-137, 1993
- Kumar T, Mittal S et al: Access for success, review JDSOR 2014
