The Choice of the proper composite and layering technique for the reconstruction of an endodontically treated tooth
28/07/2022
Federico Ceroni
Warning: Undefined variable $post in /home/styleendo/htdocs/styleitaliano-endodontics.org/wp-content/plugins/oxygen/component-framework/components/classes/code-block.class.php(133) : eval()'d code on line 2
Warning: Attempt to read property "ID" on null in /home/styleendo/htdocs/styleitaliano-endodontics.org/wp-content/plugins/oxygen/component-framework/components/classes/code-block.class.php(133) : eval()'d code on line 2
Modern dentistry requires to pay great attention to the color analysis of an anterior tooth when a direct composite restoration is planned. Even small details, such as a particular characterization of the incisal margin, can make the difference in the success of our treatment. On the other hand, if want to recreate natural looking posterior reconstructions, there are some details we must pay attention to.
In both cases,the secret is to understand how to recreate the contrast between enamel and dentin, as in a natural teeth
The color in the posterior teeth is created by the overlap of two structures, the dentin and the enamel. Dentin is characterized by a saturated and intense color, while enamel tends to be more translucent and transparent. The union of these two structures generates the color that we see every day in the mouths of our patients.
To recreate that effect and make our reconstruction seem natural, it is essential to choose composites that recreate this contrast. The dentin will then be replaced by a very saturated composite and a warm color, the enamel by a translucent composite with a colder color.
The goal must be to restore the tooth to its original shape, taking great care to recreate the details that make the restoration perfectly integrated. In order to do that, we also have to know the morphology of the tooth that we have to restore: this means knowing the number of the cusps, their size and shape, the drawing of the primary and secondary grooves and the shape of the marginal ridges.
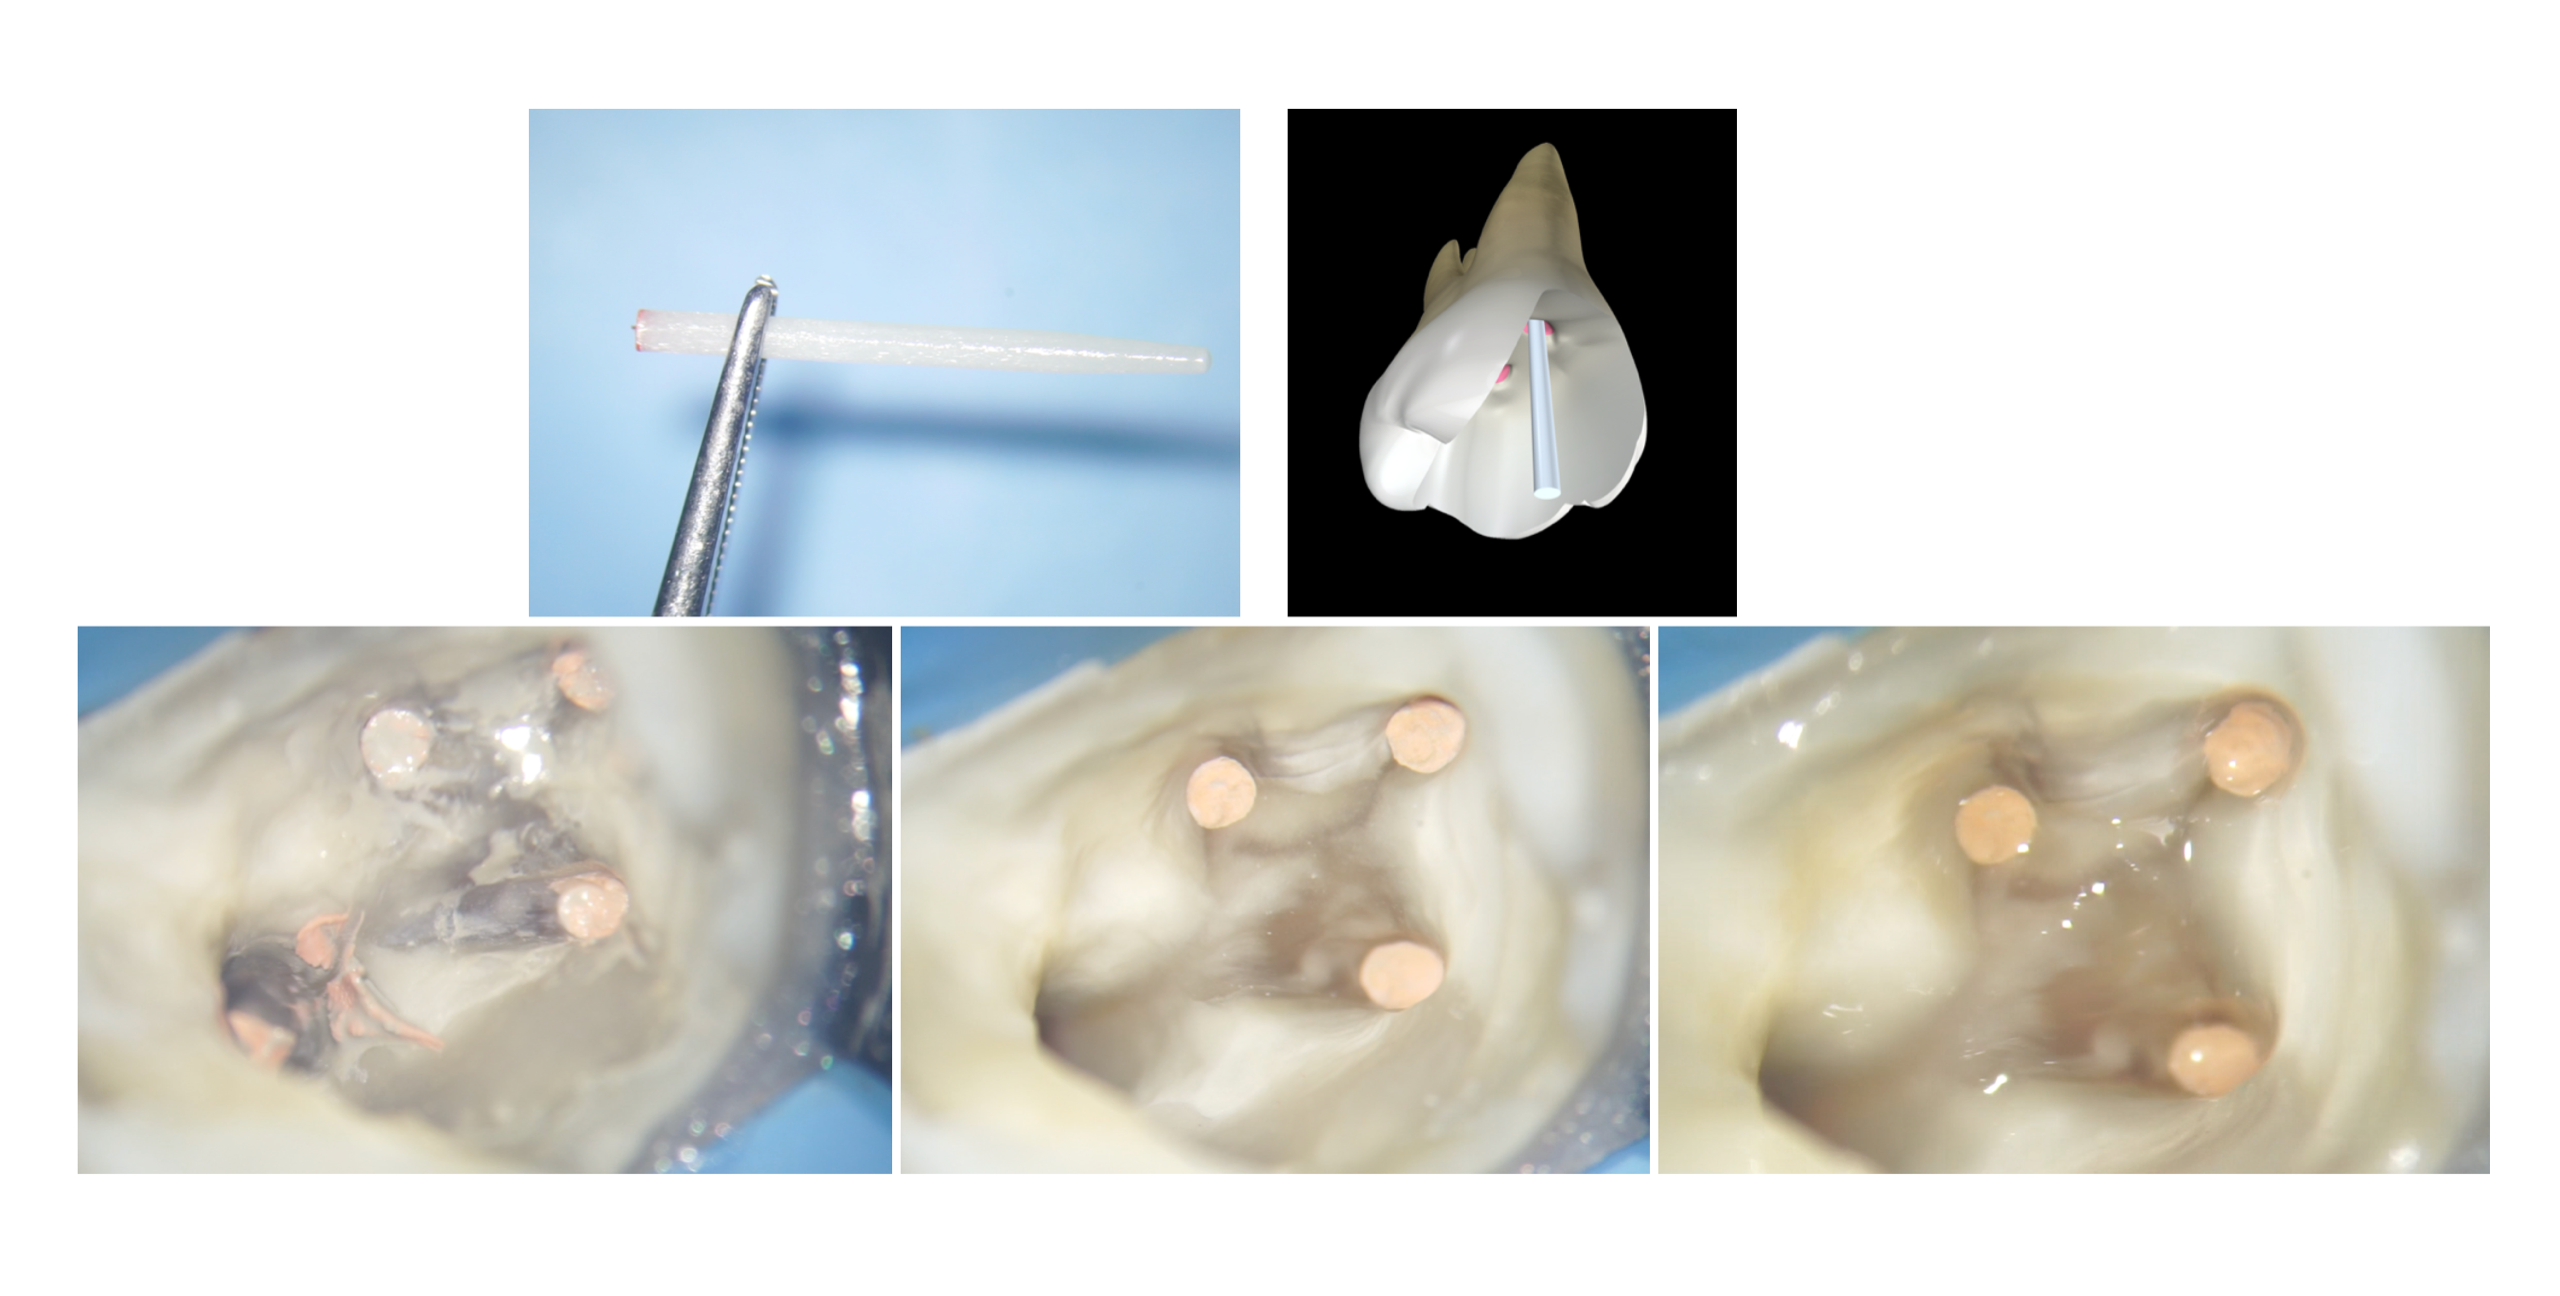
In this case this lower molar, once cleaned from the carious process and after the root canal therapy, shows a residual structure thick enough to be restored with a direct restoration.
From the Literature we know that a tooth subjected to an endodontic treatment loses just 5% of is resistance compared to an intact tooth, if the cavity it not too large and the residual cusps and the marginal ridges have a sufficient thickness. So, if we are planning to restore an endodontically treated tooth with a direct restoration, the first thing is to evaluate the thickness of the residual walls. Once we assessed that the thickness is sufficient, we can start the reconstruction by following simple steps that will allow us to give the correct shape to our restoration
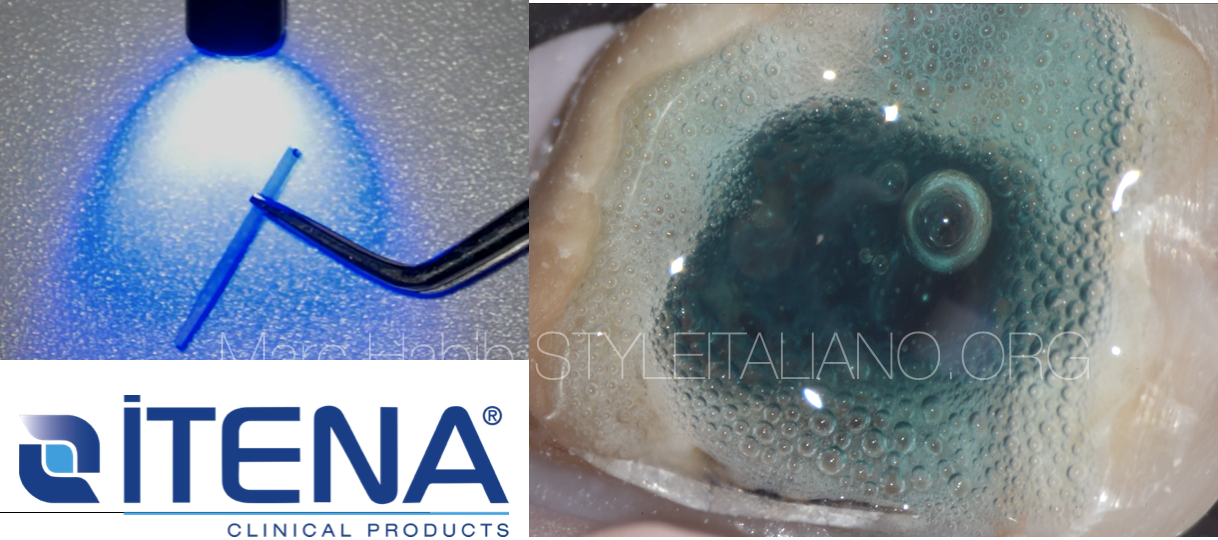
An adhesive procedure was performed using the Quick Bond universal adhesive system (ITENA Clinical), no ortophosporic acid was used.
First I applied 3 layers of A prime, left undisturbed for 5 sec and then dried with a blast of air, then I applied 2 layers of B bond, also dried with a blast of air and cured for 20sec with a light-cure unit.
it is essential to apply a first layer of flowable composite: this allows us to fill the most complicated spaces, and decreases the possibility to leave bubbles at the level of the adhesive interface; moreover, the flowable composite layer allows us to create an elastic layer capable of absorbing the contraction of the composite that we will position upon it.
I started subsequently the layering steps with the dentin layer.
for the dentin layer, as anticipated, we need a very chromatic and saturated composite, able to recreate the yellow effect that comes from inside the tooth. for this reason I decided to use the itena color reflectys composite a 3.5.
It is important to pay attention to the amount of composite we are curing: the maximum thickness of each increment must not exceed 2 mm, often in an endodontically treated tooth the dentin layer is divided into several layers, as the cavity is very deep. It will then be important to leave the correct space for the subsequent enamel composite.
Many clinicians choose a simple 1 shade restoration in posterior teeth, but with this approach, In my opinion, it is impossible to make the filling invisible. Sometimes a good looking restoration can can be done even with this technique, but if you are looking for something more predictable, a singole shade is not enough. A proper layering technique is needed to achieve high level results, because like the anterior teeth, also the posterior have many different color mixed together.
The dentin layer does not need to be modeled, it simply fills most of the cavity leaving space for the enamel layer. I decided to use a lighter and more translucent composite for this last layer, capable of recreating a natural effect and letting the chroma of the dentin pass through. for this I used the composite Reflectys (ITENA Clinical, shade b2.
For the enamel layer I always prefer to model and cure one cusp at the time: this allows me to be able to recreate even the smallest details present in a natural tooth. I try to read the residual anatomy of the tooth and model the composite following those lines, in order to give the restoration a natural shape
This technique is called sectional technique, as described by Style Italiano shade guides. The occlusal surface of the tooth has to be considered as a pizza and the cusps are the slices.
Then, it is time to improve the aesthetic of the restoration by adding the stains, because only with them it is possible to give the restoration a 3d effect. Pay attention to the intensity of the brown: it should be chosen very carefully regarding to the natural stained adjacent teeth.
I usually use 2 stains, brown and white. I need the brown to paint the grooves and to give a warm effect to the occlusal surface, and then I put the white on the top of the ridge of the cusps. This creates a contrast between what is below and what is above, resulting in a 3d perception.
Stains are also a verifier of the goodness of the work: based on how they fit into the grooves, it is possible to see if you shaped the grooves in the right way.
Cusps that are separated by a thin and deep space are the best, since the right amount of stain can penetrate in the right amount and produce you the right effect.
Conclusions
Even in the posterior teeth the analysis of the color is a fundamental moment of our treatment that allows us to achieve high-level results. This analysis must be strictly connected to a correct choice of the composite that we will use to reconstruct the tooth: each composite has precise characteristics that can reproduce the natural aspect of a tooth, giving the restoration a natural appearance.
Bibliography
- Bratner S, Hannak W, Boening K, Klinke T. Color determination with no-match-templates using two different tooth color scales-An in vitro evaluation. J Esthet Restor Dent. 2020 Sep;32(6):593-600. doi: 10.1111/jerd.12594. Epub 2020 Jun 20. PMID: 32562469.
- Chandrasekhar V, Rudrapati L, Badami V, Tummala M. Incremental techniques in direct composite restoration. J Conserv Dent. 2017 Nov-Dec;20(6):386-391. doi: 10.4103/JCD.JCD_157_16. PMID: 29430088; PMCID: PMC5799982.
- Atlas A, Grandini S, Martignoni M. Evidence-based treatment planning for the restoration of endodontically treated single teeth: importance of coronal seal, post vs no post, and indirect vs direct restoration. Quintessence Int. 2019;50(10):772-781. doi: 10.3290/j.qi.a43235. PMID: 31559397.
- Comba A, Baldi A, Saratti CM, Rocca GT, Torres CRG, Pereira GKR, Valandro FL, Scotti N. Could different direct restoration techniques affect interfacial gap and fracture resistance of endodontically treated anterior teeth? Clin Oral Investig. 2021 Oct;25(10):5967-5975. doi: 10.1007/s00784-021-03902-y. Epub 2021 Apr 15. PMID: 33860368; PMCID: PMC8443477.