Removal of obturation material from the root canals: the correct use of ExtEndo
14/02/2022
Enrico Cassai
Warning: Undefined variable $post in /home/styleendo/htdocs/styleitaliano-endodontics.org/wp-content/plugins/oxygen/component-framework/components/classes/code-block.class.php(133) : eval()'d code on line 2
Warning: Attempt to read property "ID" on null in /home/styleendo/htdocs/styleitaliano-endodontics.org/wp-content/plugins/oxygen/component-framework/components/classes/code-block.class.php(133) : eval()'d code on line 2
In retreatments the clinician should follow the same different steps:
- careful radiographic diagnosis and, if required, cbct
- reconfiguration of the cavity access, to realise the appropriate features and start the endodontic therapy in the proper way
- removal of accessory retention posts (if present)
- removal of the obturation material
- try to reach the proper working lenght overcoming every difficoulties inside the canal (blocks, ledges, separated instruments)
In this article it is briefly explained how to deal with phase 4, that is the removal of the filling material from the root canal.
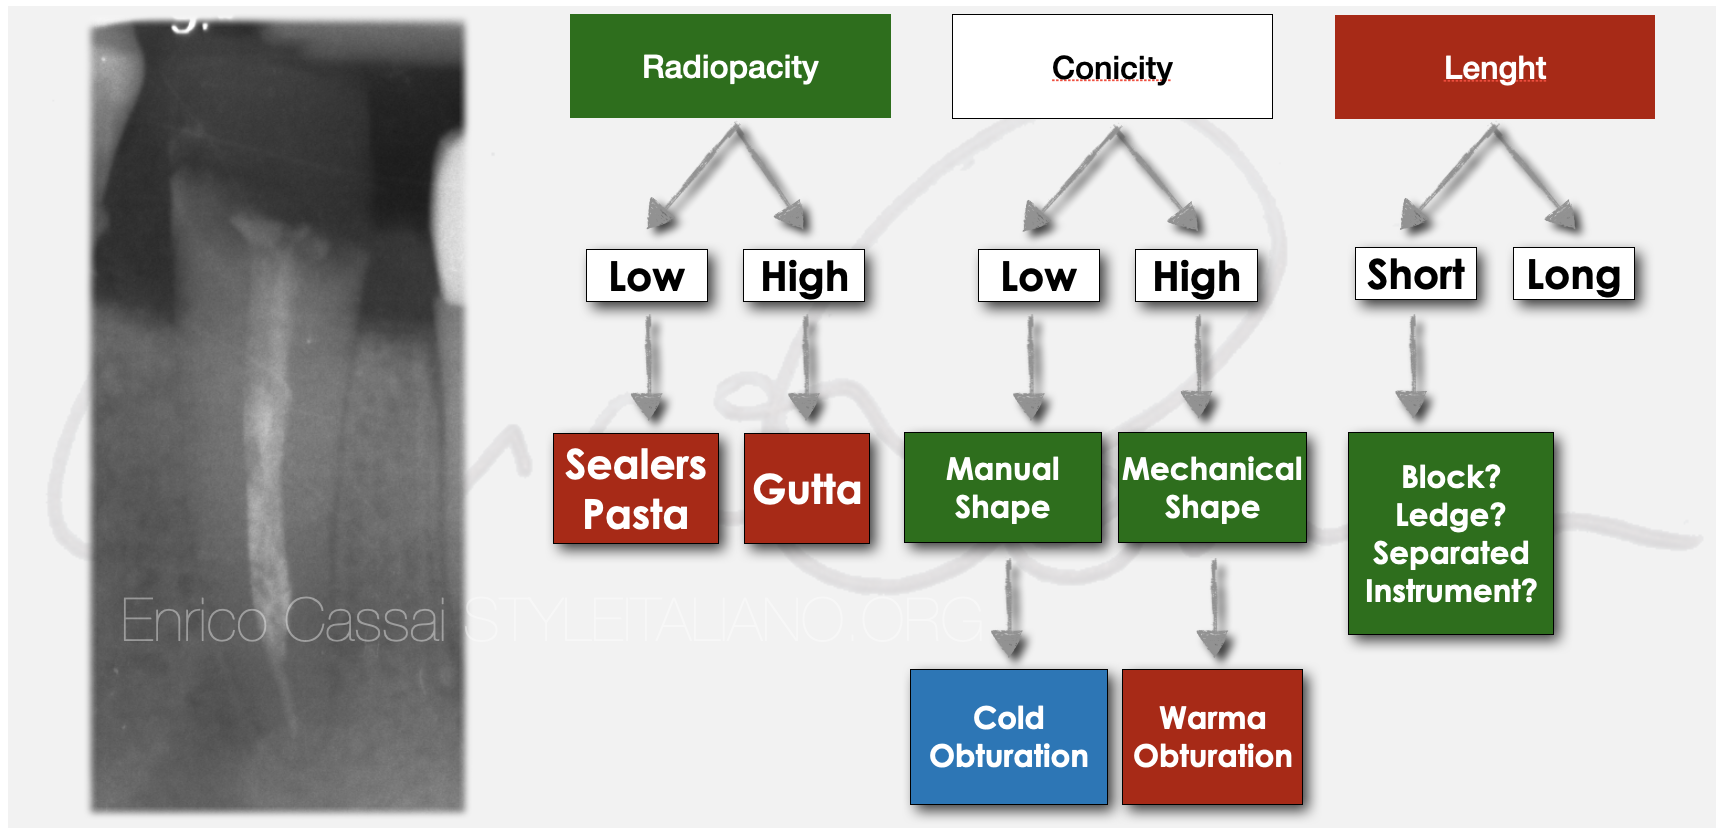
Fig. 1
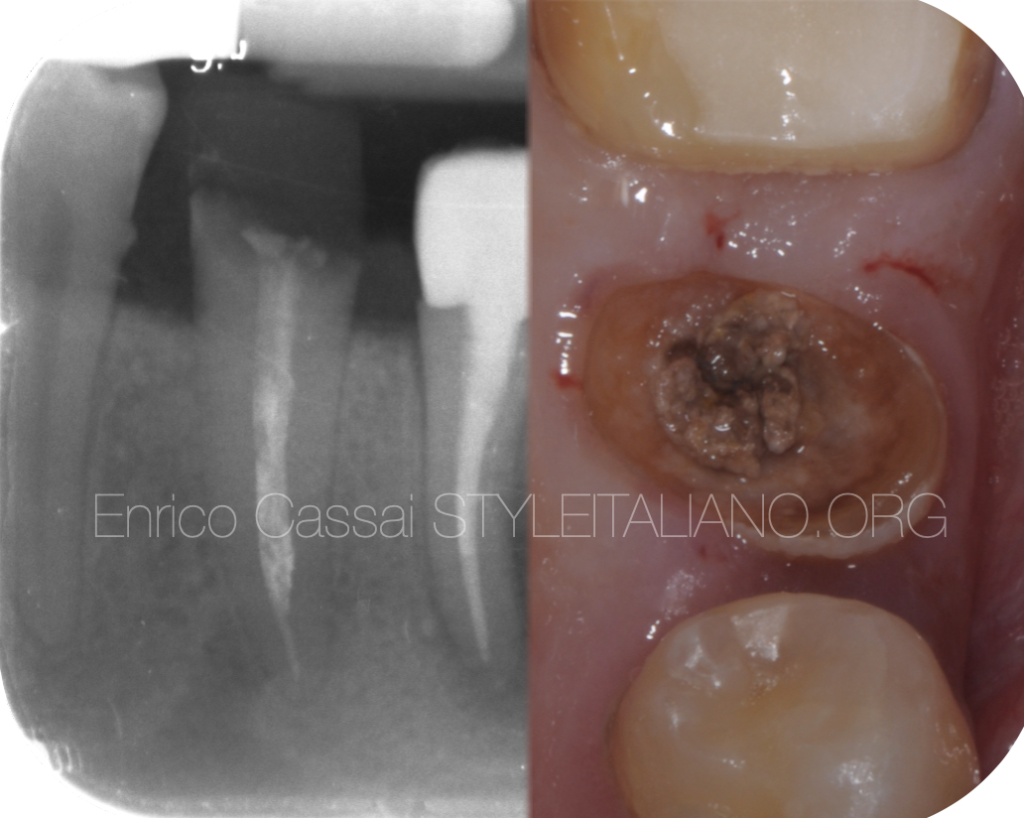
The clinician must first understand from the initial X-ray which material it is by assessing its radiopacity. In this phase it is very important to understand the length of the previous filling in order to understand the presence of any obstacles inside the canal (blocks, steps, broken instruments) and the taper of the pre-existing filling (manual or mechanical instrumentation).
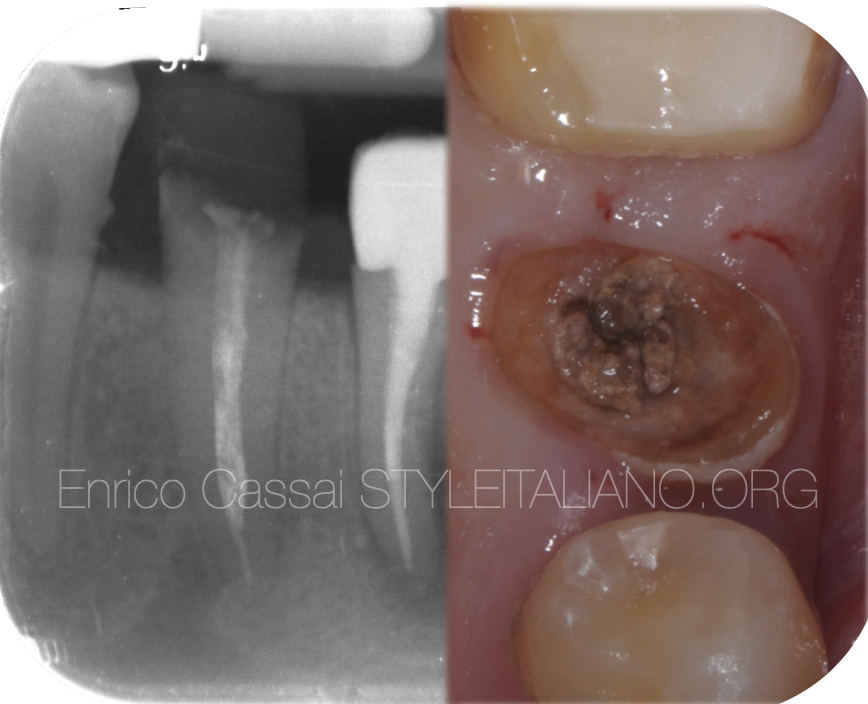
Fig. 2
In this clinical case the patient is:
- 35-year-old
- heavy smoker with poor oral hygiene
- low economic availability
- request to save as many teeth as possible
- extremely compromised general dental situation
Following the indications of Diagram 1 and applying them to the case, we can do the following considerations:
- material to be removed: gutta-percha
- short filling: Block
- tapered filling
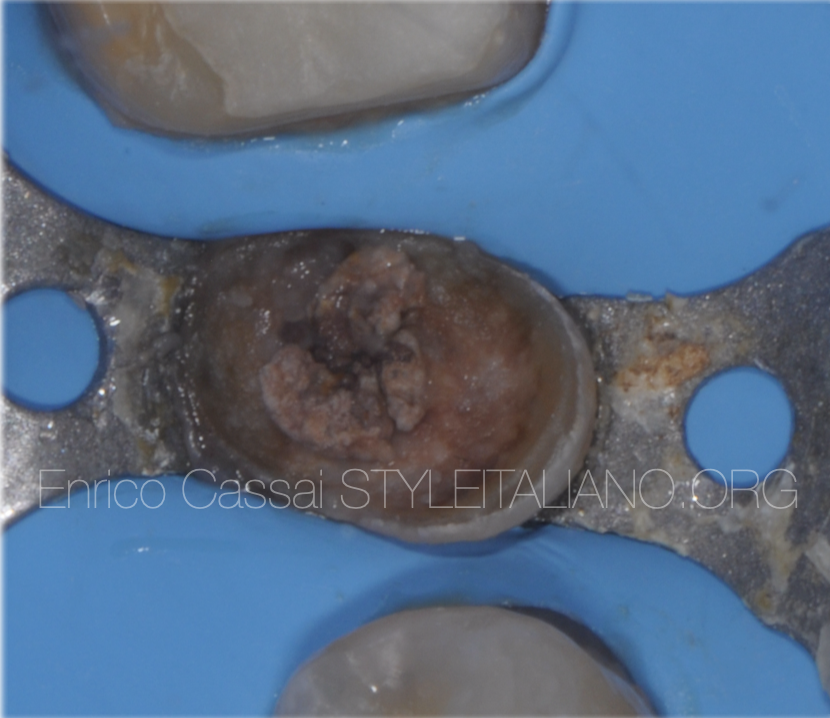
Fig. 3
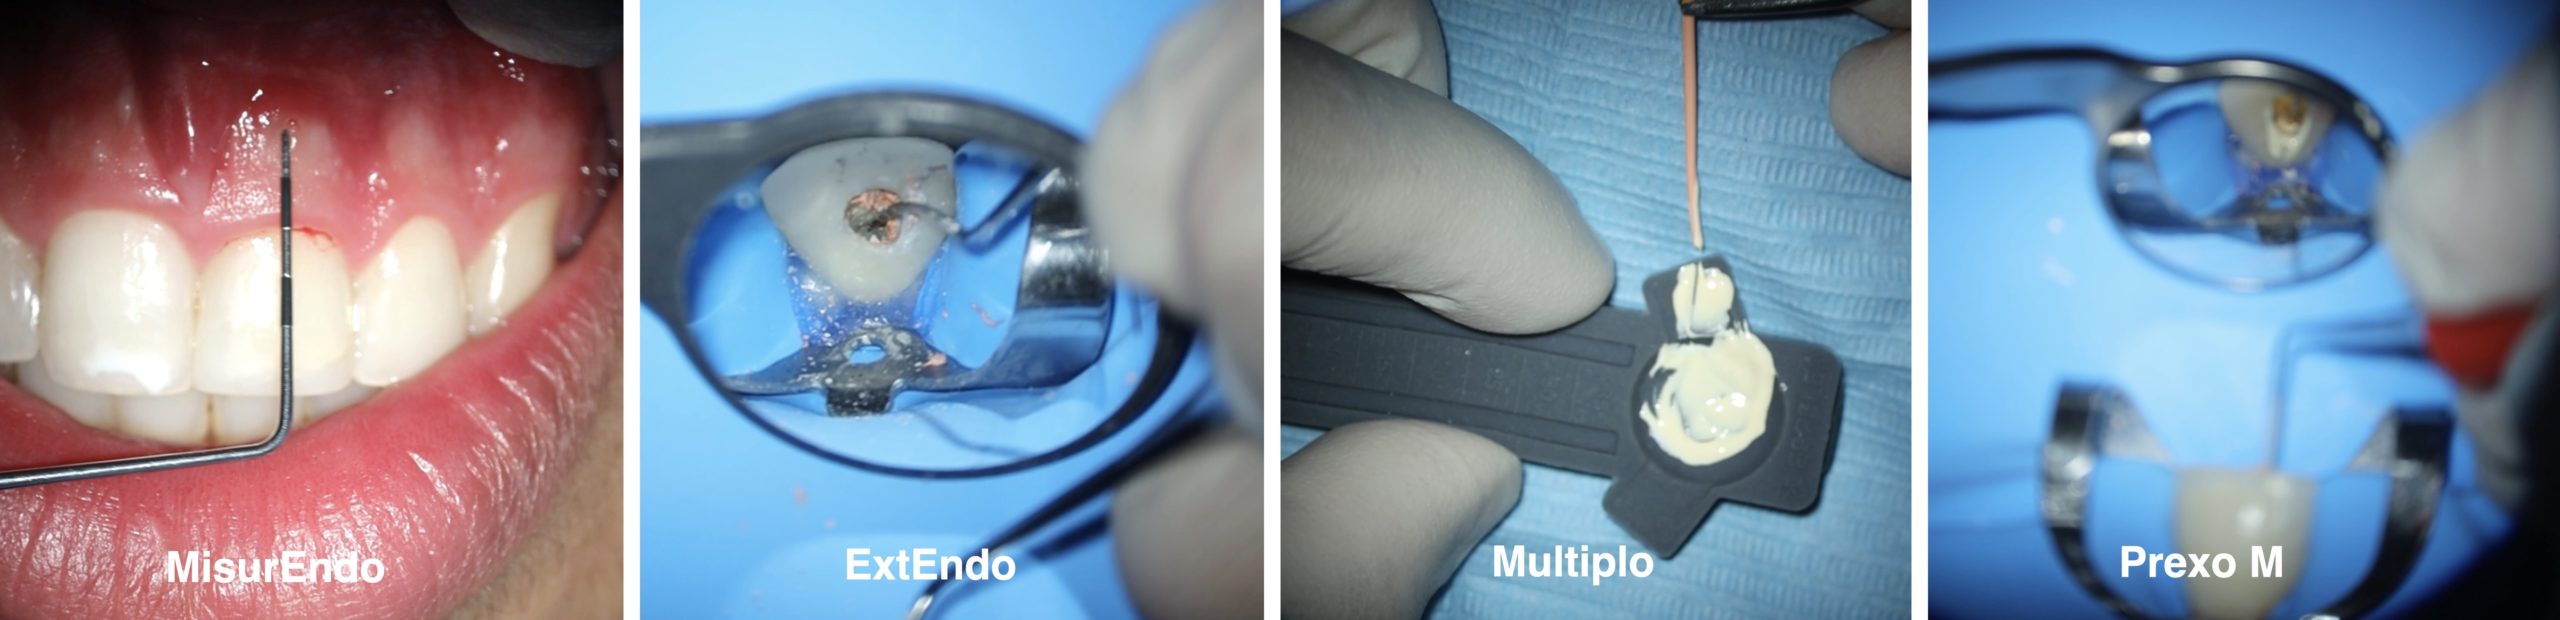
Once the coronal restoration has been removed, to clinically understand and confirm the diagnosis on the type of material that needs to be removed from the canal, one needs to touch it with an endodontic probe.
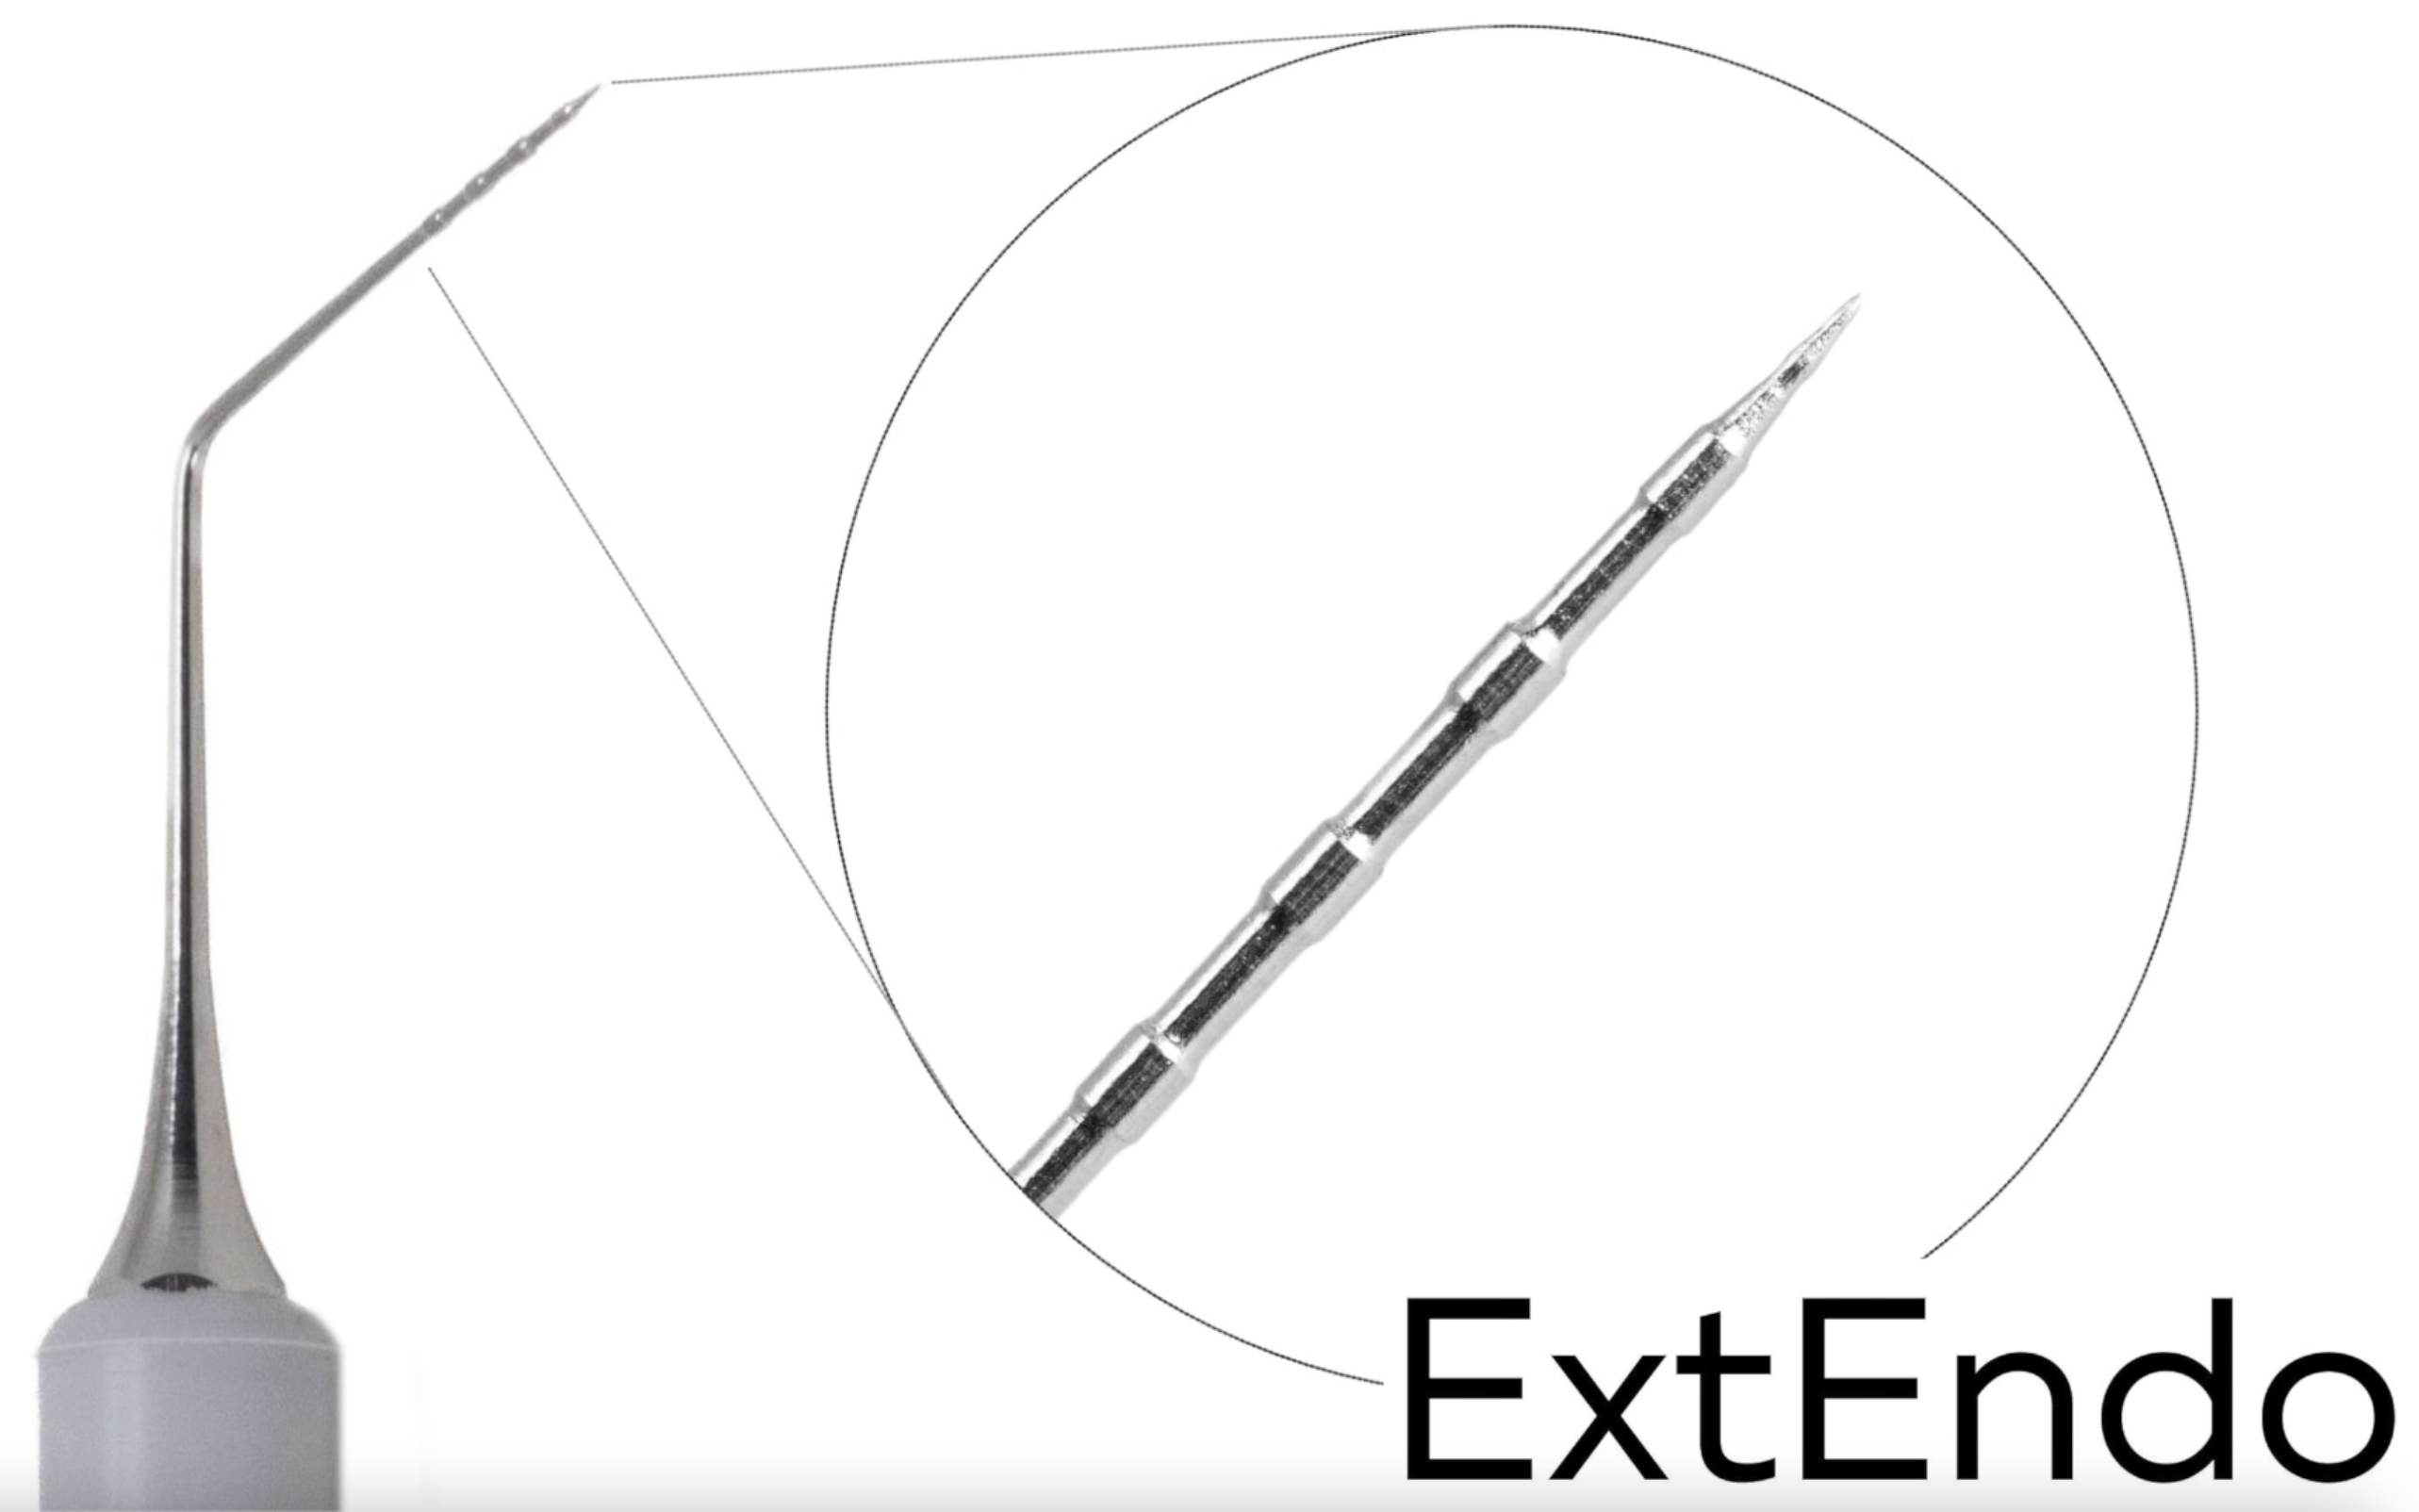
In this case a very useful tool is ExtEndo, by Deppeler.
The extremely sharp tip of ExtEndo allows to understand the consistency of the material by observing how easily the tip penetrates into the material.
Furthermore, the instrument allows to create a space between the material present and the canal walls, facilitating its subsequent removal.
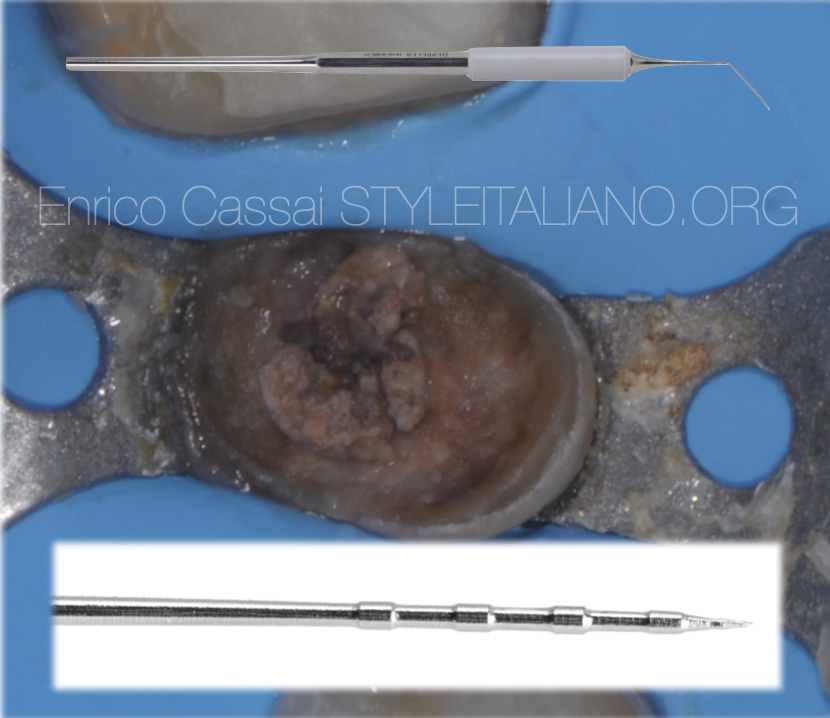
Fig. 4
The existing material is about to be touched with Extendo
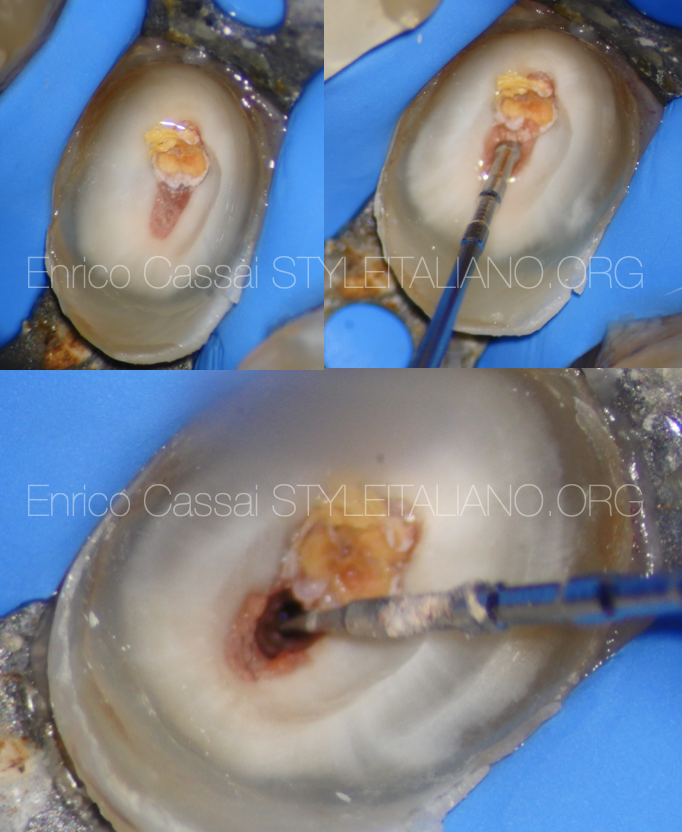
Fig. 5
The sharp tip of ExtEnd creates a space between the root canal walls and the filling
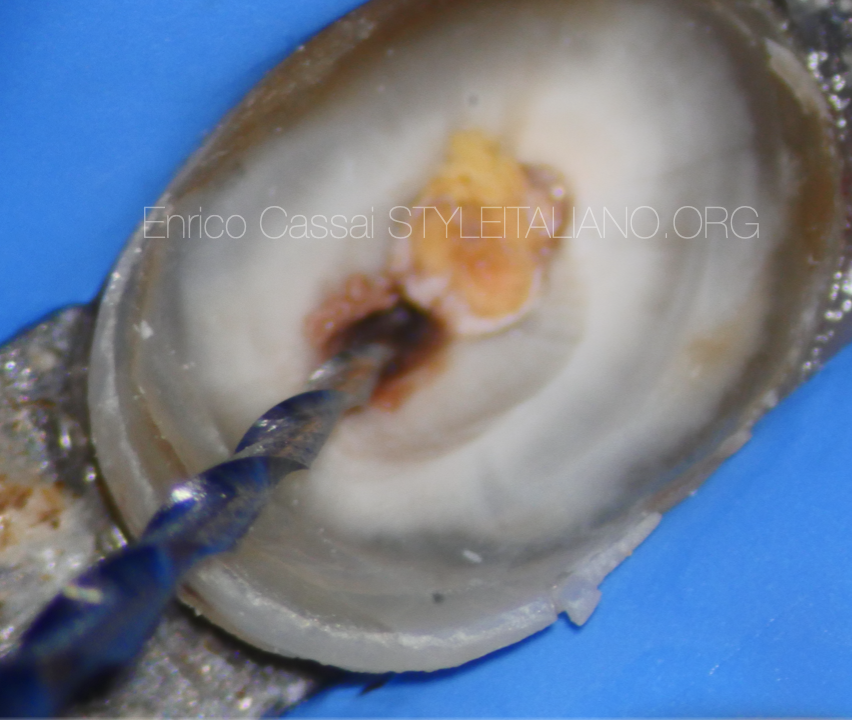
Fig. 6
ExtEndo allows to create space both if the filling is gutta-percha or a carrier based technique.
Through the space created, a mechanical rotary/reciprocating file is inserted for the removal of the material. This removes at least 2/3 of the existing filling in length.
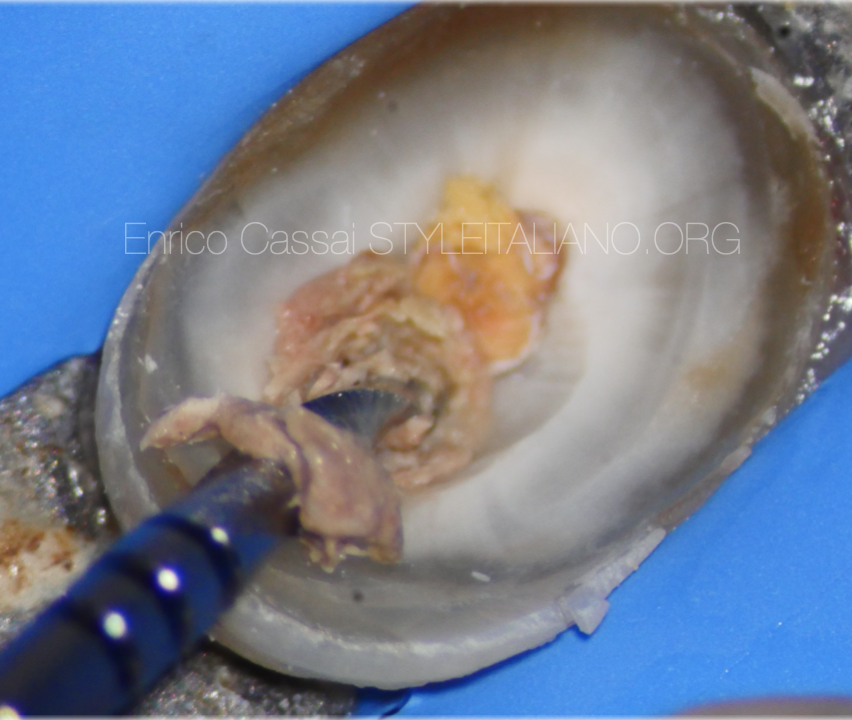
Fig. 7
It is very important to remove most of the material present with mechanical instruments, leaving only the most apical part to solvents, k-files and paper points.
In this way the amount of potentially infected material dissolved by the solvent is minimal, as the materia is spread on the canal side walls by the action of the instruments.
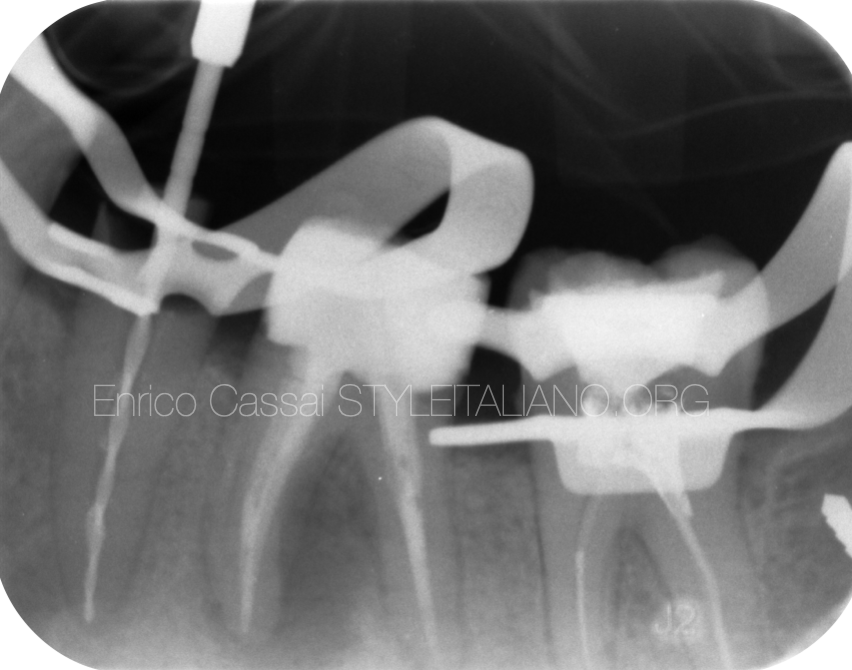
Fig. 8
After scouting the canal at the working length, it is possible to clean and shape the canal entirely.
Only when the mechanical instrument brought to the working length is completely dirty with fresh dentin and the working length is confirmed with x-ray and the accuracy of the correct apical diameter with visual gauging have been checked, it is possible to proceed with the final cleaning.
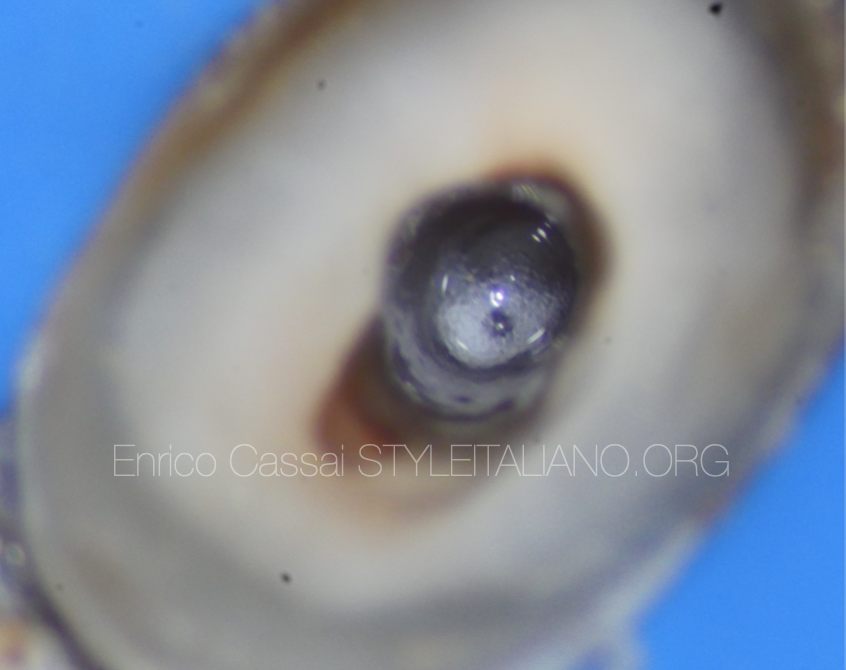
Fig. 9
In this clinical case the cleaning was carrier out as follows:
- 5 minutes NaOCl (30 sec activated + 30 sec irrigate)
- Physiological solution
- 1 minute EDTA (30 sec activated+30 sec irrigate)
- Absolute alcohol
- Chlorexidine
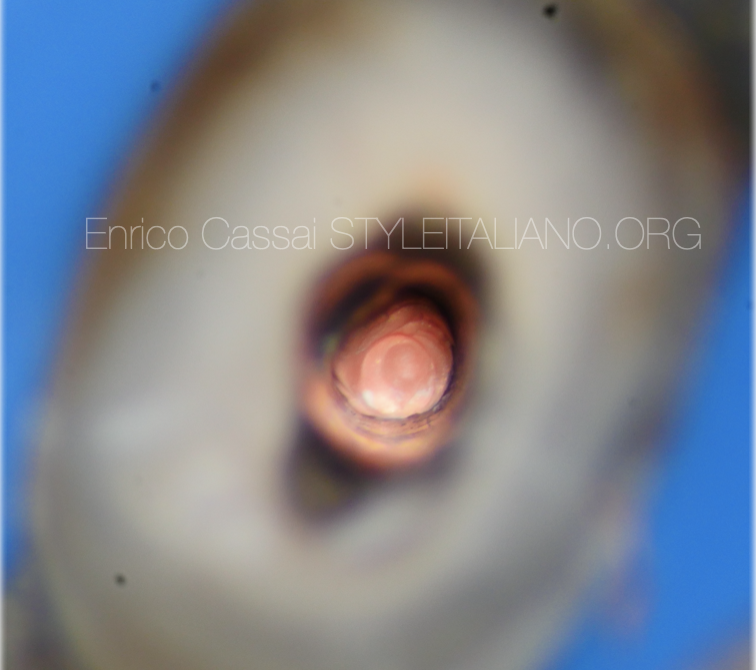
Fig. 10
After drying the canal, it is time to obturate it.
In this case was used the continuous wave of condensation which involves a series of steps such as:
- choice of gutta-percha point with correct tug-back
- calibration of the system-B plugger to the correct length
- calibration of manual pluggers to the right length
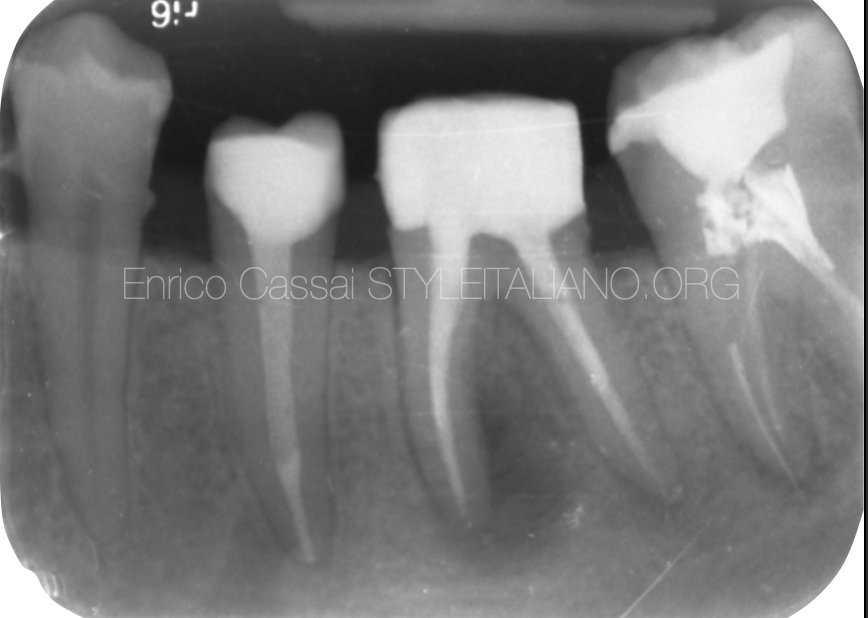
Fig. 11
The tooth is restored with a fiber post and composite material. Cusp coverage has been planned.
Conclusions
This article wants to stress:
- How to understand the type of material to be removed during a retreatment at a diagnostic level
- The importance of knowing all the difficulties present before starting a treatment in order to establish a correct operating timing
- How to properly remove the filling material present inside the canal with the use of ExtEndo
- A winning strategy for performing gutta-percha retreatments
Bibliography
Scianamblo MJ: Endodontic failures: the retreatment of previuosly endodontically retreated teeth, Revue Odontostomatol (Paris), 1988
Parreira FR et al: Cast prosthesis removal using ultrasonic and thermoplastic resin adhesive, J Endod, 1994
Carr GB: Retreatment. In Cohen S, Burns Rc, editors: Pathways of pulp, 1998
Retreatments, Edra