MAP System: choose the right carrier for MTA
16/02/2018
Riccardo Tonini
Warning: Undefined variable $post in /var/www/vhosts/styleitaliano-endodontics.org/endodontics.styleitaliano.org/wp-content/plugins/oxygen/component-framework/components/classes/code-block.class.php(133) : eval()'d code on line 2
Warning: Attempt to read property "ID" on null in /var/www/vhosts/styleitaliano-endodontics.org/endodontics.styleitaliano.org/wp-content/plugins/oxygen/component-framework/components/classes/code-block.class.php(133) : eval()'d code on line 2
The best device for making simple the use of MTA is MAP System, a unique and complete kit, designed for answering to all the different requests of clinicians. Four different kits available on the market, composed by One map syringe and Nine different tips, made of Two different materials and manufactured in Three diameters.
They are: MAP System Intro Kit,Universal Kit, Surgical Kit and Map One Kit.
One can choose stainless steel or NiTi tips for placing root canal repair materials by orthograde or retrograde technique. NiTi tips can be bended in every shape desired and, after sterilization process, they come back to the original form. Tips are manufactured in Three different diameters, ranging from the smallest (0.90mm) for reaching the deepest part of the canal, to the medium one (1.10mm) and the biggest (1.30mm) for applying in one shot a larger amount of material. Yellow,Red and Blue are, respectively, the colors chosen for identifying sizes.
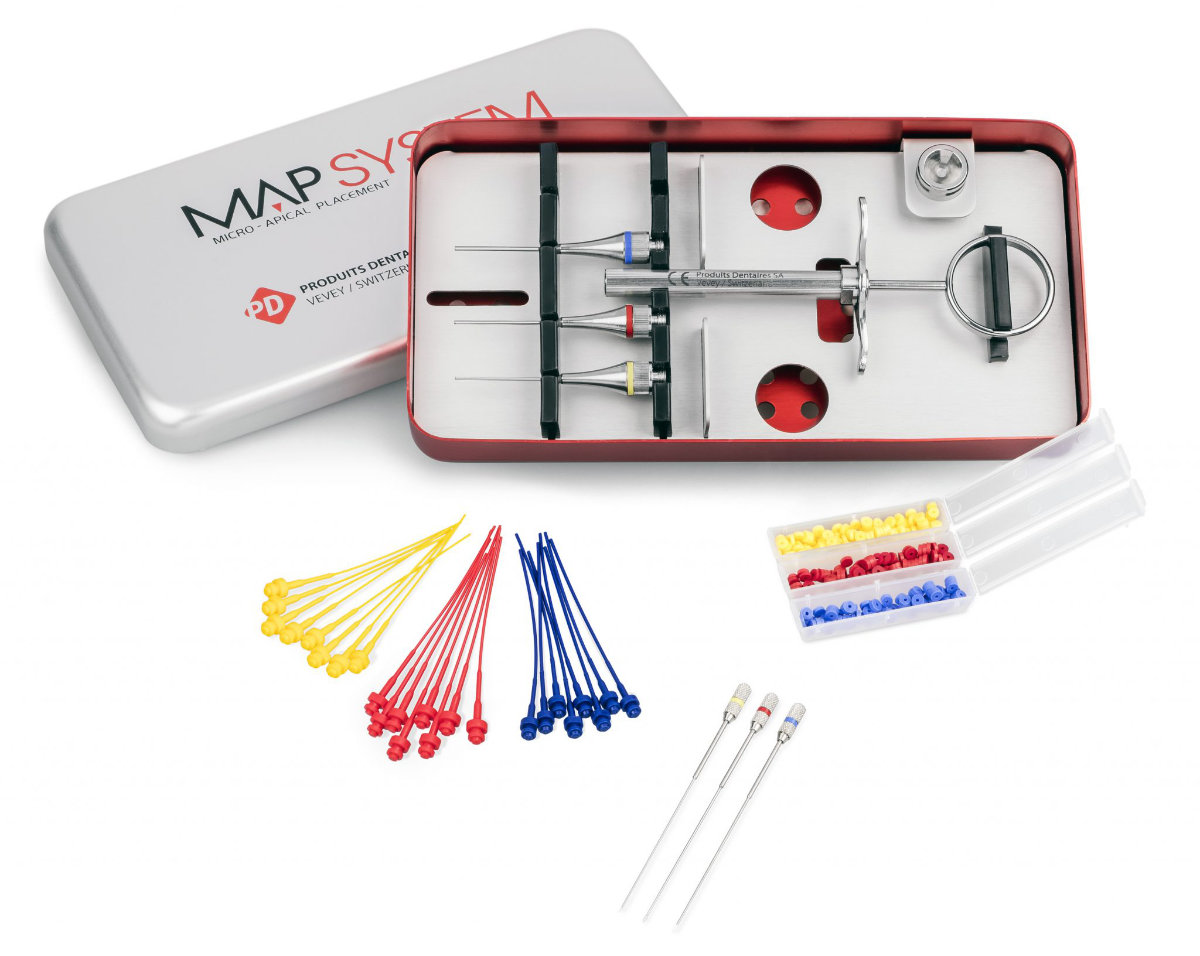
Fig. 1
The intro kit: Three NiTi tips (0.90,1.10,1.30 mm)
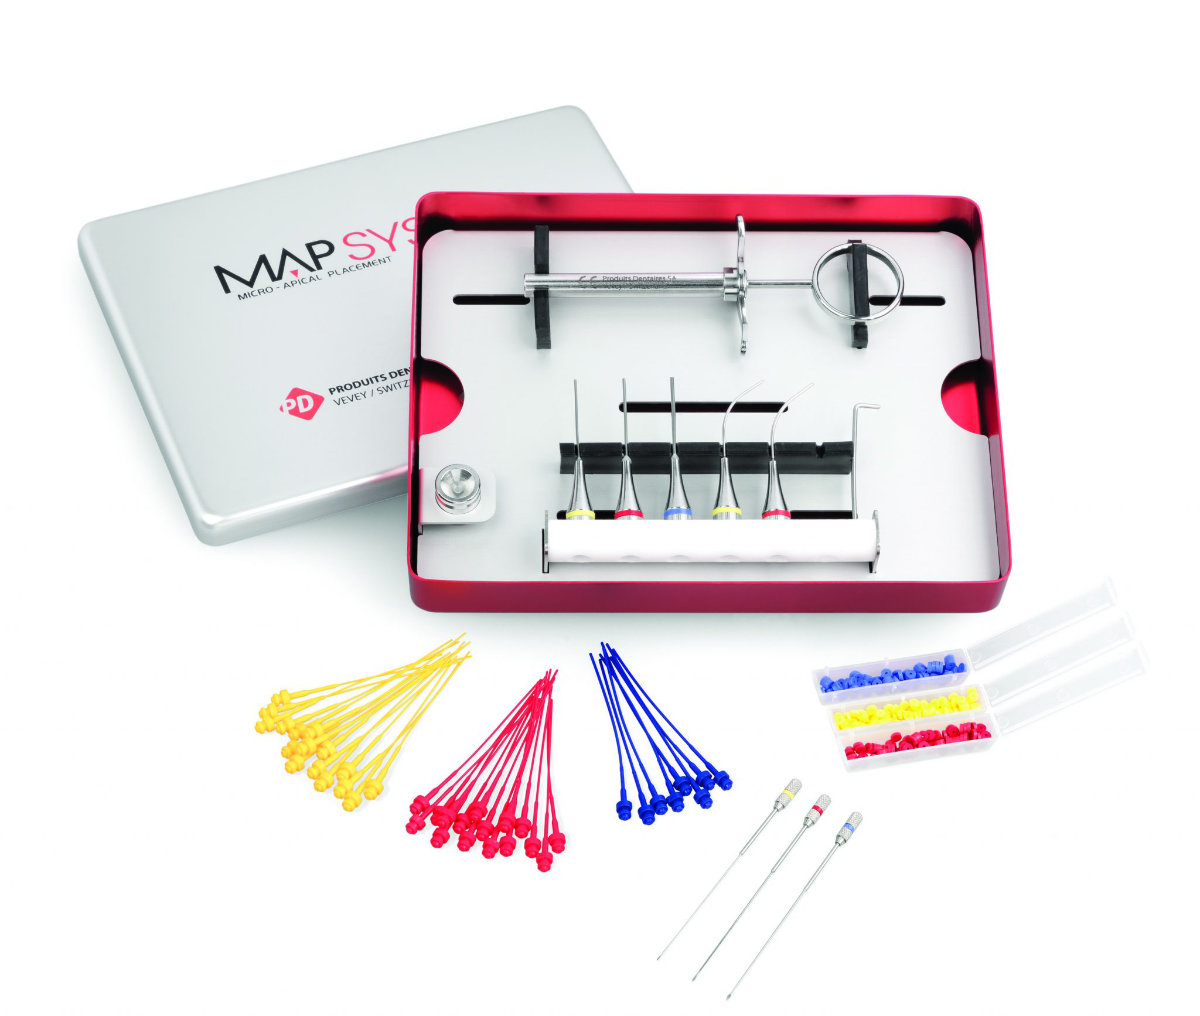
Fig. 2
The Universal Kit: Three NiTi and Two Stainless steel tips.
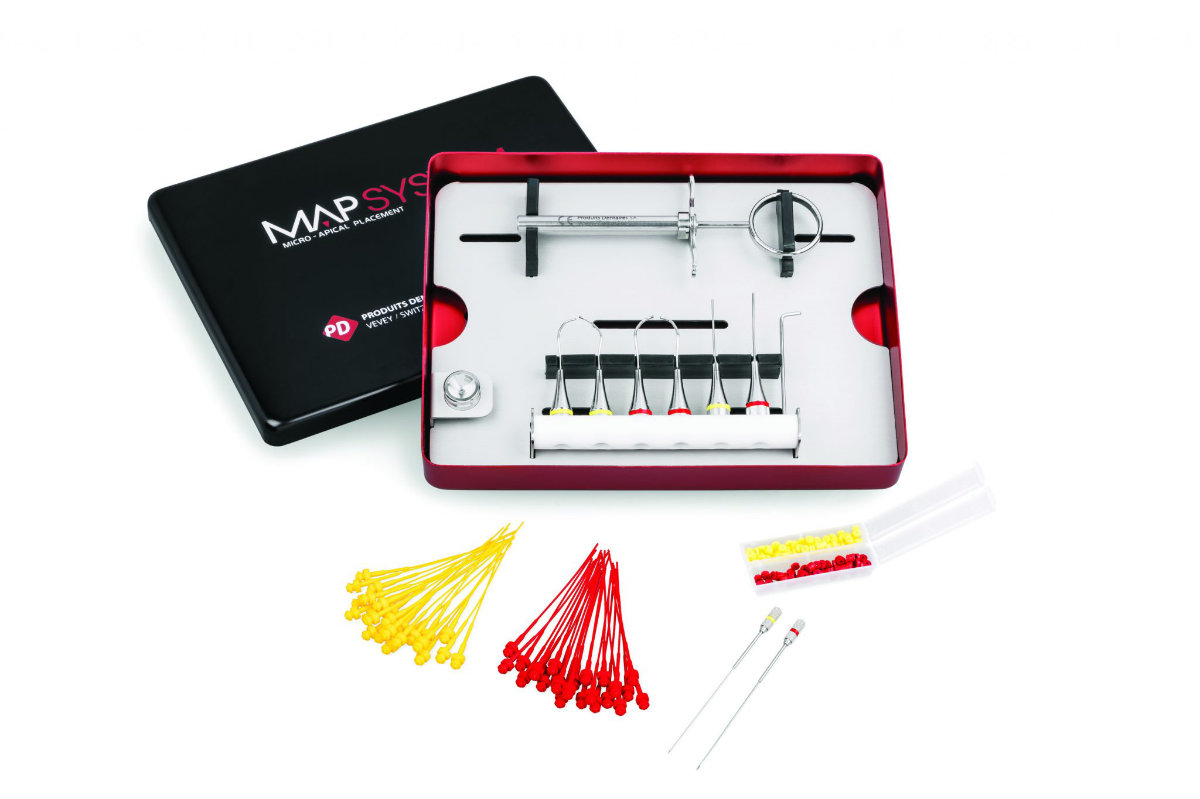
Fig. 3
The surgical kit: Four pre-bent stainless steel (right and left) and two NiTi tips. The pre bent tips are useful, because they have a double curvature designed in order to fit also into a small surgical access.

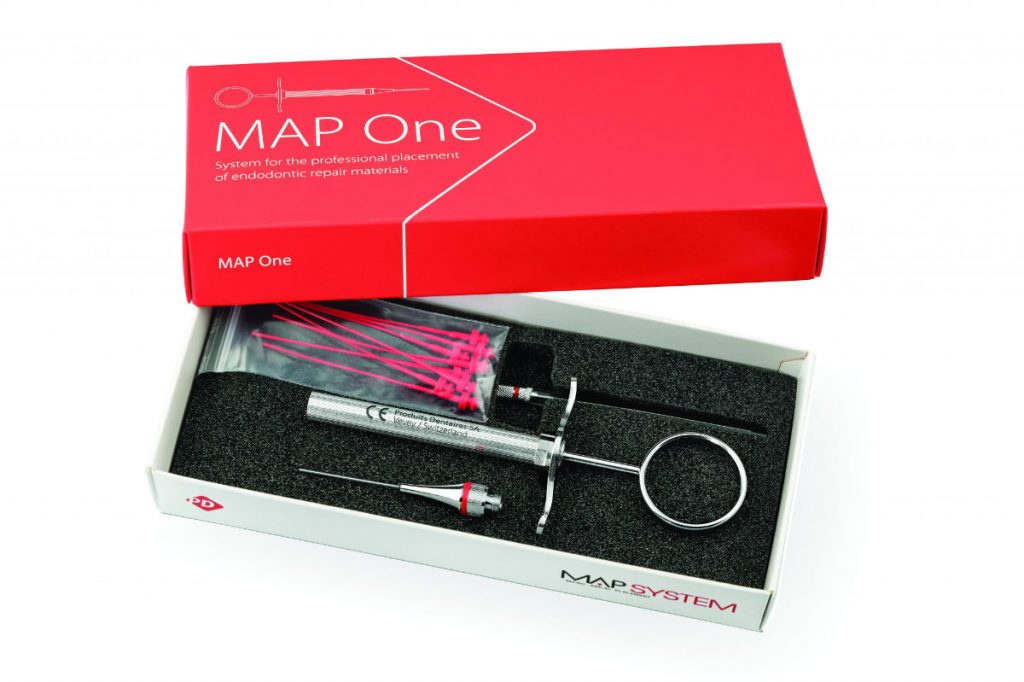
Fig. 4
The Map One: One Tip, 1.10mm, made in NiTi. This is a real starter kit for beginners, for those who want to start handling MTA in a proper way.
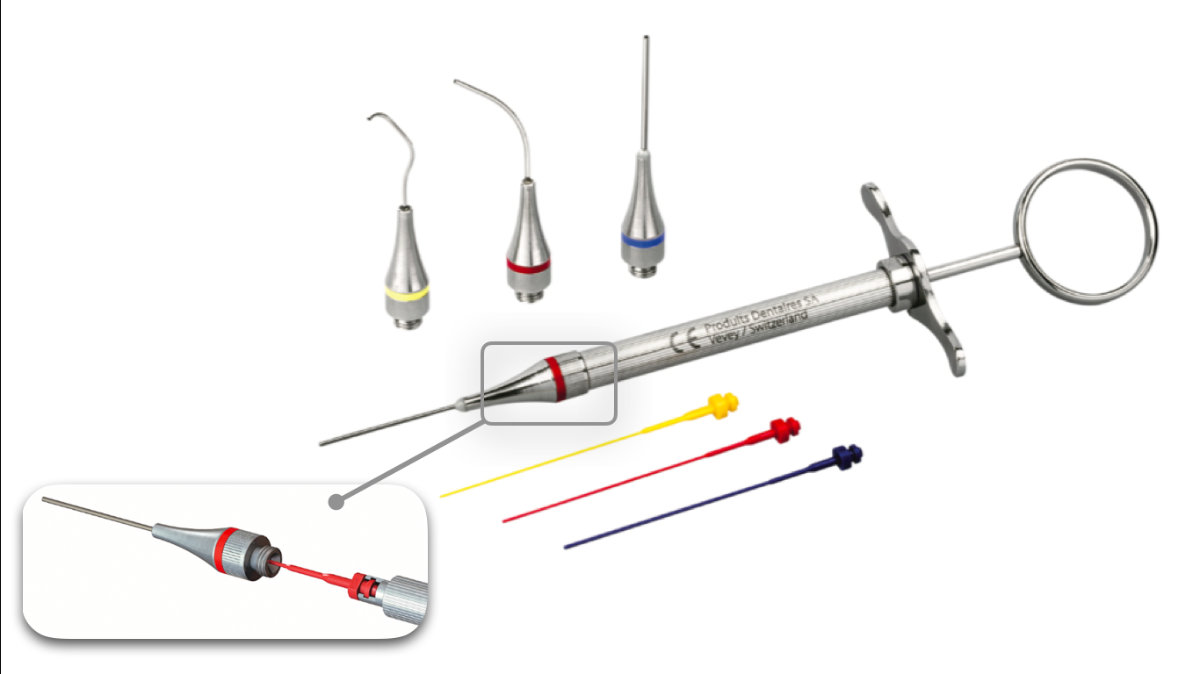
Fig. 6
Connect universal Syringe to the plastic plunger is easy with the bayonet counter system.
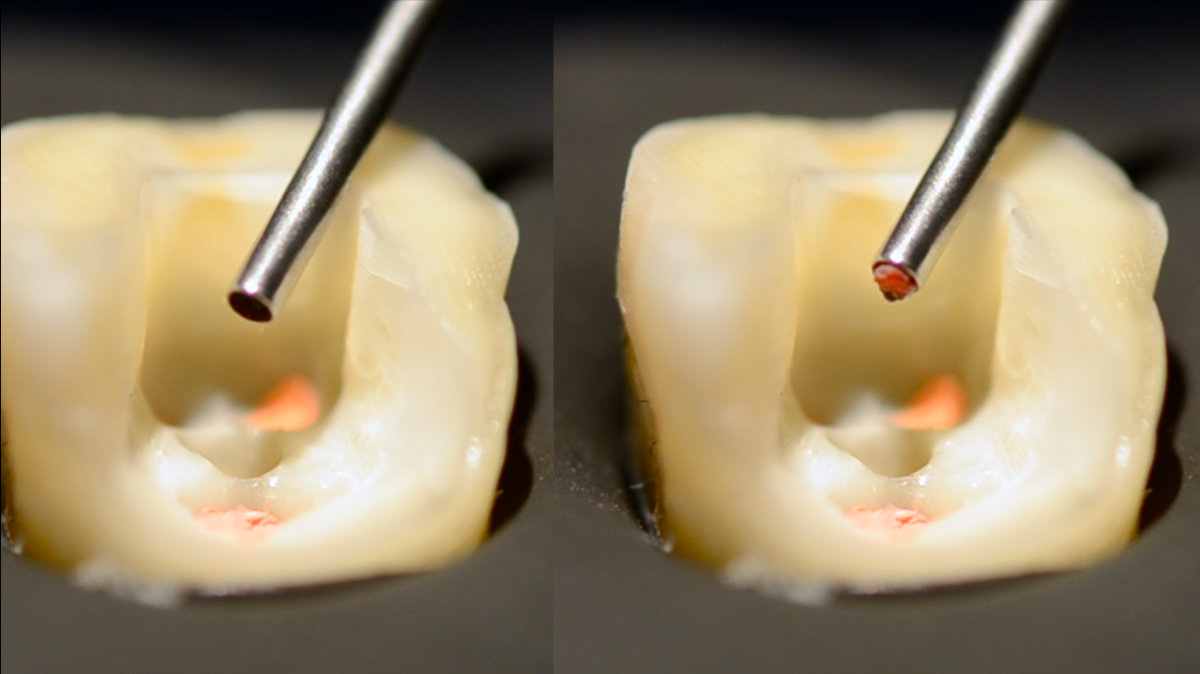
Fig. 7
Inside every tip there is a plastic plunger. When released, it leaves enough space inside the tube for collecting MTA, forming a 4mm-long bar. When the syringe piston is pressed all the material collected inside the tip is extruded and the plastic plunger appears from the inside.
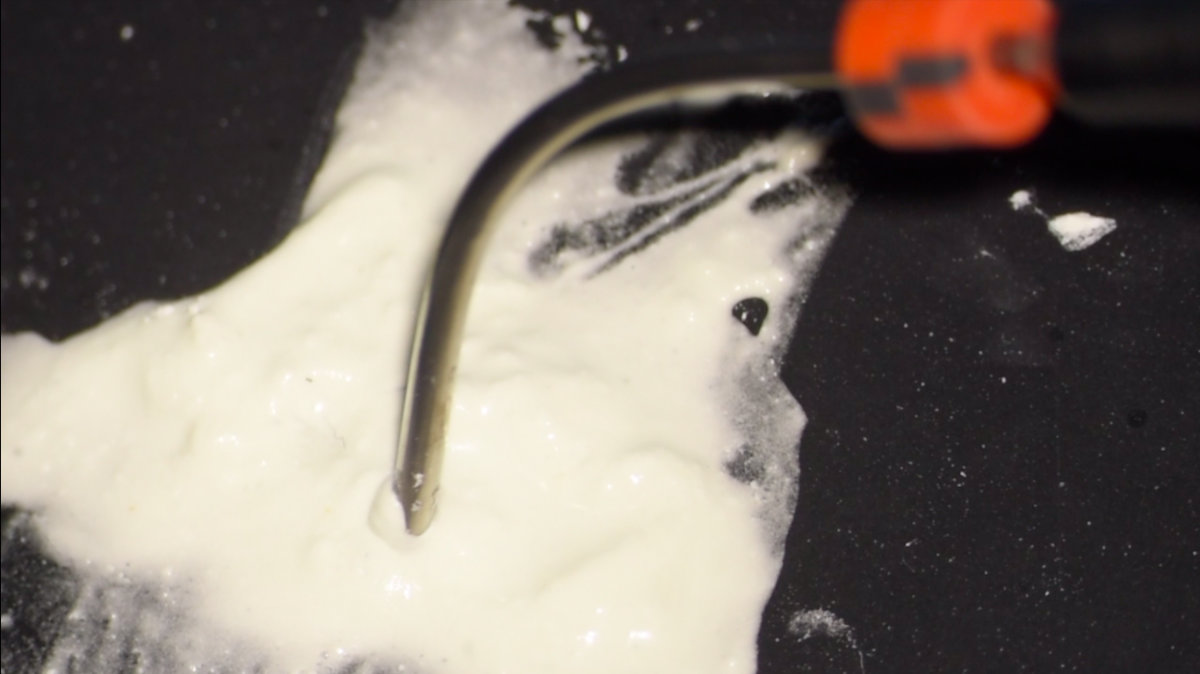
Fig. 8
Collect MTA thrusting the tip (of the needle) into the repair material several times, so that it is filled (the syringe piston must be fully released so that the most abundant volume of MTA is collected into the needle tip and is available for the filling).
Conclusions
Now it is possible to apply MTA in the desired place, following the preferred protocol for repairing floor perforation, stripping, resorption, open apex, pulp capping and filling retro cavity after surgery.
At the end it is important to clean the the head of the tip using the cleaning curette.
USING MTA HAS NEVER BEEN SO EASY!