Management of a retreatment case with multiple endodontic mishaps
22/10/2020
Viresh Chopra
Warning: Undefined variable $post in /var/www/vhosts/styleitaliano-endodontics.org/endodontics.styleitaliano.org/wp-content/plugins/oxygen/component-framework/components/classes/code-block.class.php(133) : eval()'d code on line 2
Warning: Attempt to read property "ID" on null in /var/www/vhosts/styleitaliano-endodontics.org/endodontics.styleitaliano.org/wp-content/plugins/oxygen/component-framework/components/classes/code-block.class.php(133) : eval()'d code on line 2
Endodontic mishaps can interfere with the healing process of the body and can result in failure of the root canal treatment if not taken care of. Perforation, if present should be handled immediately and adequate materials to be used for better results. Fracture of an instrument results in improper cleaning and shaping of the remaining part of the canal beyond the fractured instrument. Proper cleaning and shaping of the root canals along with adequate disinfection is one of the important requirements for the success of the endodontic treatment. Ledge formation results in loss of working length. If not bypassed it also leaves the part of the canal beyond the ledge uncleaned which can majorly result in failure of the treatment done.
This case report shows a root canal failure case with multiple perforations, inadequate obturation, instrument fracture, ledge formation and a missed canal.
Description of the case
Patient information
- Age: 34-year old
- Gender: Male
- Medical history: non-contributory
- Identification: Right maxillary first molar (Tooth 16)
- Dental history :
- Chief complaint: Patient reported with a chief complaint of intraoral swelling with tenderness on biting. In addition, complaints of bad taste occasionally.
- Clinical examination findings: The tooth 16 is tender to percussion and had a resin composite restoration. The buccal vestibule had intraoral swelling associated with draining sinus.
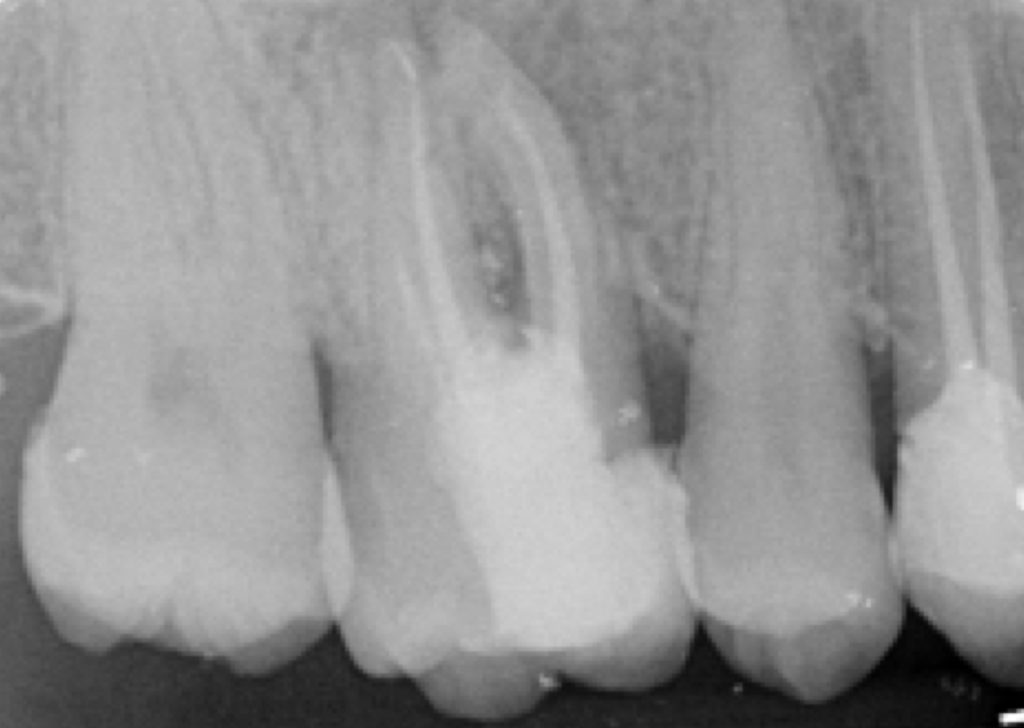
Preoperative radiological assessment:
The periapical radiograph revealed previous root canal treatment in 16. The following are the observations after reading the pre-operative radiograph:
- Furcal periradicular radiolucency
- Short obturation in all the canals
- Periapical radiolucent around DB root
- Suspected ledge formation in DB root
- Suspected fractured instrument in the apical part of the MB root
- Diagnosis (pulpal and periapical): Symptomatic apical periodontitis with inadequate root canal treatment.
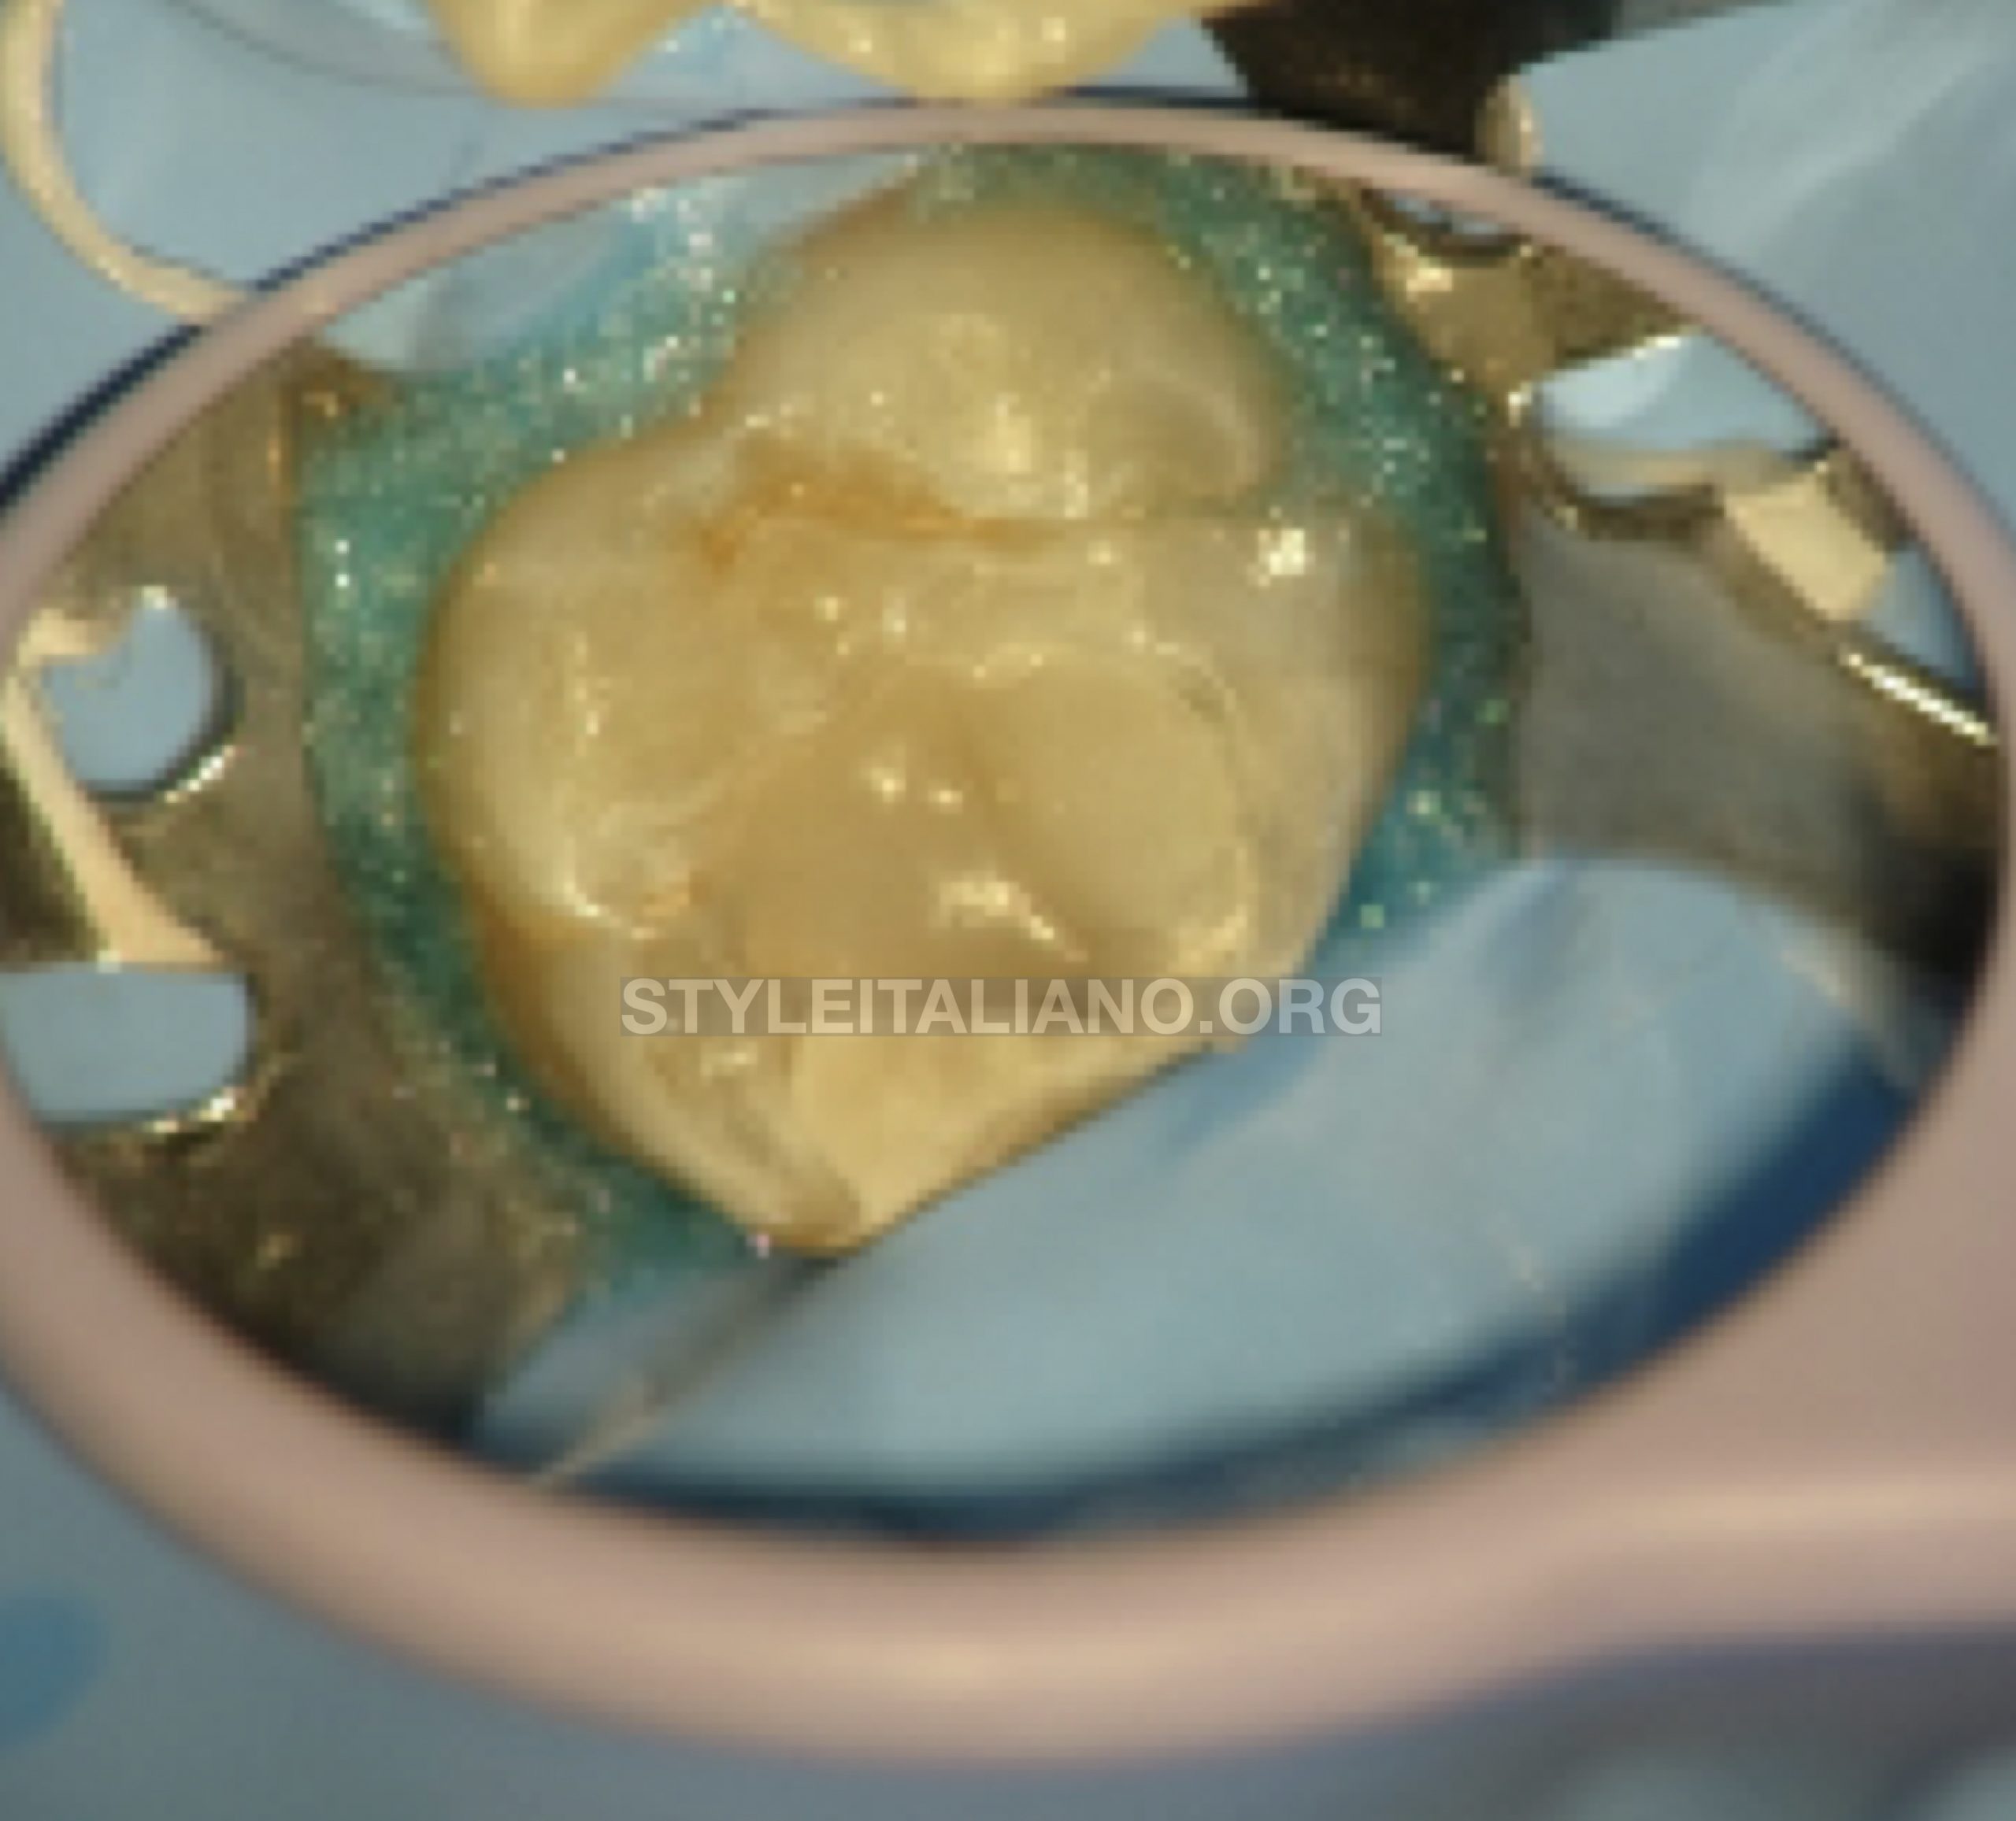
Fig. 1
Rubber dam isolation of tooth 16. Occlusal surface with resin composite restoration is visible.

Fig. 2
The first step was to remove resin composite restoration and locate the existing gutta percha.
Endodontic ultrasonic tips were used to gain entry into the pulp chamber and while locating existing gutta percha, signs of perforation in the central part as well as palatal aspect were seen. The composite on the proximal wall was intentionally kept as it will serve as a proximal barrier.
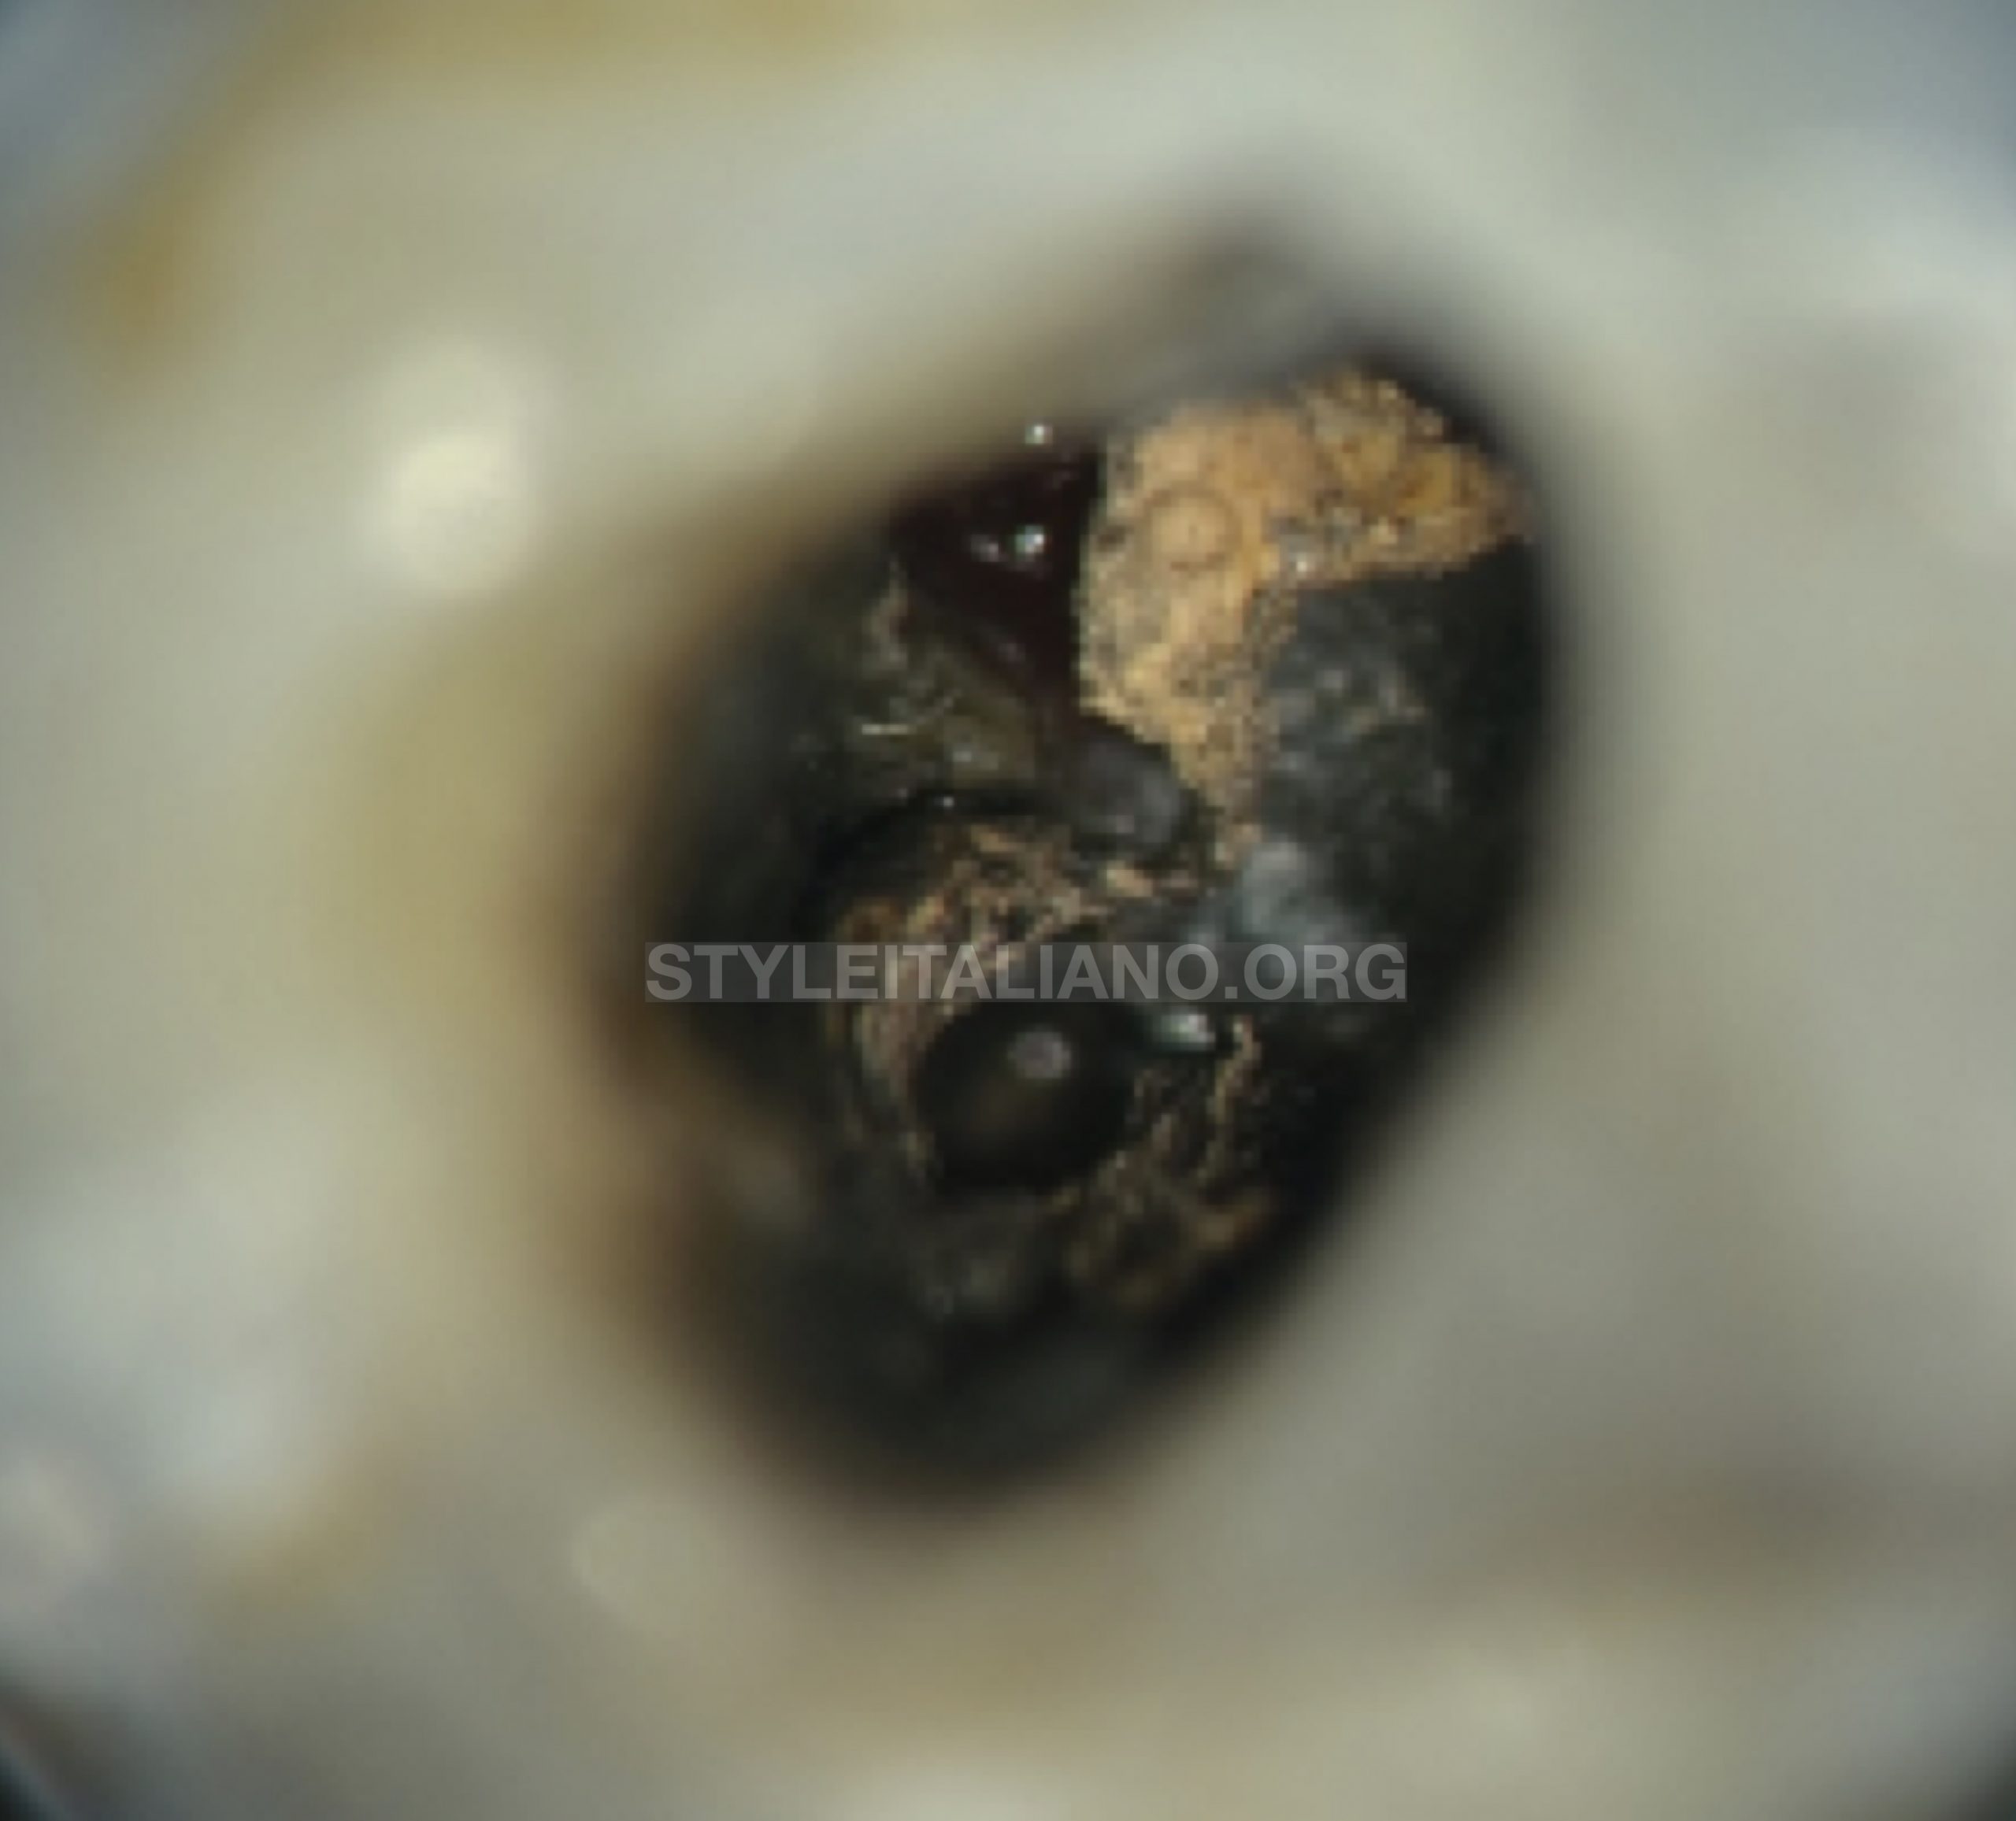
Fig. 3
The access cavity was prepared to have a straight-line access to the canals. Adequate care was taken not to widen the pulpal floor perforation. Once the orifices were located, gutta percha was removed from the canals taking care not to touch the perforation site. Removal of previous gutta percha from the canals was done by retreatment files. The gutta percha was first softened with the use of gutta percha solvent and then retreatment rotary file was introduced to facilitate the removal of gutta percha from the canal.
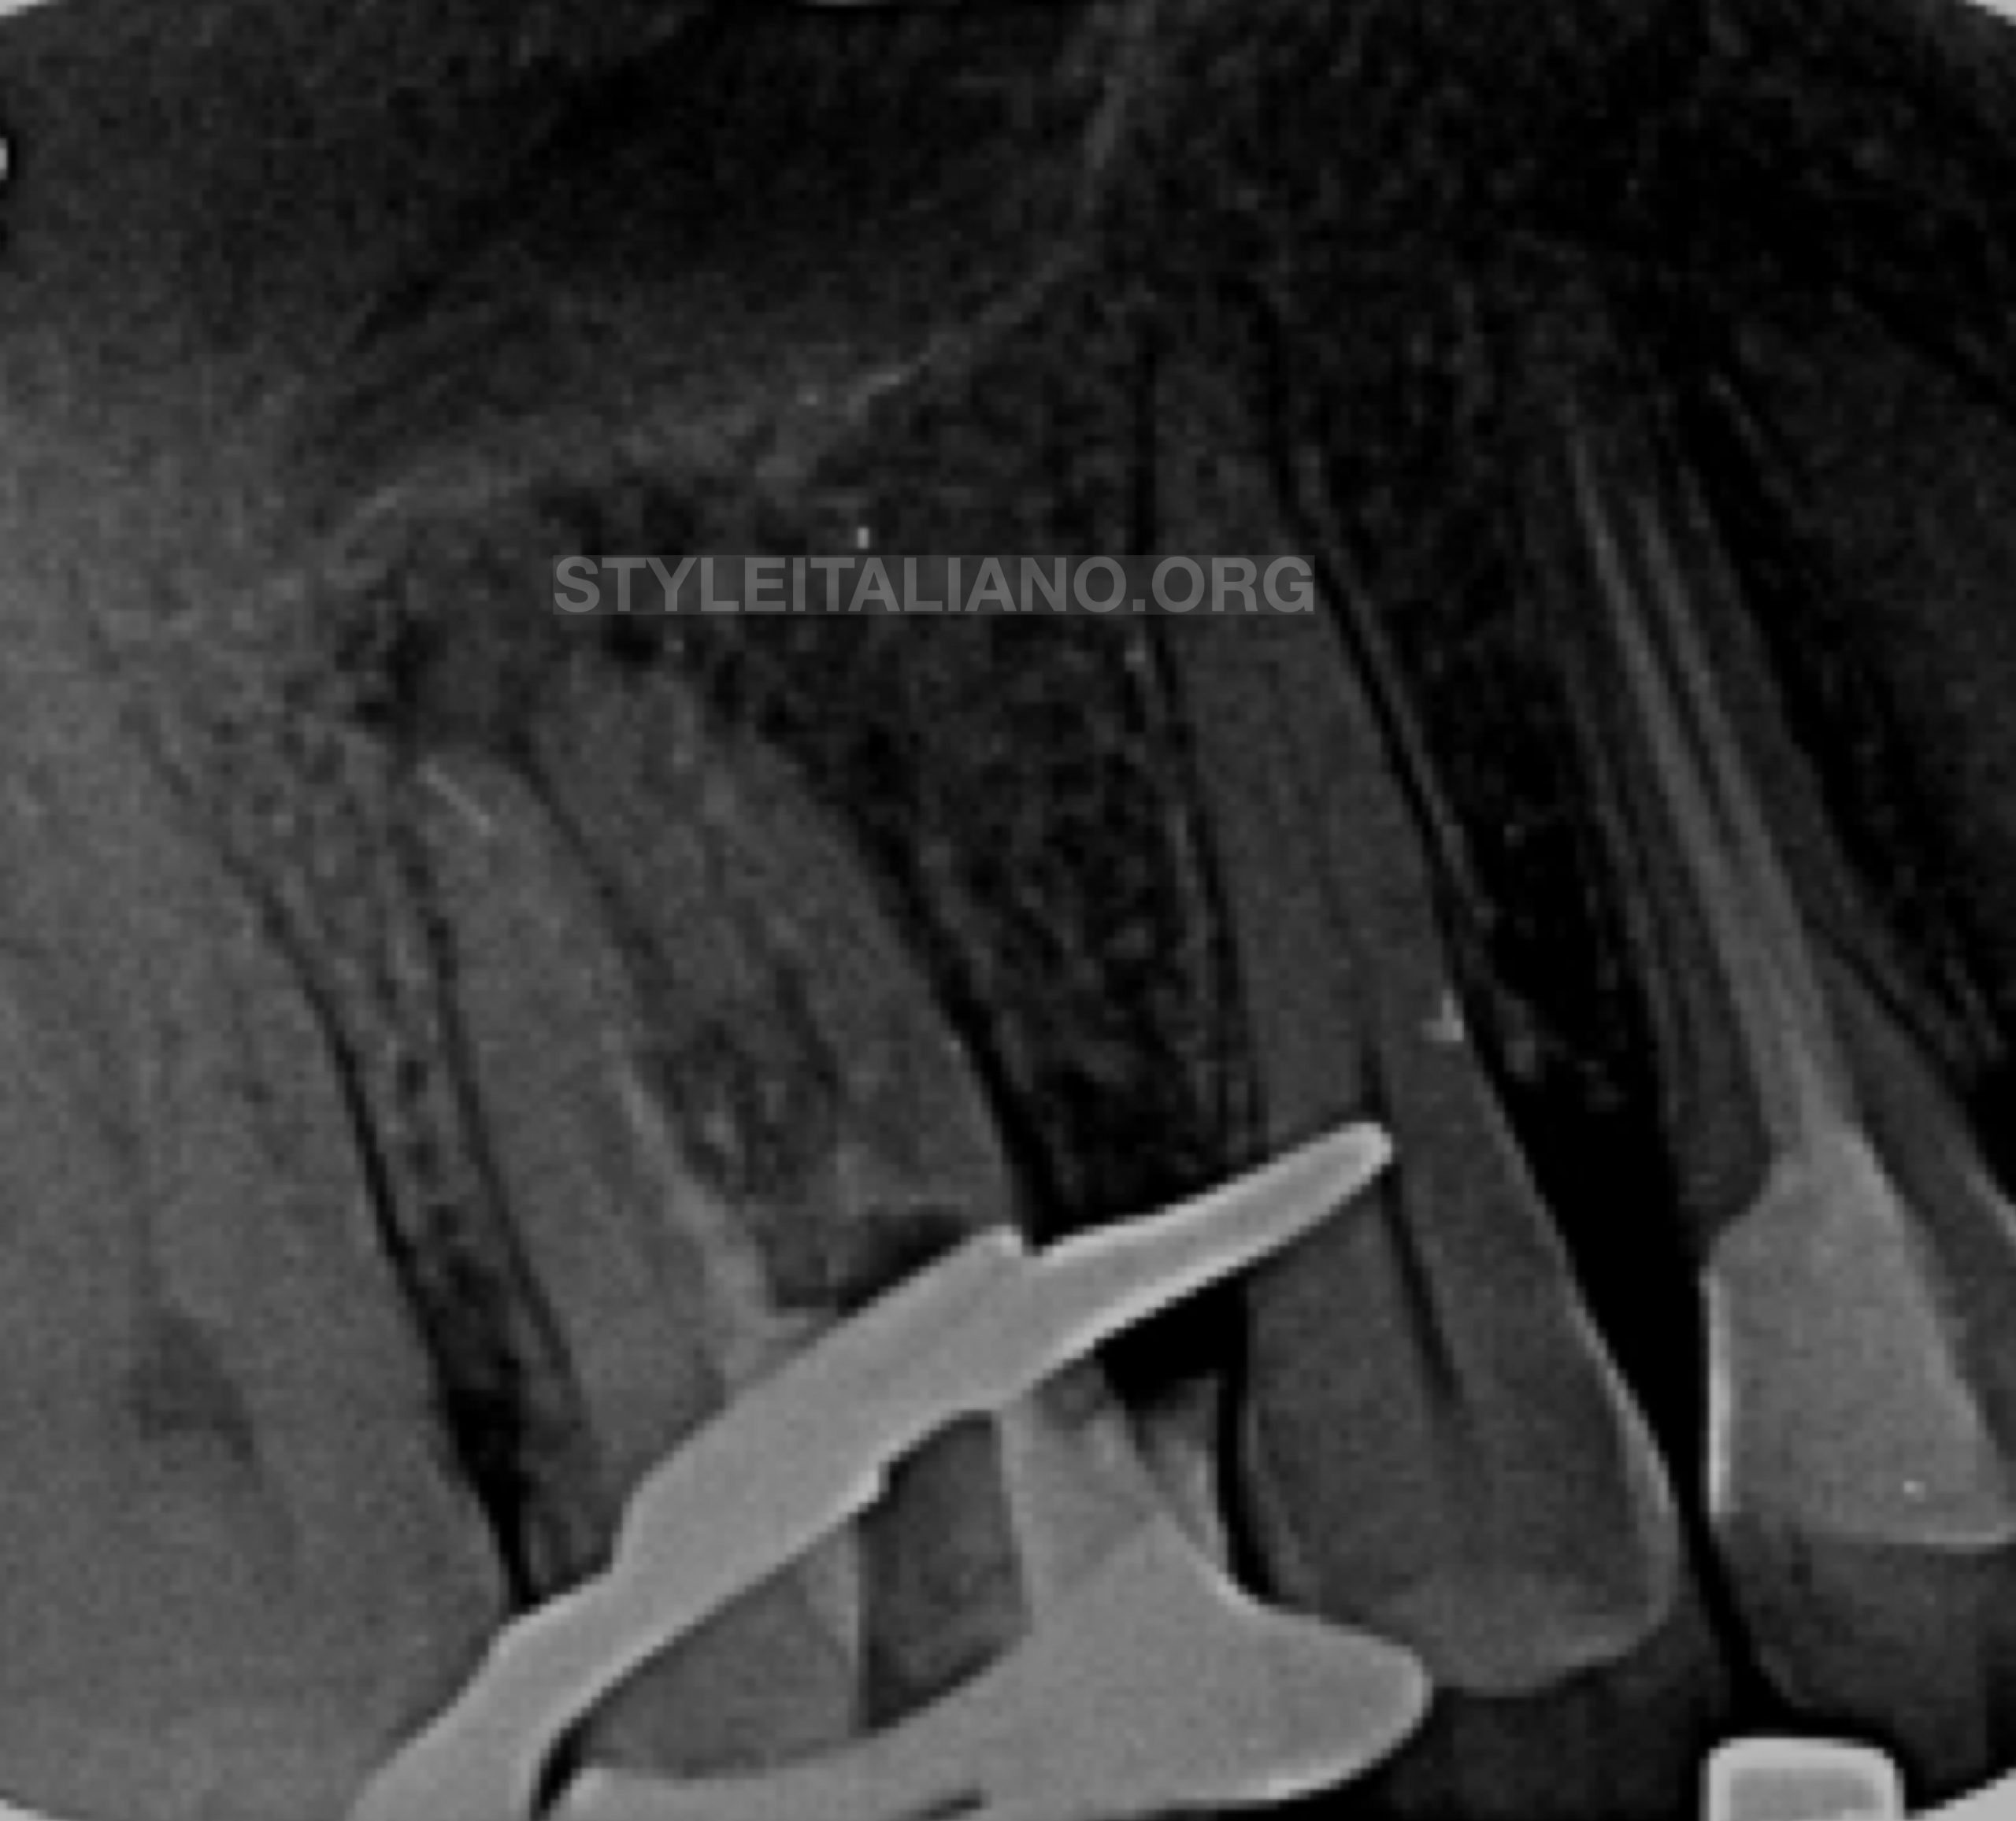
Fig. 4
Once complete removal of gutta percha was done and verified on the radiograph
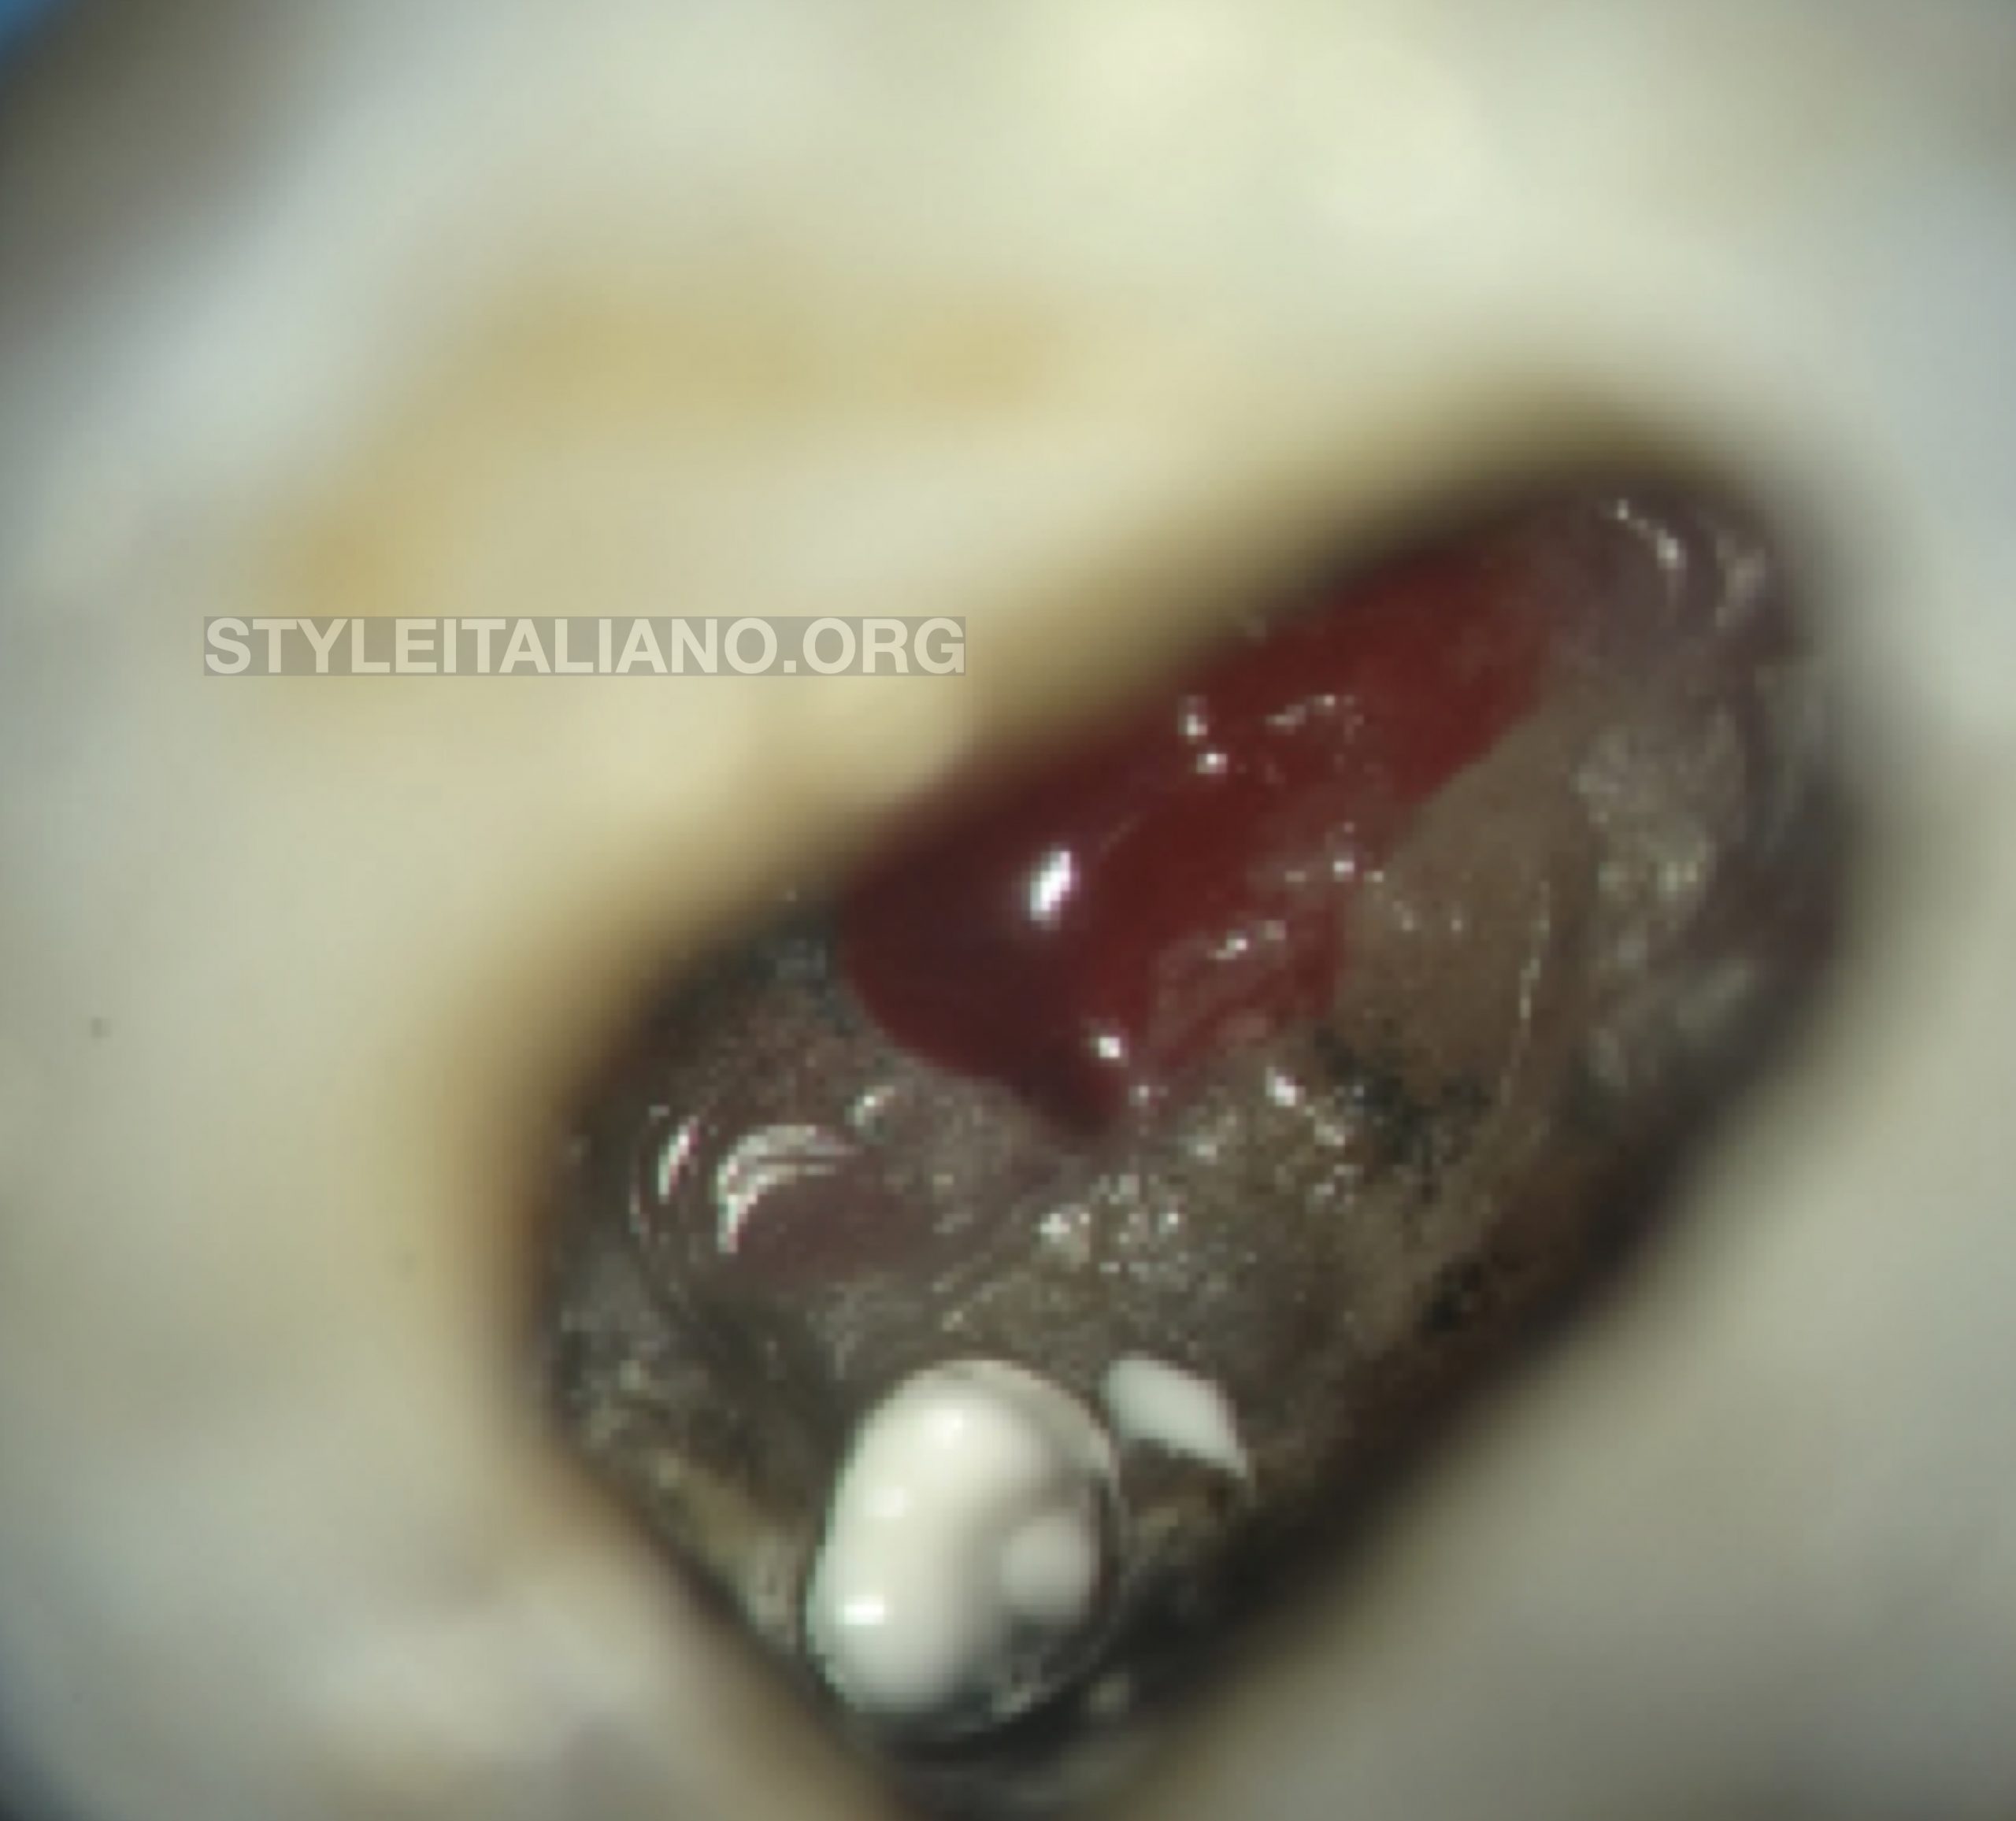
Fig. 5
Intracanal medicament was placed inside the canals and preparations for perforation repair were done.
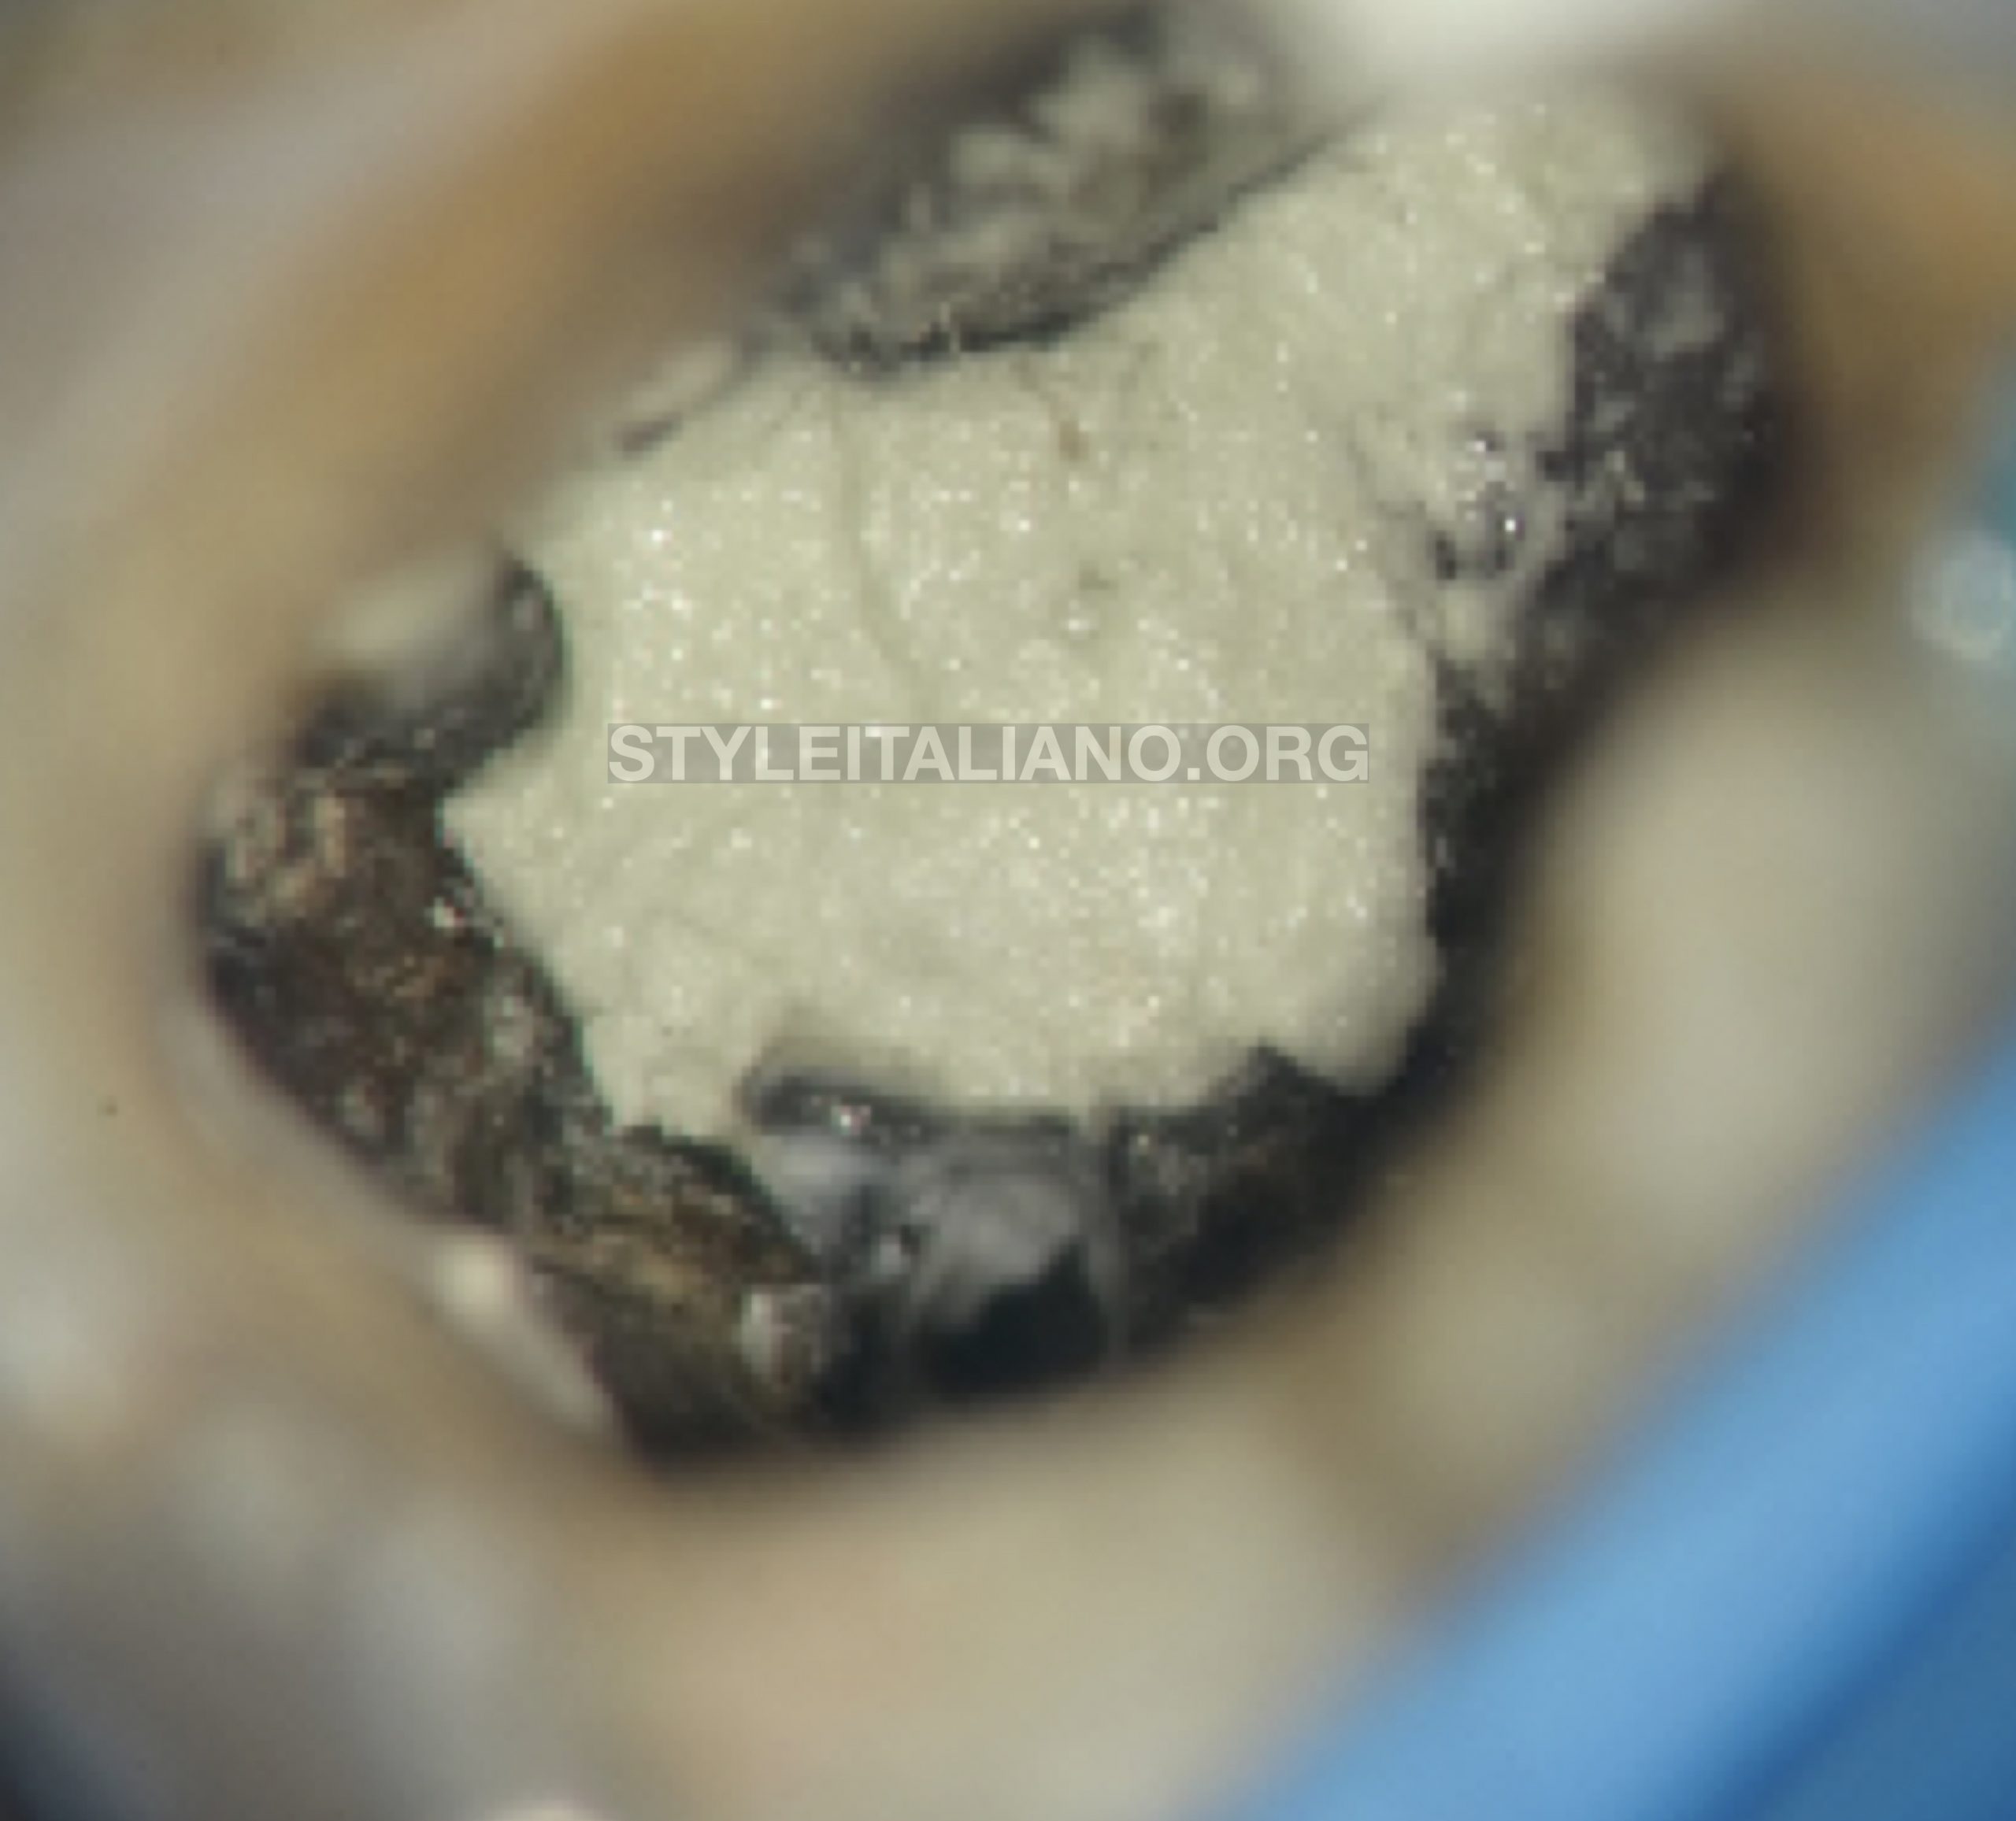
Fig. 6
The orifices of the canals were temporarily blocked with gutta percha, the perforations were dried and MTA mixed as per the manufacturer’s instructions. MTA was placed in increments and perforation was sealed. Temporary restoration was given and patient recalled for next appointment.
MTA was placed in small increments
Fig. 7
In the following appointment while removing the temporary restoration the proximal composite restoration fell off due to vibrations exposing another perforation beneath. The palatal perforation was dried and placement of MTA was repeated in order to seal the perforation.
Fig. 8
A Microbrush was used to condense MTA and hydrate it in order to facilitate faster setting of MTA.
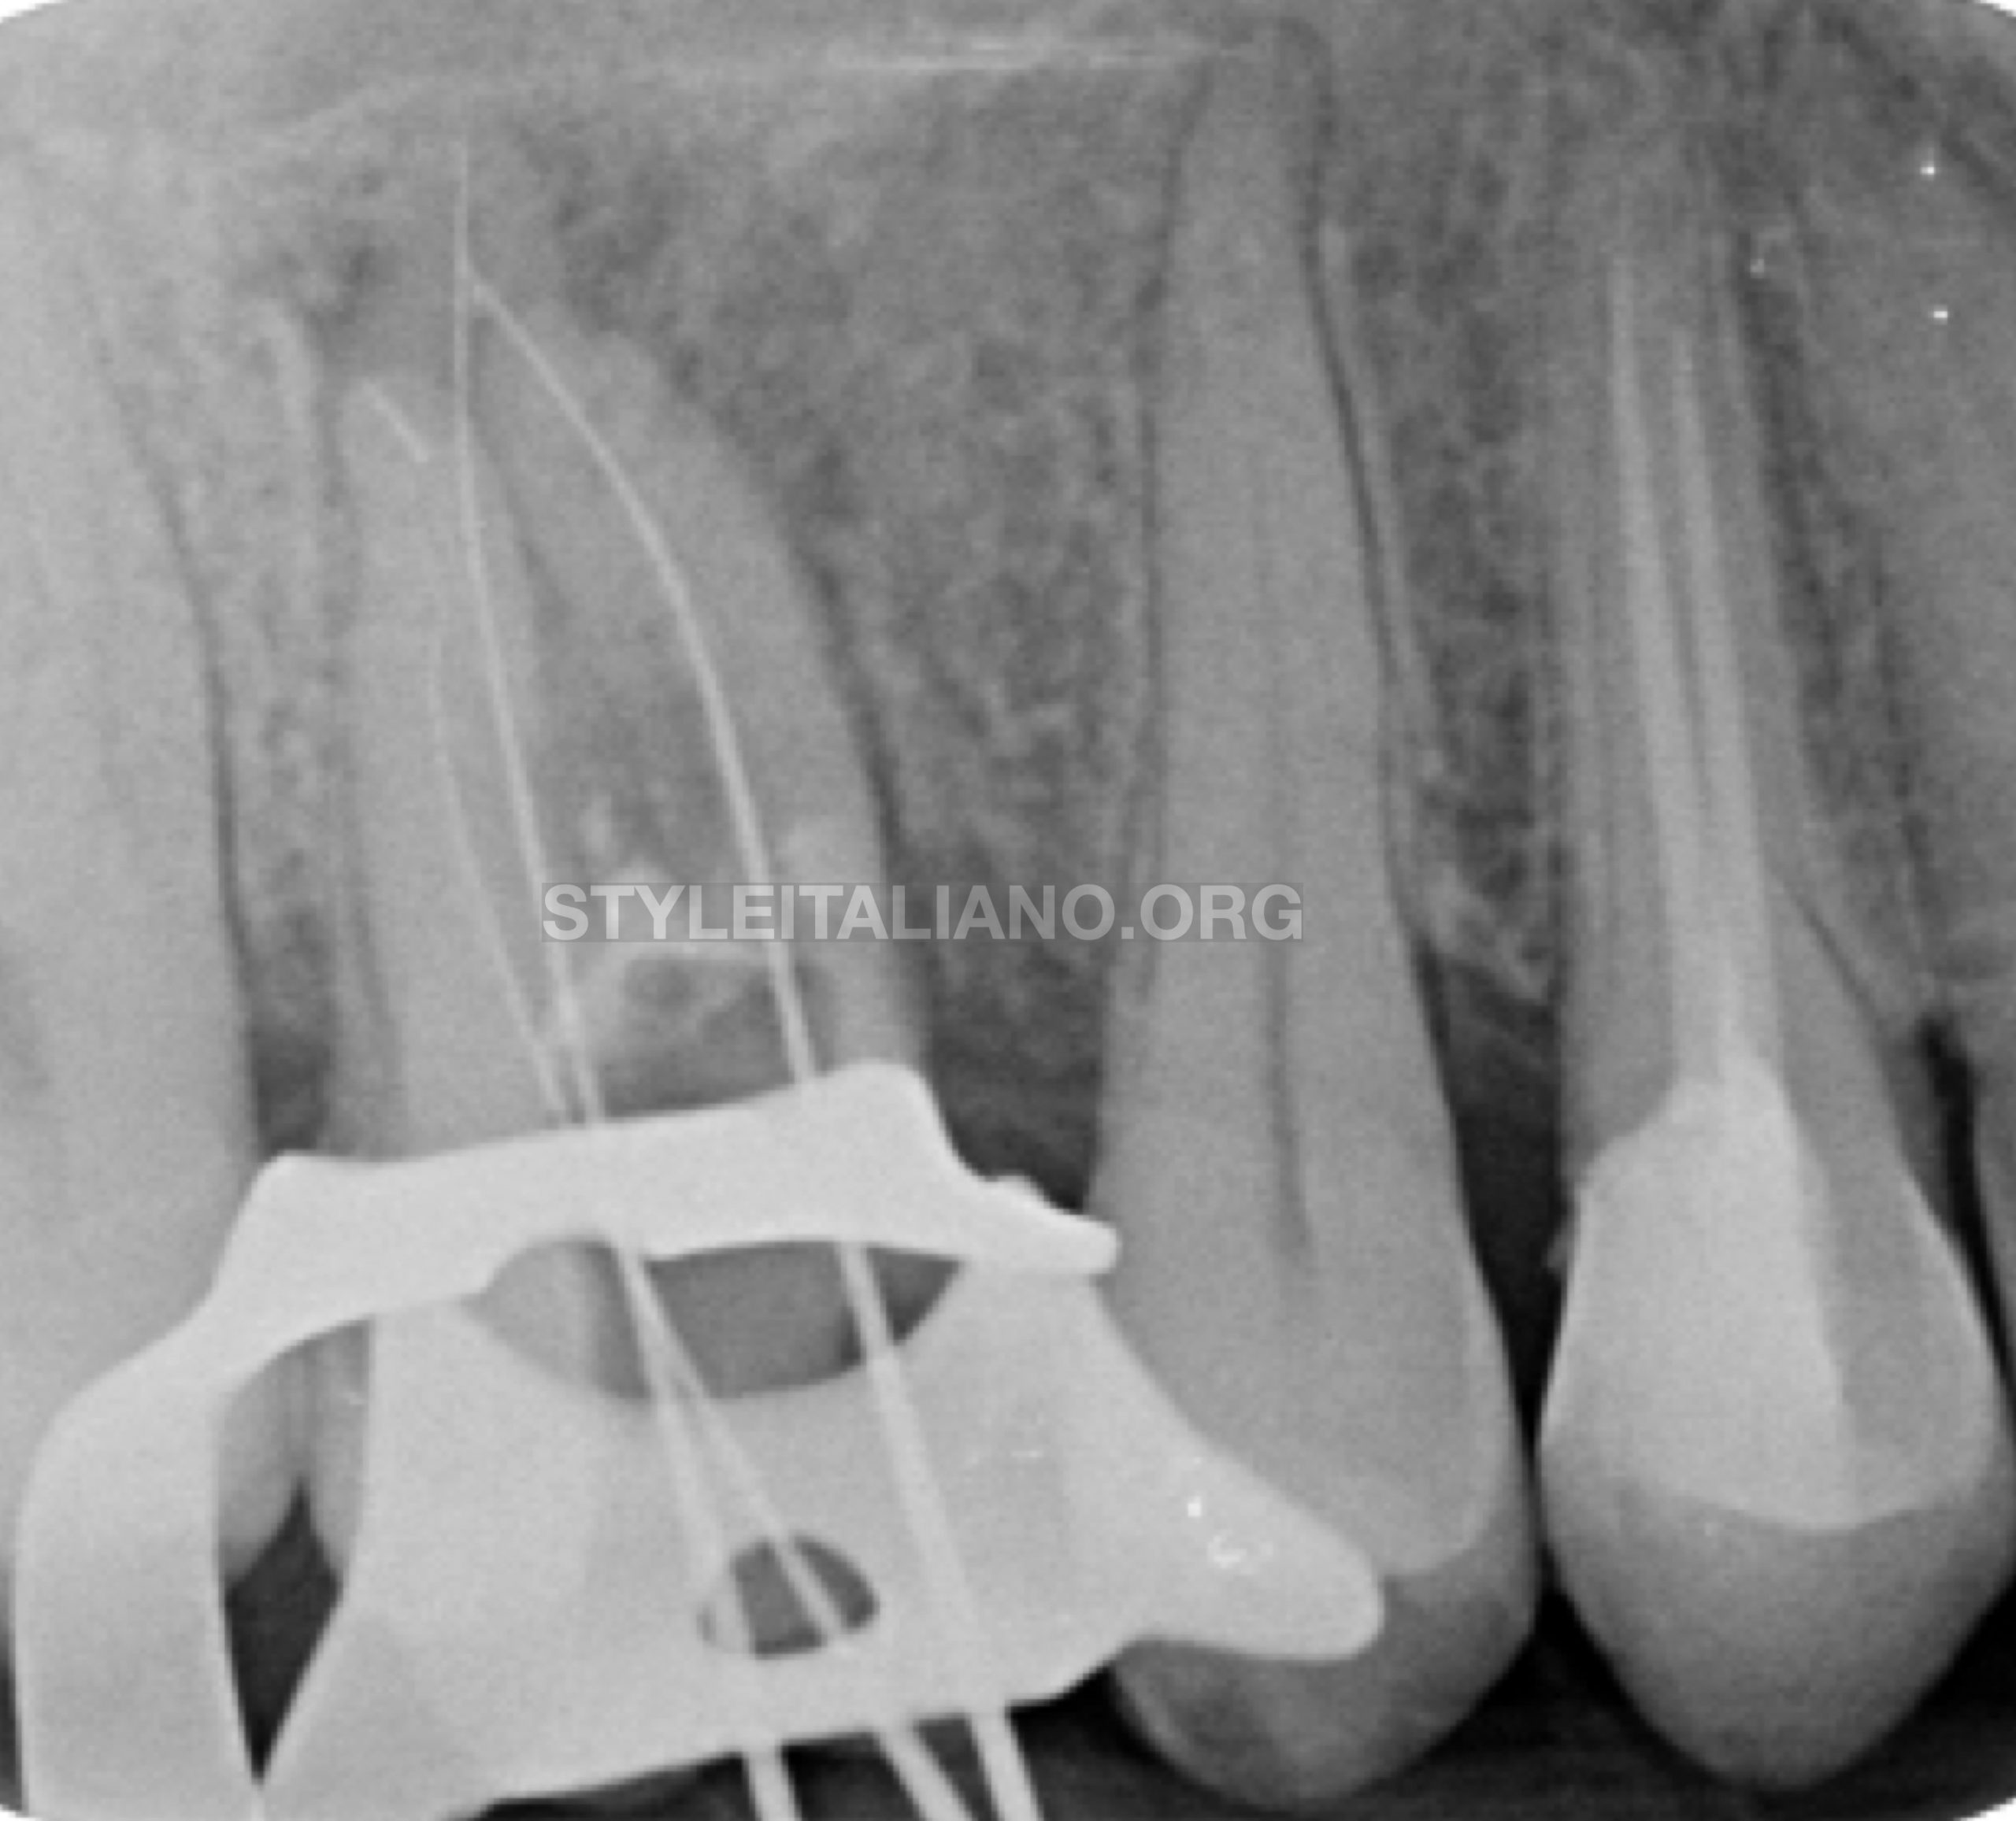
Fig. 9
On subsequent visit, clinically, the intraoral swelling and the draining sinus had subsided. The patient also felt relief on biting the tooth. Clinically, the body tissues could be seen responding to the treatment protocol positively. Working length was determined using electronic apex locator and verified on a radiograph
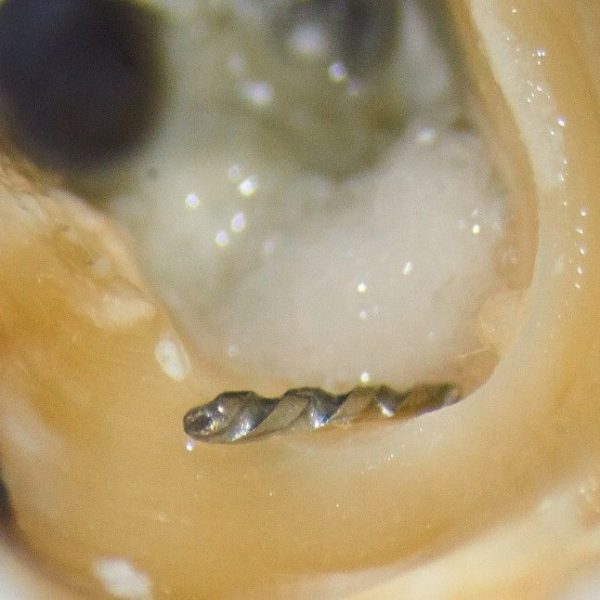
Decision was made not to attempt instrument removal but to attempt bypassing the fractured instrument in the distobuccal canal. However, since bypassing the instrument was not successful, the distobuccal canal was cleaned until the fractured instrument.
The Mesiobuccal canal had ledge in the apical part of the canal. No. 10K file was pre-curved in order to attempt bypassing the ledge. Once the ledge was bypassed, the wall of the canal having ledge was filed in order to remove the ledge and facilitate cleaning the whole length of the canal.
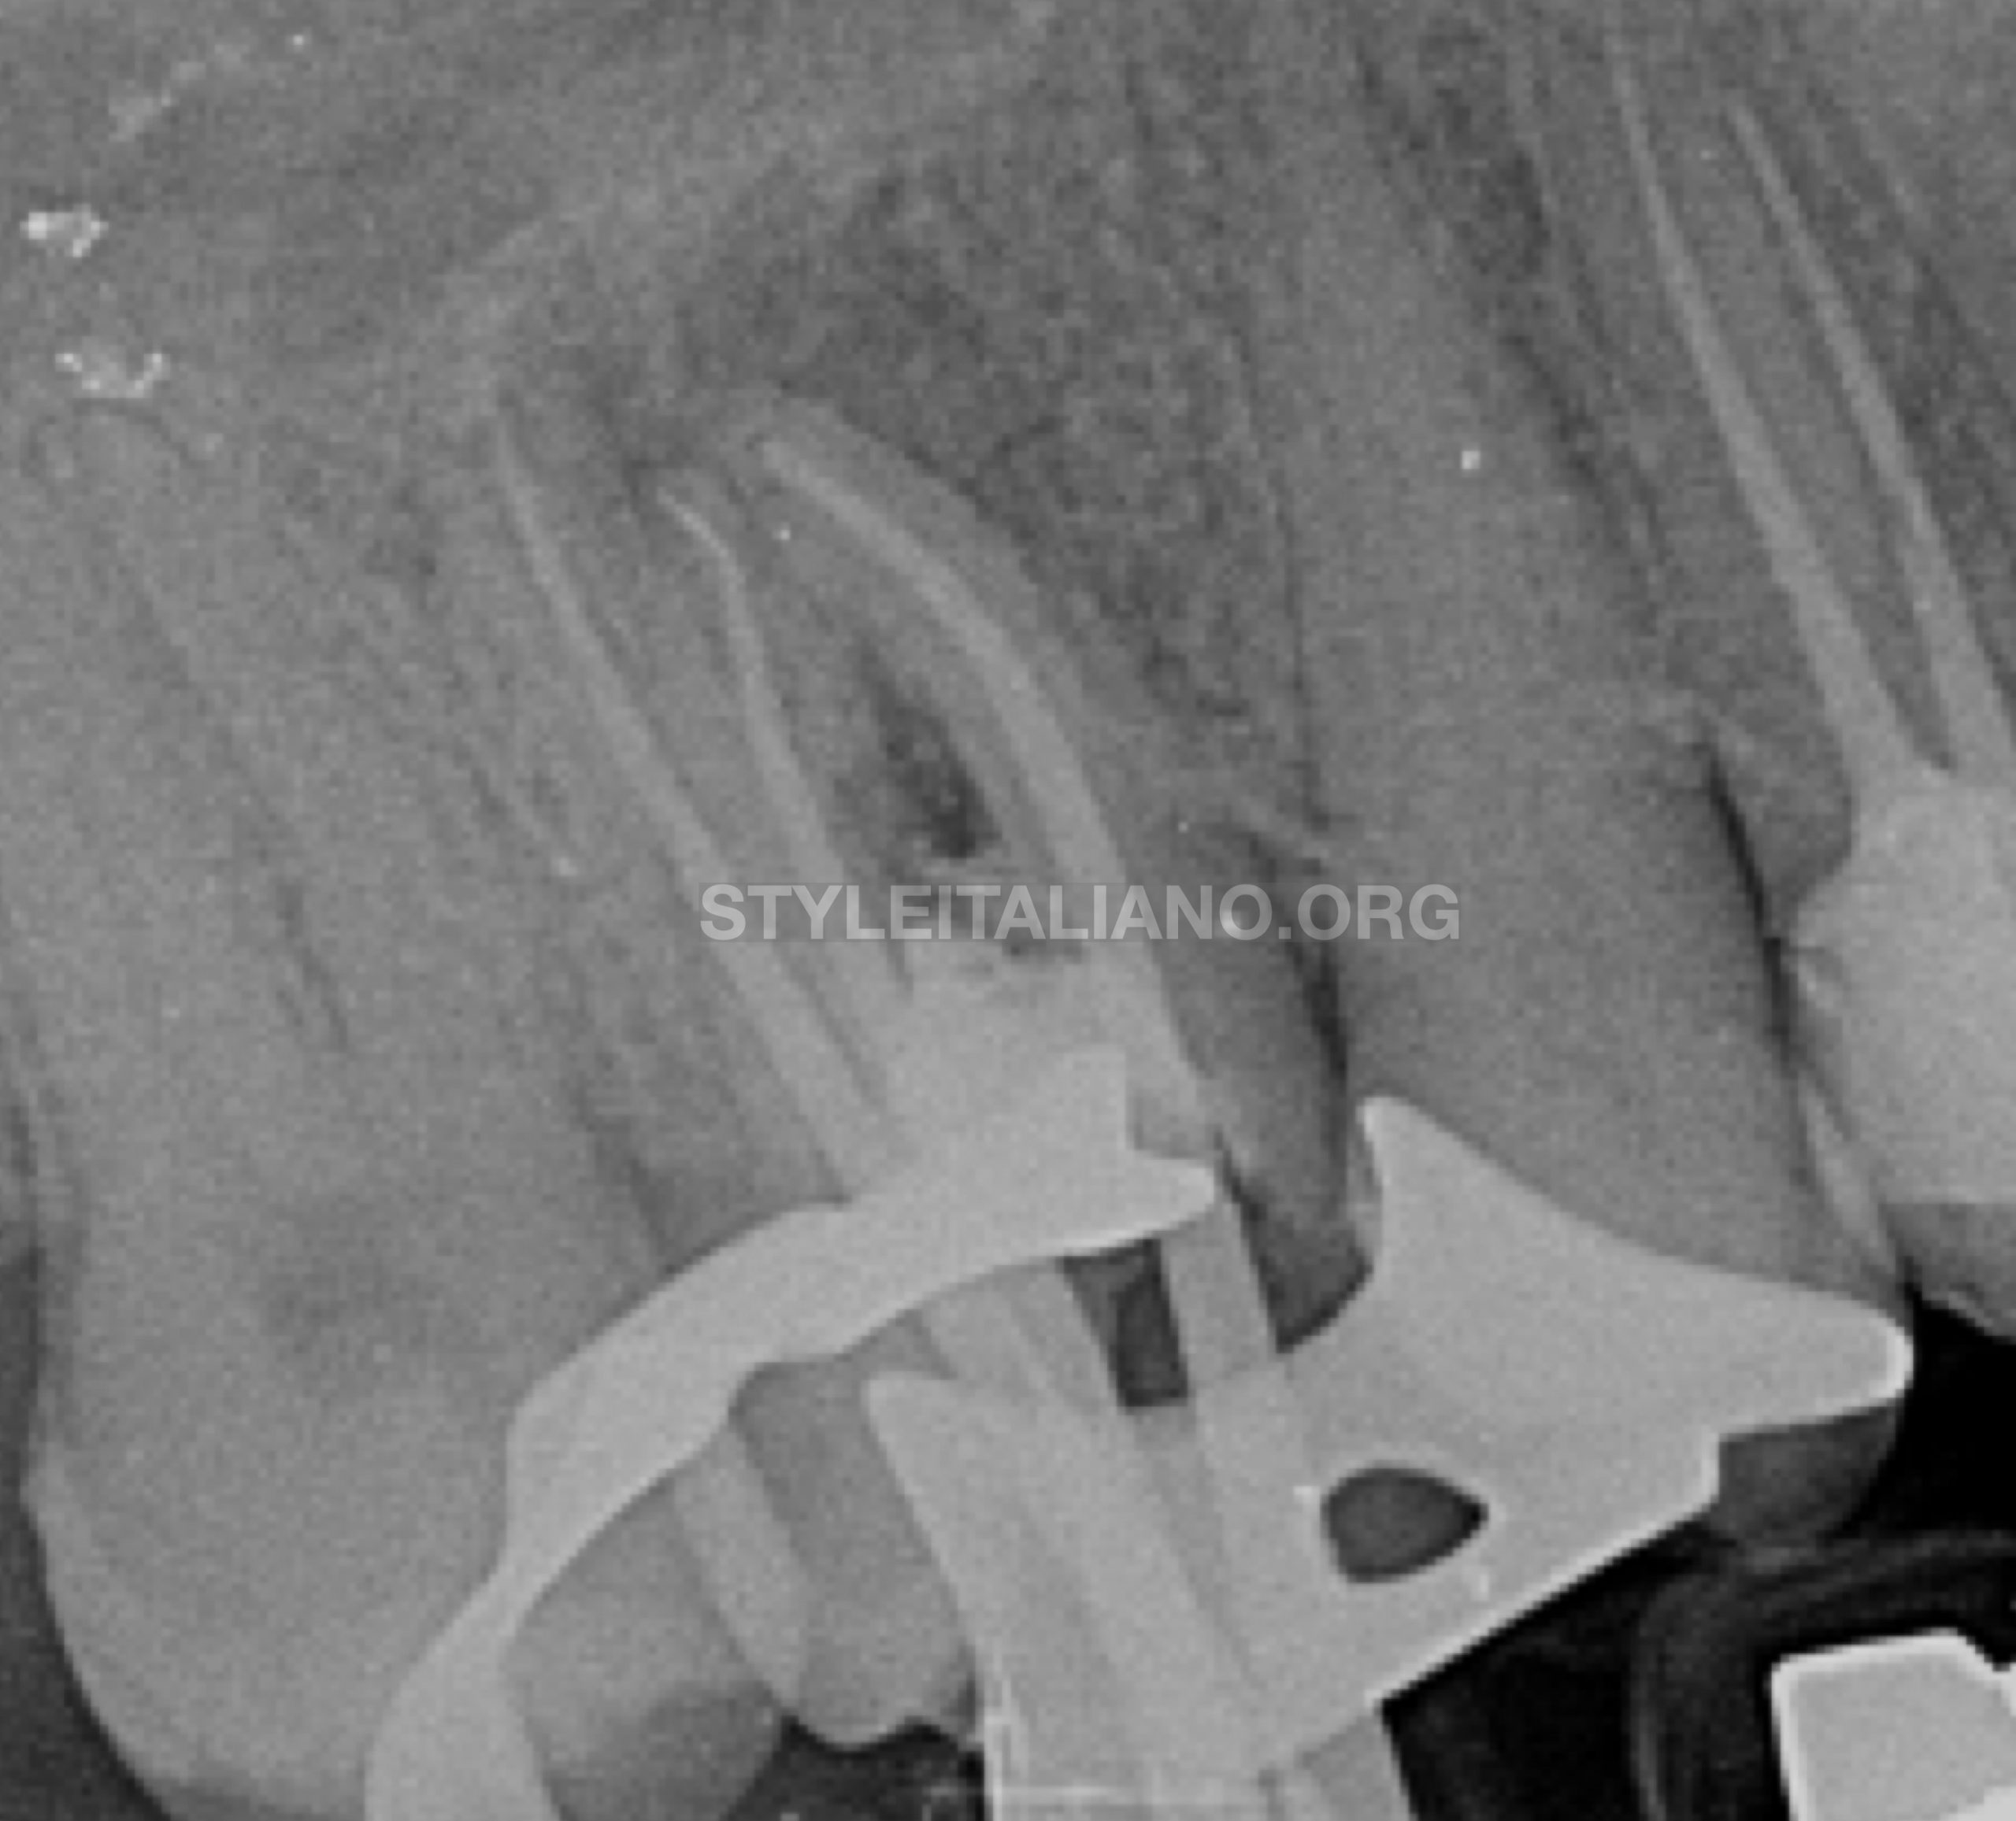
Fig. 10
Once the full working length was achieved, the canals were finally cleaned and shaped up to size 25/04. EDTA gel, saline, 2.5% sodium hypochlorite and EDTA liquid were used as irrigants alternatively. Ultrasonic agitation of the irrigants was done. Clinically, the fit of the master cones was checked and the verified with a periapical radiograph at the calculated working length.
Fig. 11
Once the master cone fit was confirmed, the canal orifices were temporarily blocked with gutta percha and the glass ionomer cement was flown in order to cover the entire pulpal floor. Glass ionomer cement was used to secure MTA in place.
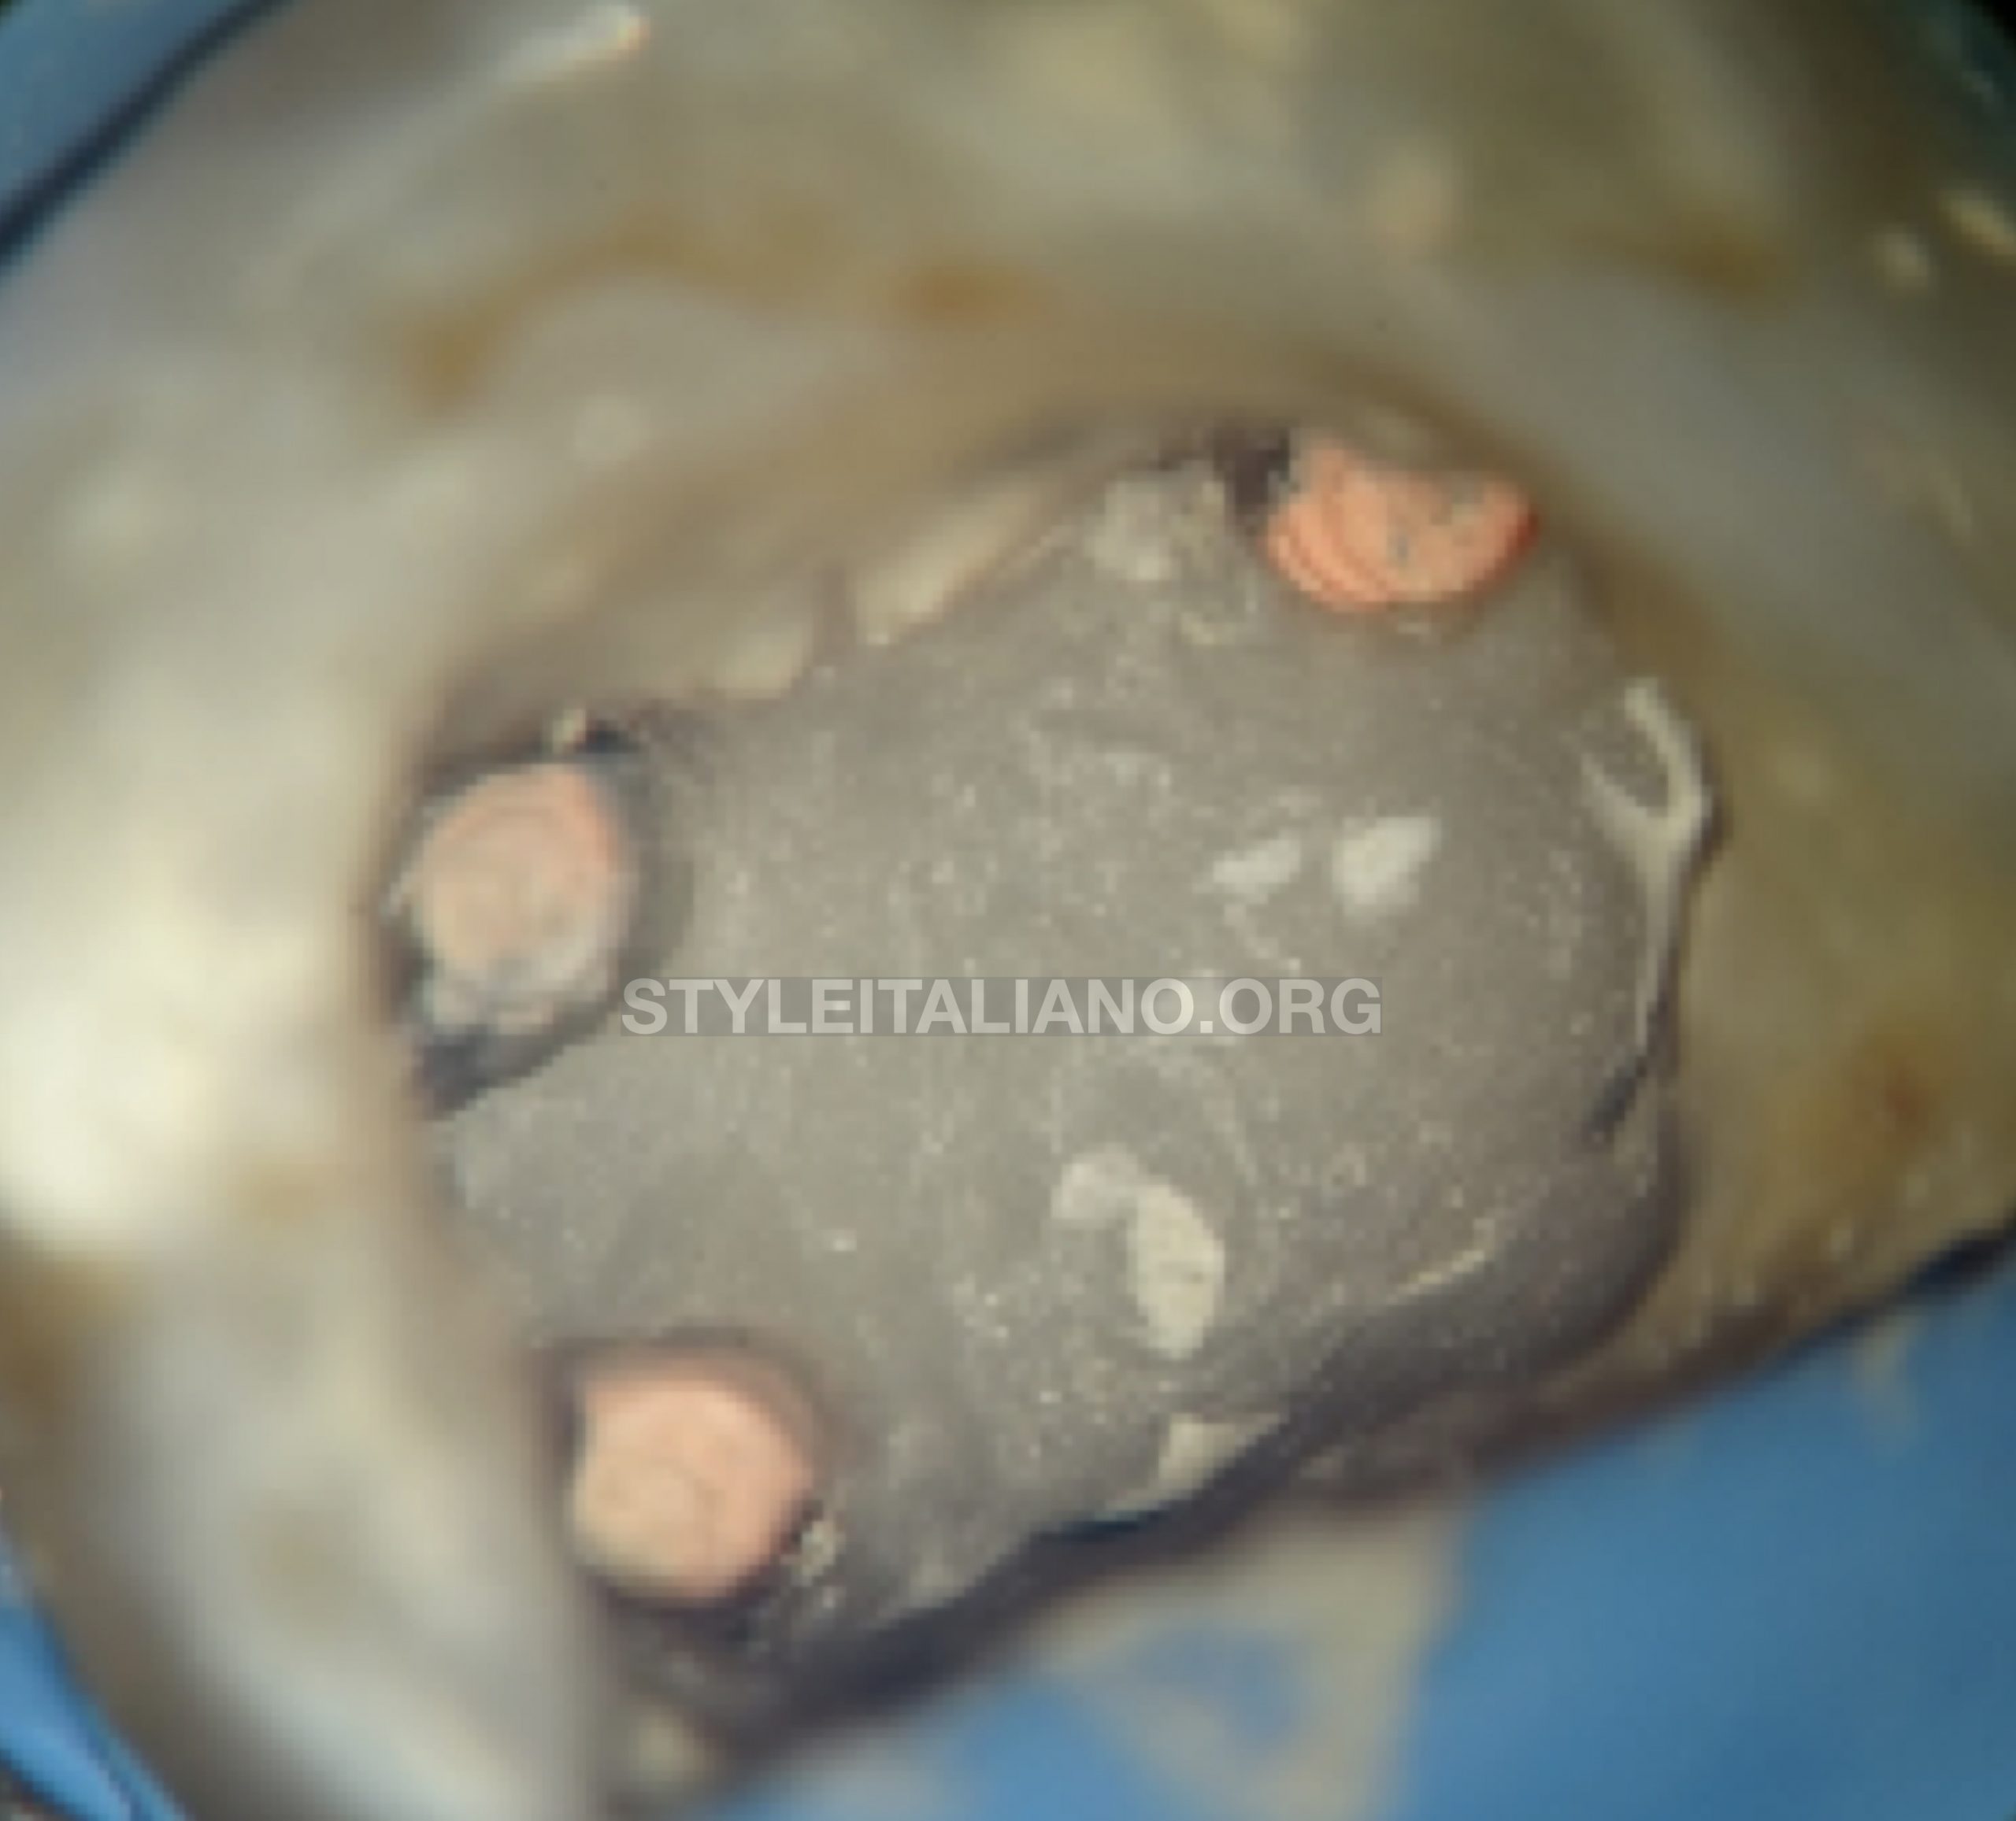
Fig. 12
The gutta percha was cut at the orifice level with heated Plugger. All the canals were obturated with warm vertical condensation technique and the pulp chamber cleaned of any gutta percha or sealer.
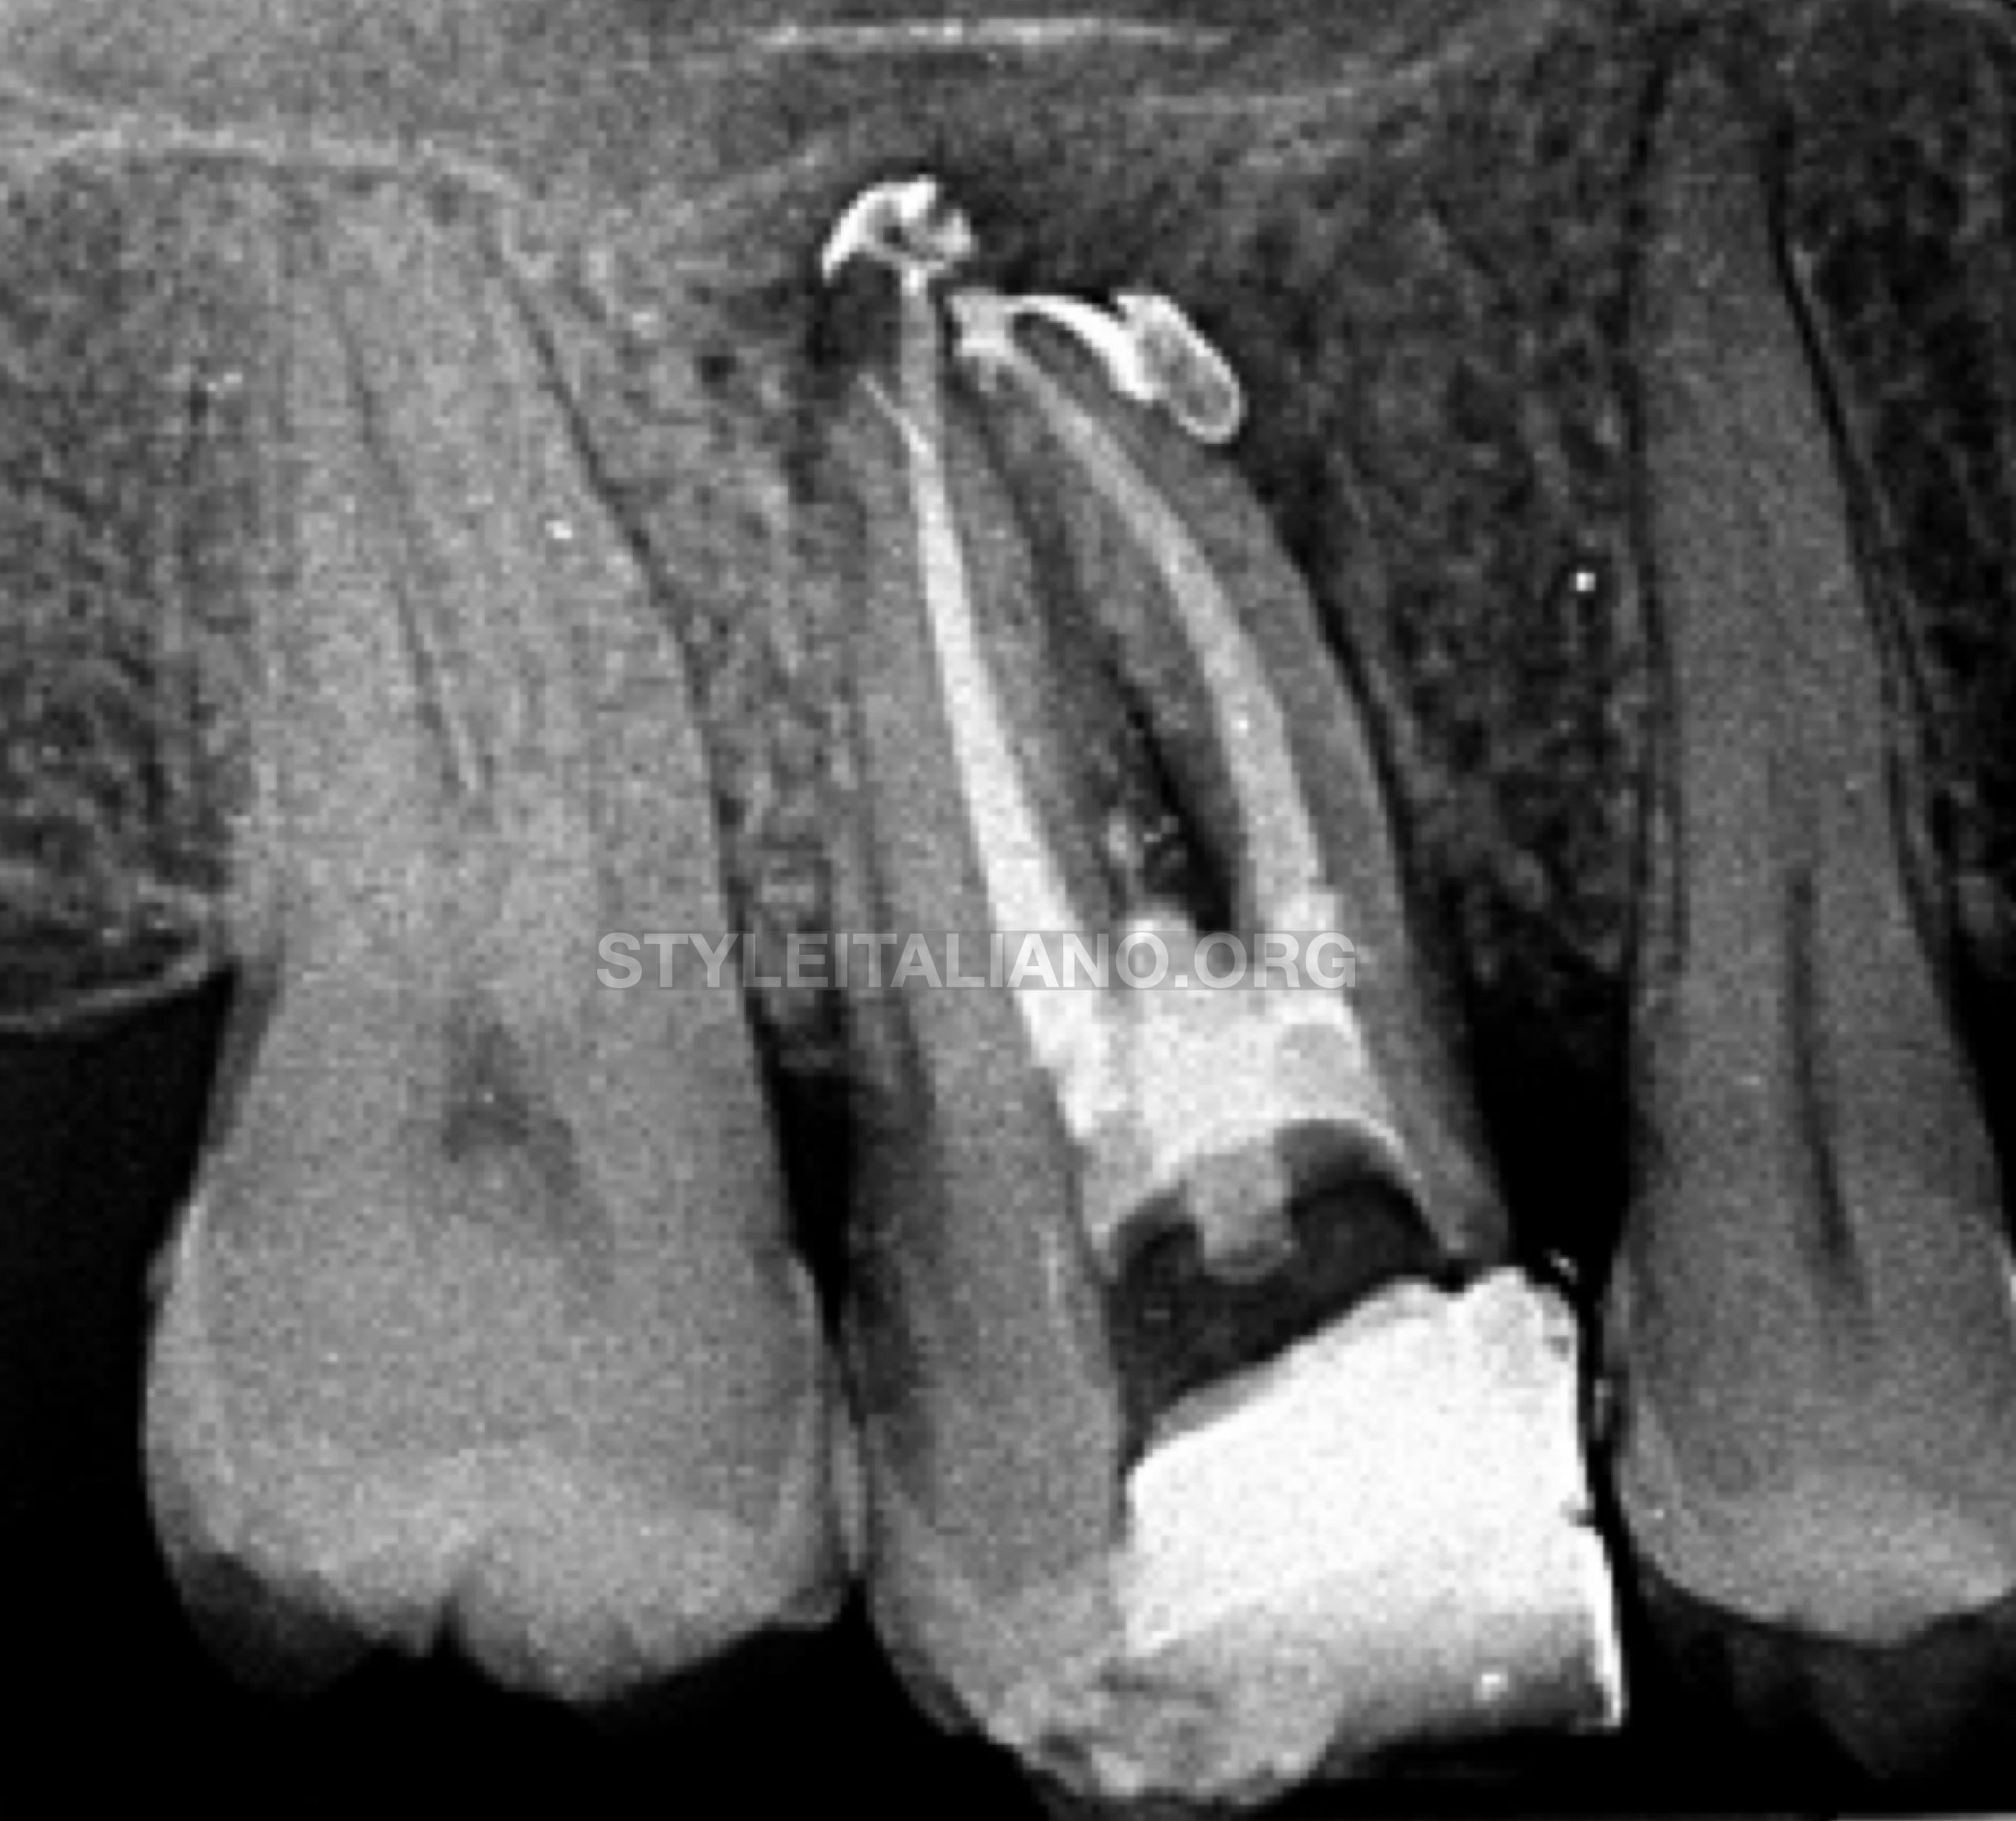
Fig. 13
Immediate postoperative radiograph was taken to verify the final obturation.
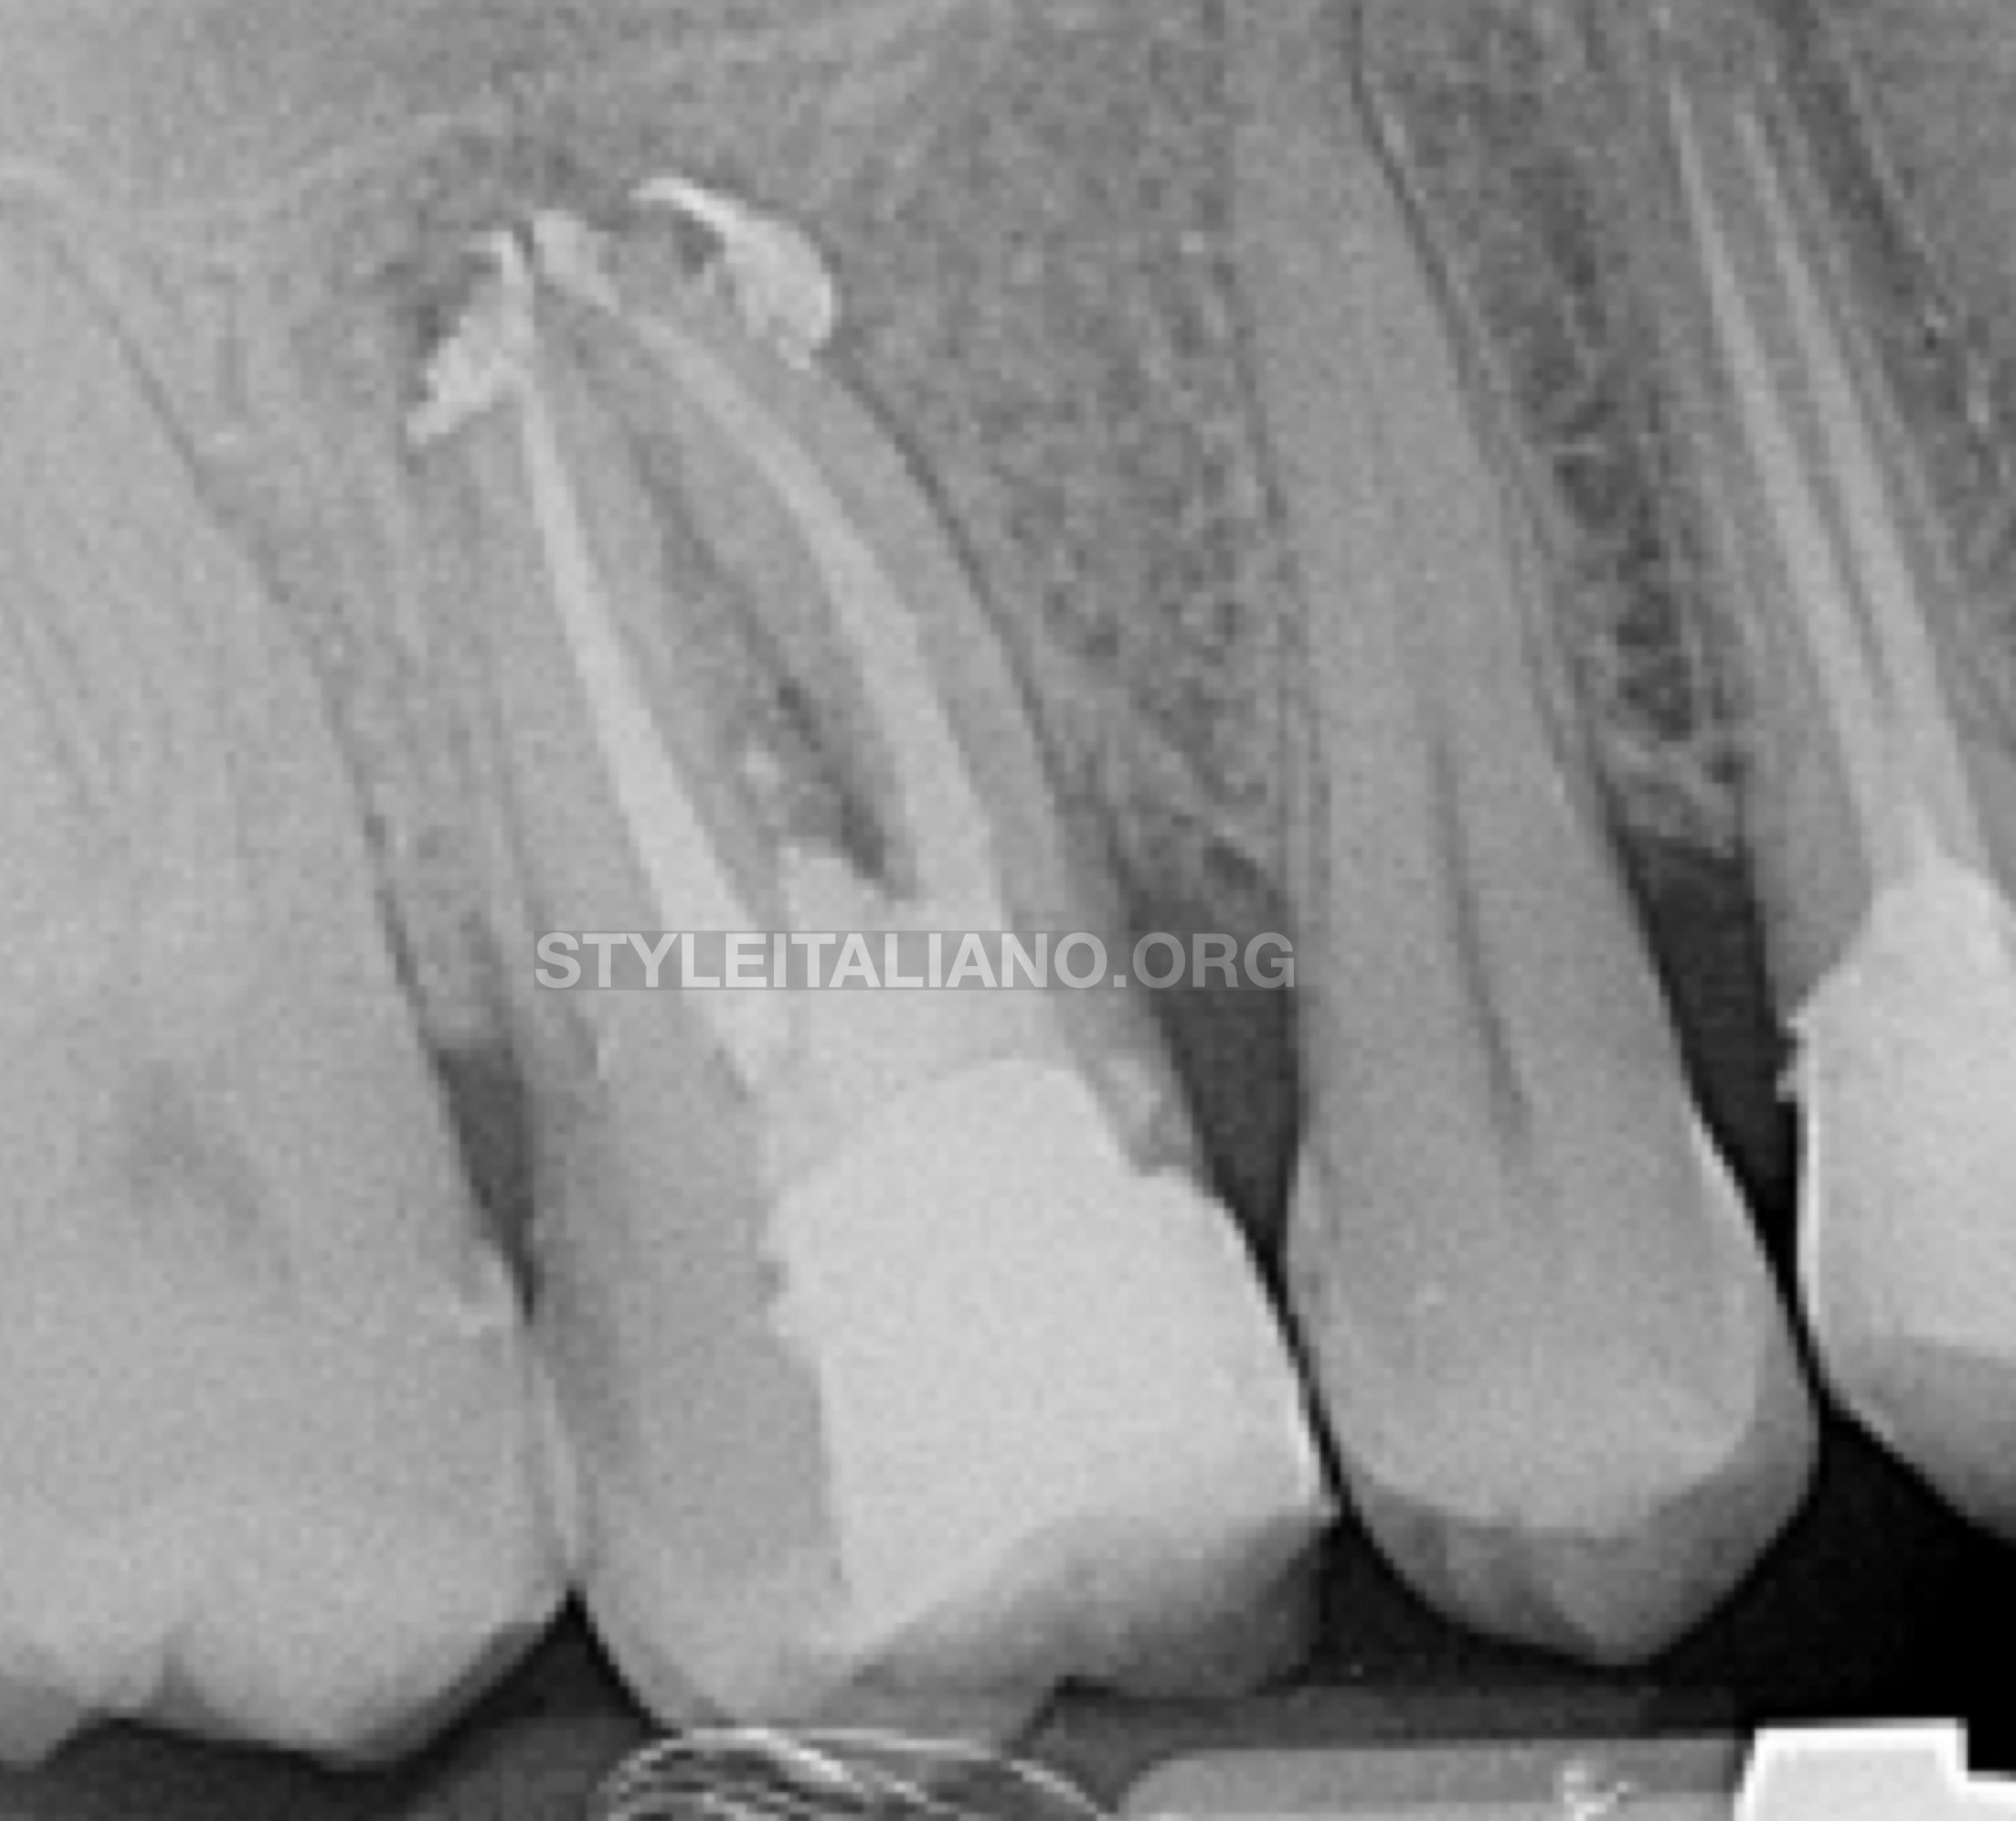
Fig. 14
FOLLOW UP : A 6 month follow up radiograph shows significant healing of the periradicular area.
Conclusions
Learning Objectives: The reader should be able to understand:
- The significance of proper reading of the preoperative radiograph.
- The importance to use endodontic ultrasonic tips to gain reentry in the pulp chamber for retreatment.
- The reasons for creation of a ledge and the need to bypass the ledge and negotiate the full length of the canal.
- The need to plan/modify the treatment steps as per the clinical findings during the procedure (like in this case: the moment perforations were found the appointment was modified for perforation repair).
- The role of irrigants for disinfecting the root canal system.
- The importance of decision making for bypassing, removing or leaving the fractured instrument in the canal.
- The importance of incorporating the whole root canal system in the disinfection process during re-treatment.
- How to decide clinically, which instrument to be used for a particular step during an endodontic treatment or retreatment.
- The importance of using the right materials to initiate body healing.
- The concepts of understanding the prognosis of the tooth and giving a try to save the tooth instead of straight away extracting it.
Bibliography
- Gluskin AH. Mishaps and serious complications in endodontic obturation. Endodontic topics. 2005 Nov;12(1):52-70.
2. Torabinejad M. Endodontic mishaps: etiology, prevention, and management. The Alpha omegan. 1990;83(4):42.
3. Hariharavel VP, Ashok KA, Sankar A, Aravindhan R, Kavitha R. Repair of perforation with Mineral trioxide aggregate (MTA). IOSR-JDMS. 2014;13(1):61-4.
4. Cheung GS. Instrument fracture: mechanisms, removal of fragments, and clinical outcomes. Endodontic Topics. 2007 Mar;16(1):1-26.
5. Roberts HW, Toth JM, Berzins DW, Charlton DG. Mineral trioxide aggregate material use in endodontic treatment: a review of the literature. Dental materials. 2008 Feb 1;24(2):149-64.