Obturation, Step No. 1: Cone Fit
21/09/2016
Calogero Bugea
Warning: Undefined variable $post in /home/styleendo/htdocs/styleitaliano-endodontics.org/wp-content/plugins/oxygen/component-framework/components/classes/code-block.class.php(133) : eval()'d code on line 2
Warning: Attempt to read property "ID" on null in /home/styleendo/htdocs/styleitaliano-endodontics.org/wp-content/plugins/oxygen/component-framework/components/classes/code-block.class.php(133) : eval()'d code on line 2
Cone fit is the first step and a good starting point for a perfect 3D obturation of the root canal system. During this phase, we need: gutta-percha cones, a dedicated caliper and a blade or micro-scissors. Guttapercha cones are available in three different categories:
1) Non Standardized, with 0.20 tip and available in 9 size: x-fine, fine-fine, medium-fine, fine (.06), fine-medium (.08), medium (.10), medium-large (.12), large, extra-large. Fine, F-Medium and Medium are the most used cones. This kind of cones is indicated for Warm Vertical Condensation or System B techniques.
2) Standardized cones have a note tip, from 20 to 1,40 and 0,2 taper, and are usually utilized in lateral condensation.
3) The last category of cones, includes cones that are dedicated to each instrument, for example, dedicated to Protaper Universal, Reciproc or M-Two; this kind of cones is less specific than non-standardized cones in the gutta-percha warm condensation technique, and in the single cone technique.
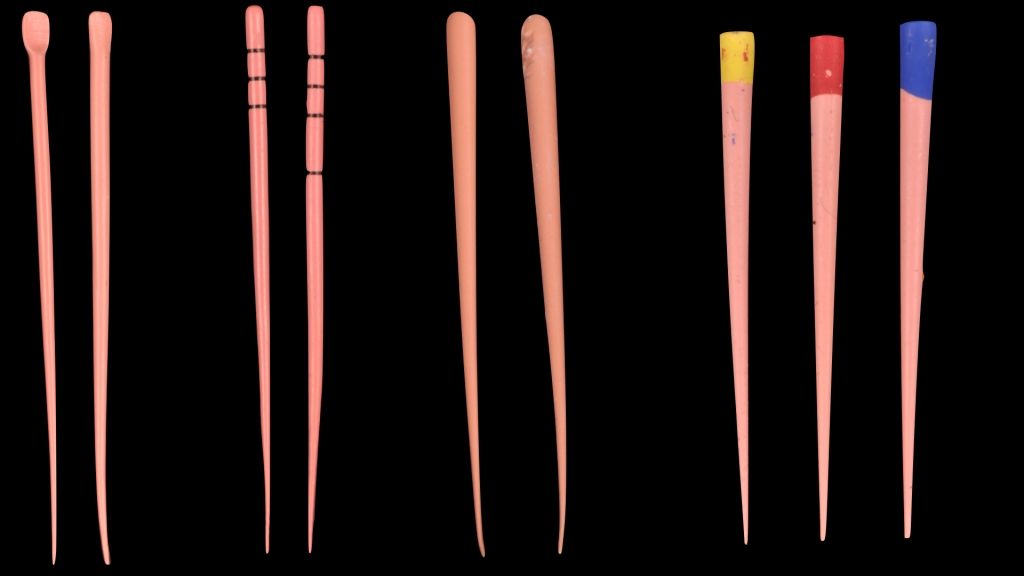
Fig. 1
In the picture we can see some cones available on market, from the left (non standardized cones) Hygienic Fine and F-Medium; GT 6% and 8%, Mynol fine and F-Medium; the last 3 cones are standardized cones dedicated to Protaper Universal F1, F2 and F3. Different manufacturers change the amount of the component present, and, for this reason, dedicated cones are more rigid than non-standardized cones.
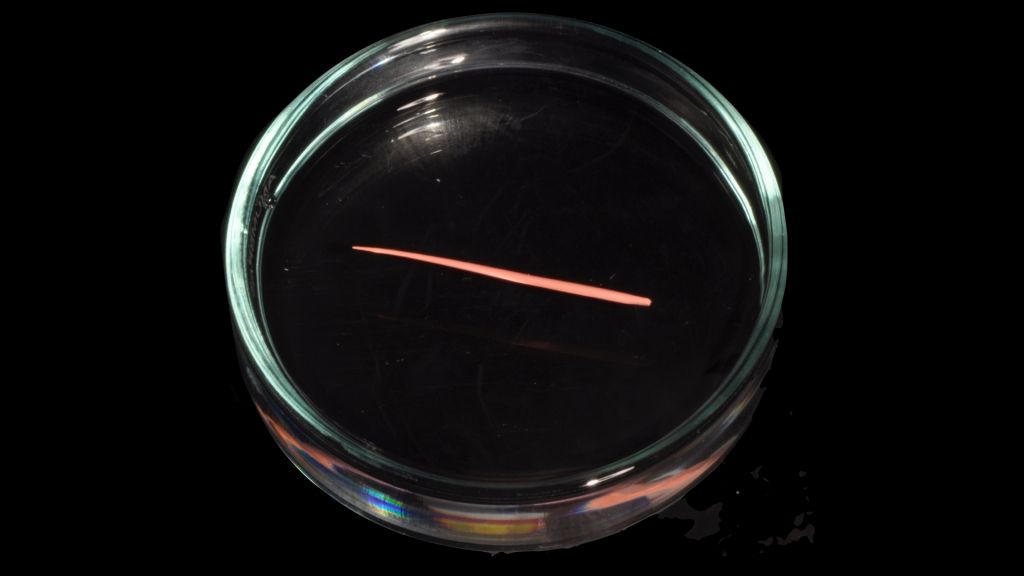
Fig. 2
Cones are not sterile, immersion in NaOCl in a Petri Capsule is recommended to clean them.
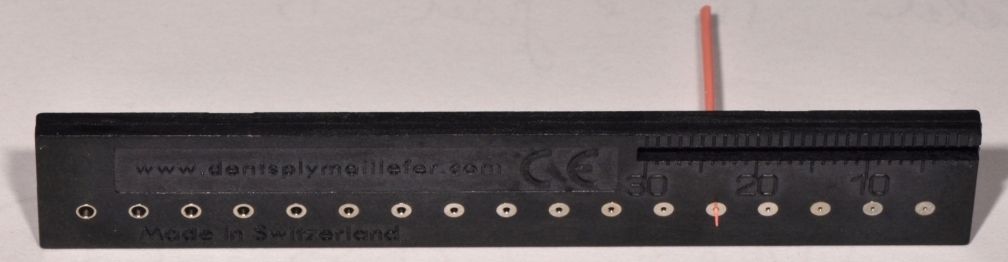
Fig. 3
The gutta-percha cone, therefore, is cut off using the special gauge for gutta-percha points by Maillefer or microscissors by selective removal of varying amounts of the apical tip, based on the shape of the canal and gauging, until perfect adaptation. This must happen at the working length.
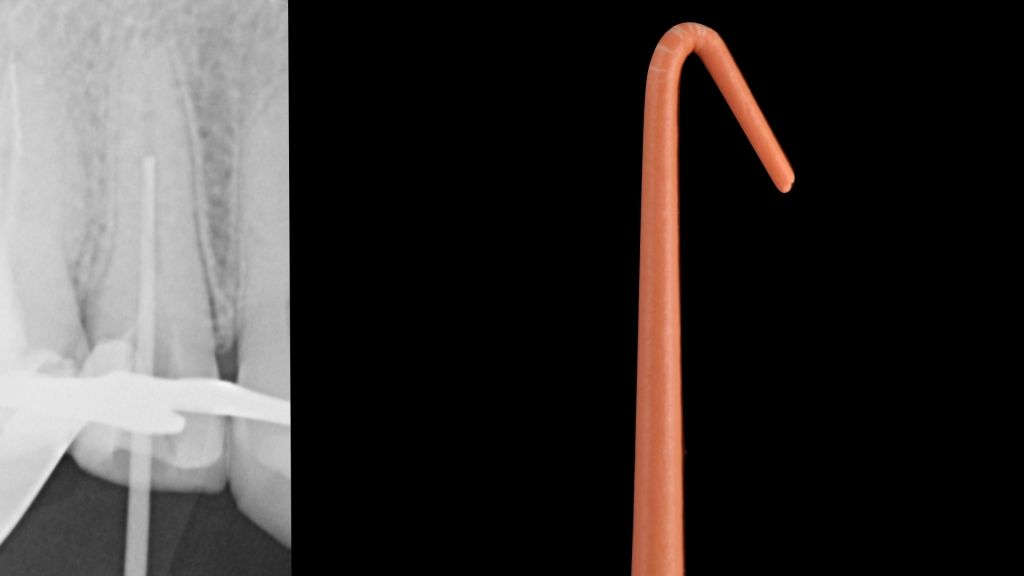
Fig. 4
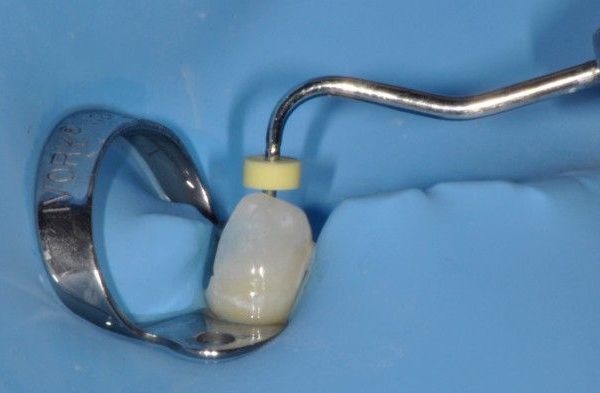
The cone should be able to advance without folding on itself. The cone is usually bent entering into the root canal. To prevent this, it suffices to check the entry of the cone into the canal opening with a mirror.
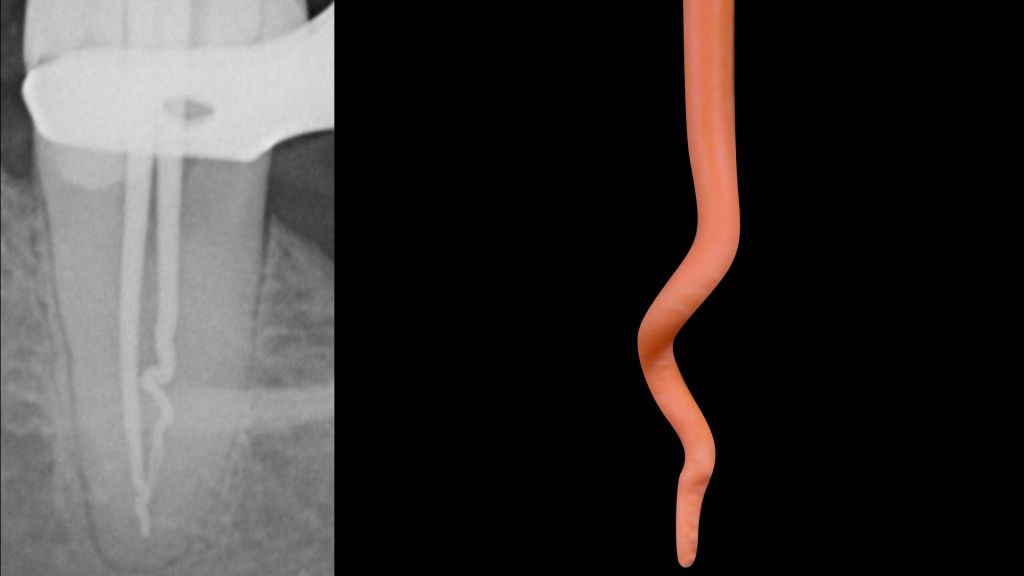
Fig. 5
The cone should be able to advance without twisting, which often occurs in blocked canals, ledge, or bifurcations.
The cone should exhibit a tug-back. Tug back is a slight frictional resistance of a master point to withdrawal when seated; this indicates a relative degree of adaptation, at least in two dimensions.
During this phase, it's very important to know where the cone fits. For a perfect 3D obturation, the cone should be fit in the apical third.

Fig. 6
On the left, a typical and correct tug-back is shown, with contact of the cone in the apical third. On the right the picture shows what happens when the gutta-percha cone only has a tug-back in the medium third. In this case we can get an overfilling or an underextension obturation or both.
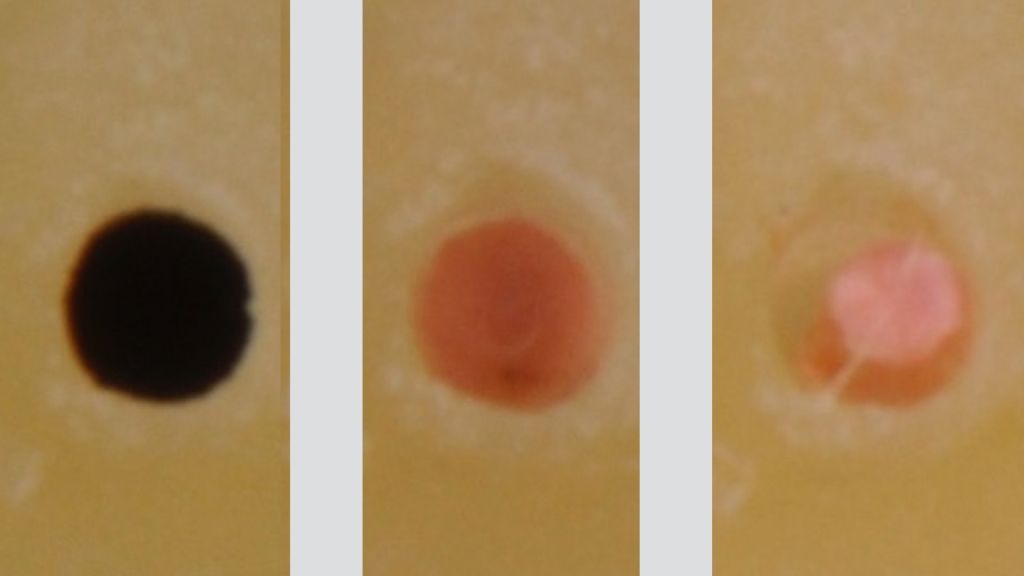
Fig. 7
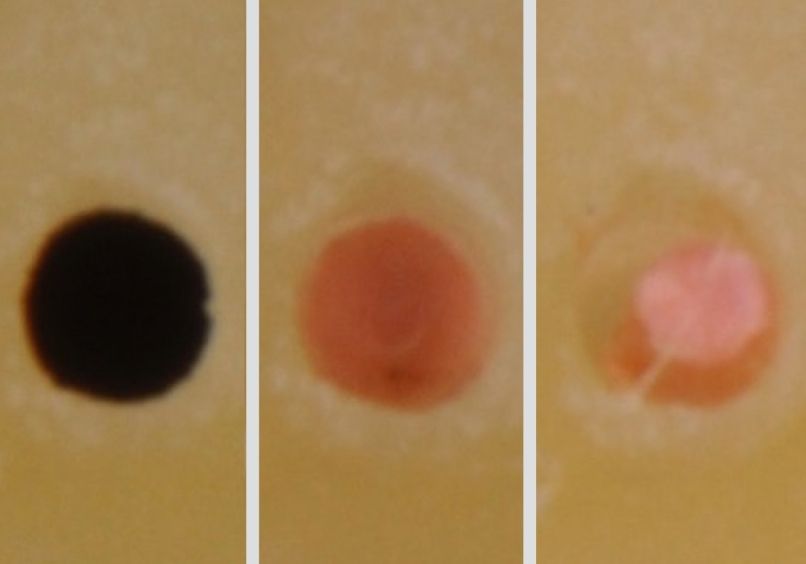
We can see here (left) the prepared foramen, the contact on all the walls of the cone at working length (middle), and an improper contact with the cone at working length (right). When this occurs, overfilling or underextension of the obturation will most probably happen.

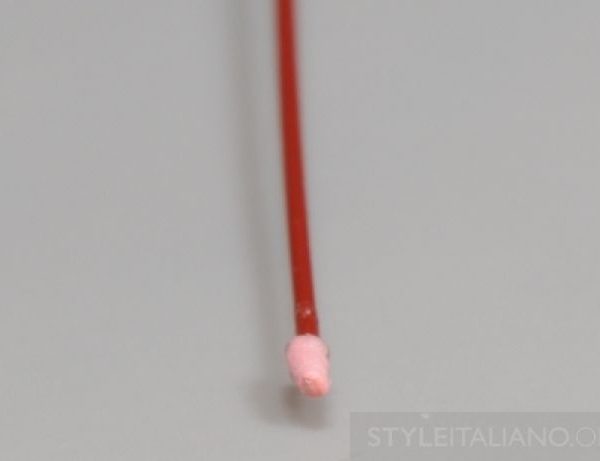
Fig. 8
Trick: note the scratches on the cone in the apical area and the smooth surface in the middle area. When this phenomenon occurs in the middle area instead of the apical area, the cone has a coronal tug back instead of an apical tug back.
In case of trouble during cone fit, if you don't have any idea about where the tug back is, select a cone at the same diameter but different taper (the second one smaller than the first), to help you in the decision making process.
Compare the lengths of the two cones (the first more tapered, for example medium and the second fine-mediaum. If the two lengths are identical and their apical diameter are the same, the two tug-backs are at the same depth and thus one can confidently use the more tapered cone, confident that its retention is in the most apical portion and therefore will not protrude beyond the apex.
If there's some variation in working lenght the smaller cone will be more predictable than the biggest one.
In difficult case, change the brand of the GP cones it's a valid trick to understand where is the tug-back
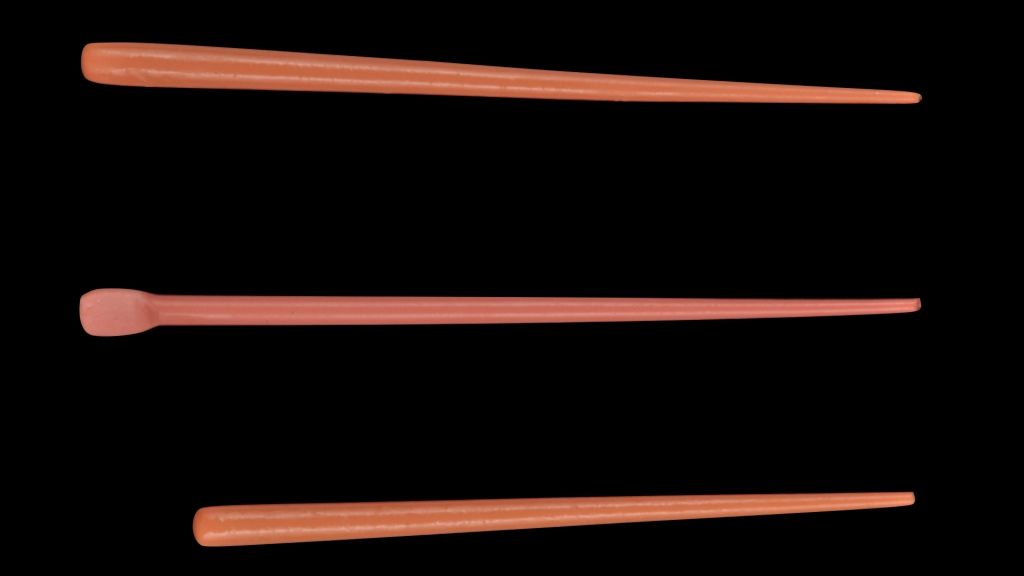
Fig. 9
Here we can see 3 different gutta-percha cones, with the same tip (40), from the top: Inline F-Medium; Hygienic, Fine; Mynol, Fine. Note the difference in taper between Hygienic and the other cones.
Conclusions
Cone Fit is the first step to a perfect 3D obturation: during this step, we can confirm
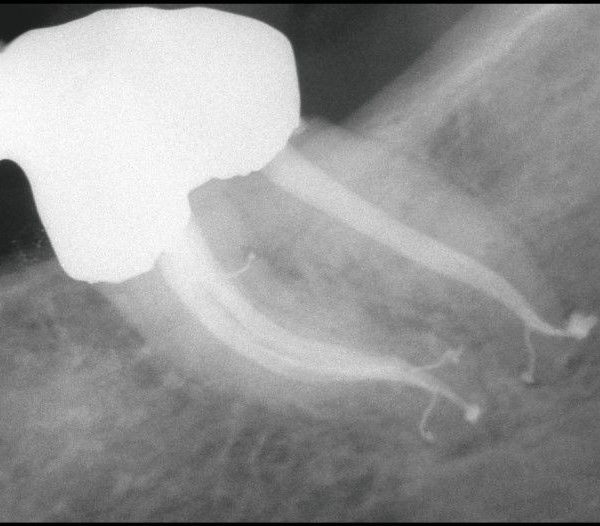
- the working lenght, with an RX;
- the shaping, and any change that may be done in the preparation;
- the anatomy, e.g. merging canals, position of blocks or ledges;
- the gauging, gutta-percha is a valid and reliable method;
- pre-visualize the obturation.
Bibliography
- Berutti E, Fariba AA. La condensazione verticale della guttaperca. Il Dentista Moderno 8:1539, 1985
- Blum JY, Parahy E, Machtou P. Warm vertical compaction sequences in relation to gutta-percha temperature. J. Endod. 23:307, 1997
- Buchanan LS. Continuous wave of condensation technique. Endodontic Practice 7-23, December 1998
- Buchanan LS. Filling root canal system with centered condensation. Dentistry Today 23(11):102, 2004.
- Goodman A, Schilder H, Aldrich W. The thermomechanical properties of gutta-percha. Part IV. A thermal profile of the warm gutta-percha packing procedure. Oral Surg. 51:544, 1981?.
- Castellucci A. Endodontics vol II, edizione Il Tridente.